Now, we’ve had many a famous bunny in our history. Thumper from Bambi, that loveable scamp, Peter, who could forget the incomparable Bugs Bunny, and of course, the Easter Bunny. There’s one Bunny, however, who holds a special place in our heart. Her name was Lola. A fiest lady-bunny with amazing sass and incredible basketball skills. While this Makeup Filter tutorial has absolutely nothing to do with Looney Tunes we wanted to create a bunny-licious Filter that would let us get all the bunny-festive we want while staying just as sassy as our friend, Lola. So grab your springiest pic and stretch out those digits. It’s time to hop into spring with our new bunny-licious spring Makeup Filter.
Dyed in the Bunny Fur
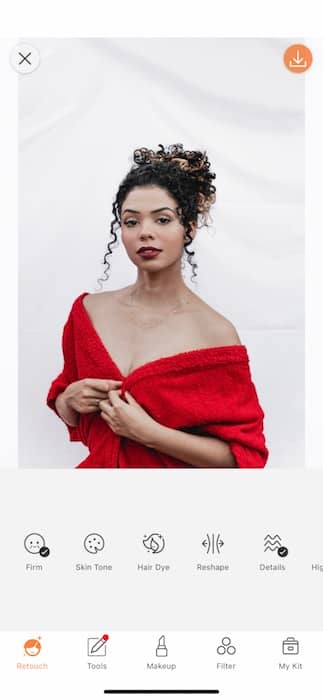
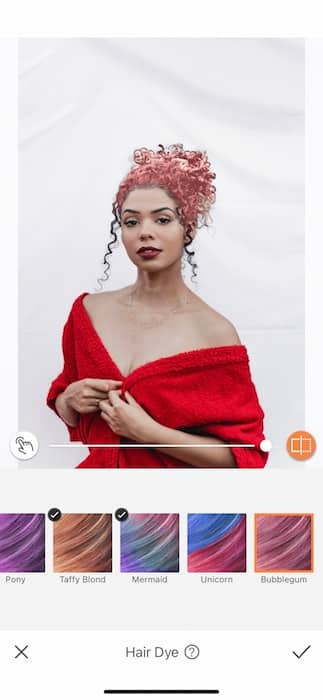
First things first we’re going to need to make sure we’re bringing the full package.
- Go to your Retouch Panel and find the Hair Dye Tool.
- Now, obviously the point of Hair Dye is to give your gorgeous locks a recolor but today we’ll be focusing on other ventures.
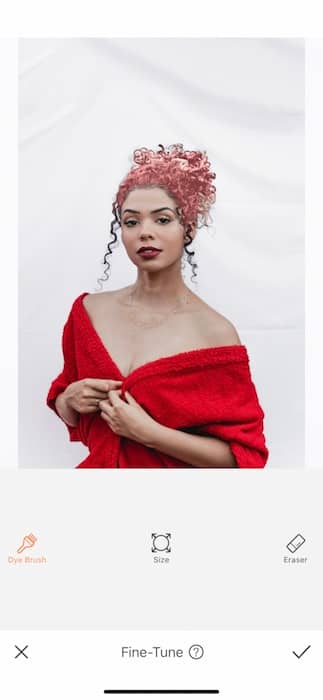
- Tap the white button on the bottom left hand to open the Fine-Tune Feature.
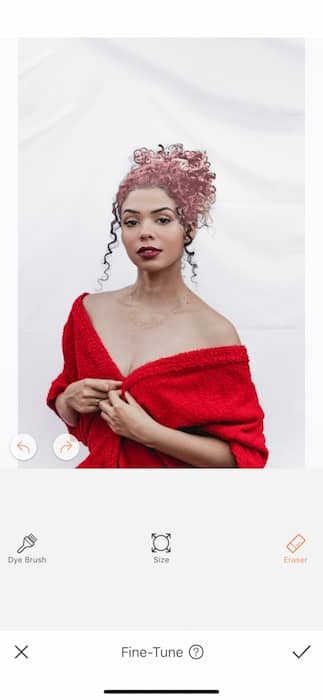
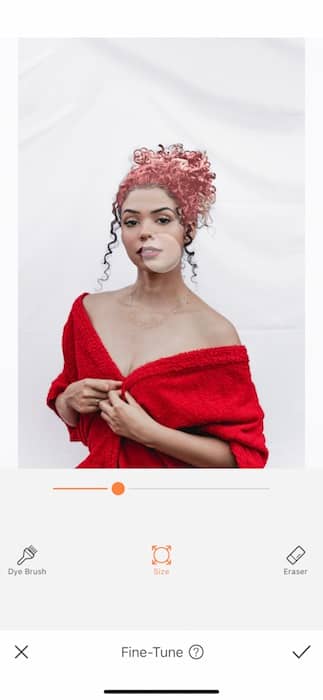
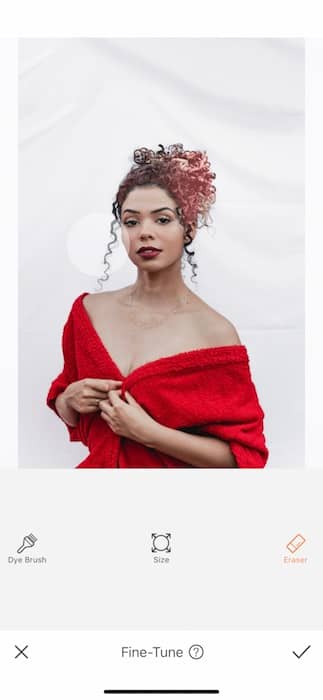
- The Hair Dye Tool will automatically detect your hair and apply the dye so we’ll need to remedy that.
- Tap the Size icon and enlarge your cursor.
- Tap the Eraser Function and begin erasing the dye from your fair and anywhere else it was applied.
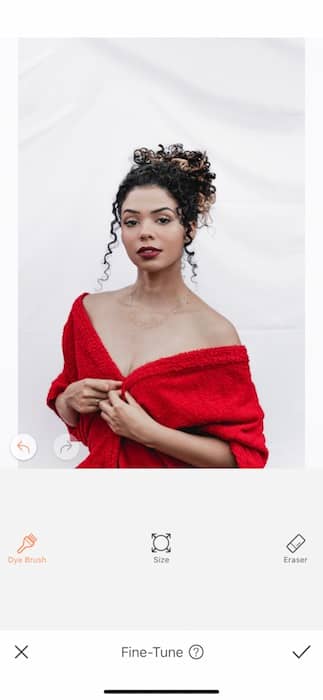
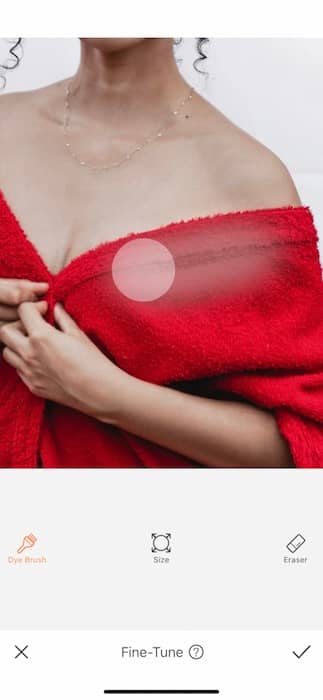
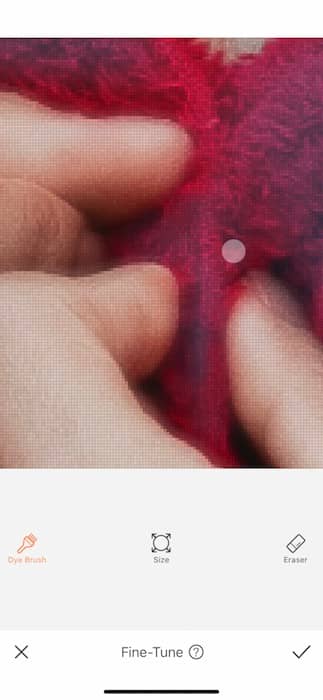
Have you figured it out? We’re giving our outfit a makeover.
- Adjust your Brush size once again to fit your needs. You might need to resize multiple times as you work.
- Zoom into your outfit and start applying the dye.
- If the color doesn’t look perfect on the first round don’t worry you can switch between swatches once you’re done apply thing the Dye.
- If needed you can apply multiple coats.
- Tap the check mark to save your edits.
Set the Scene
Location, location, location…
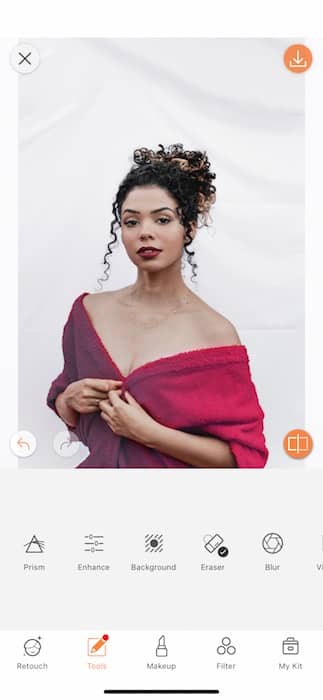
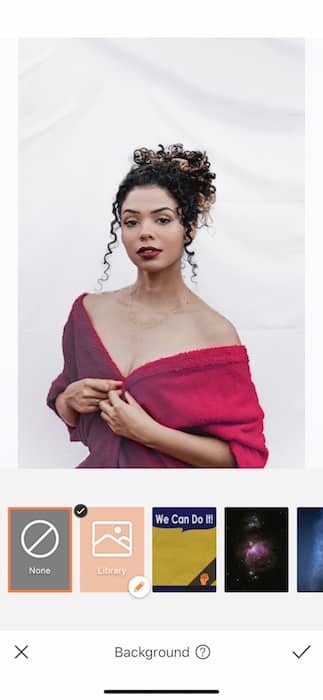
- Go to your Tools Tab and find your Background Tool.
- While you may find the perfect spring backdrop in out pre-loaded library, you can also upload your own gorgeous Background.
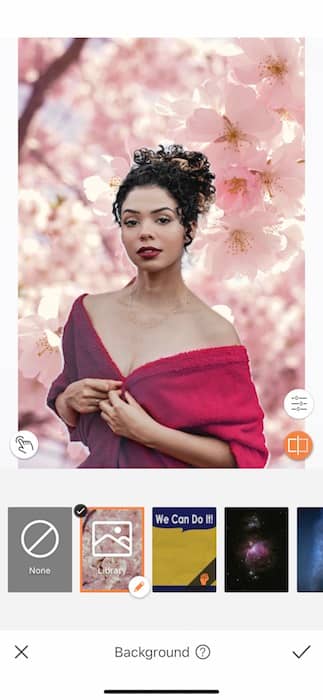
- For our gorgeous spring Makeup masterpiece we’ll want a beautiful blooming backdrop.
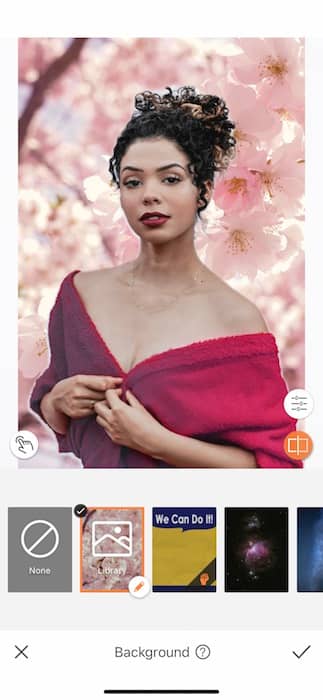
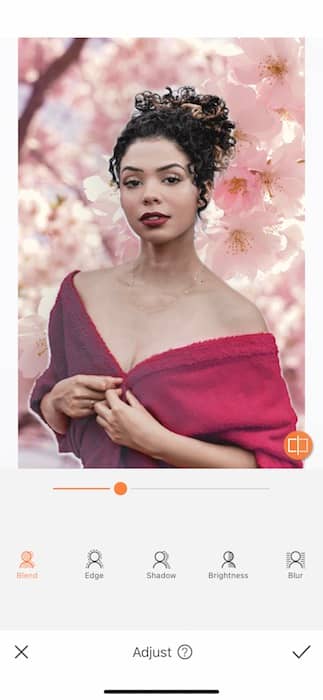
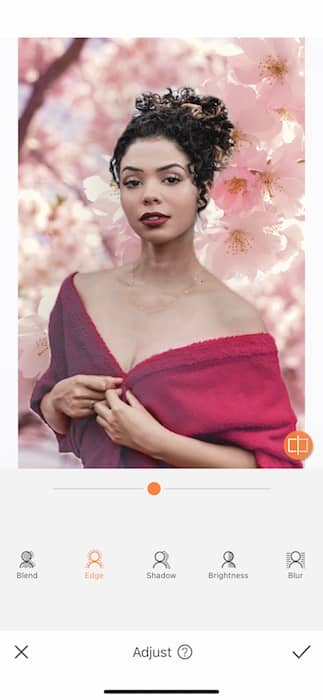
- When applying your Background you might need to make some adjustments to get it just right.
- Tap the white button on the bottom left hand corner to open the Adjust Feature.
- The Blend Tool allows you to color match both your image and the Background using the center toggle.
- The Edge Tool helps eliminate and outlines or remnants from the original image.
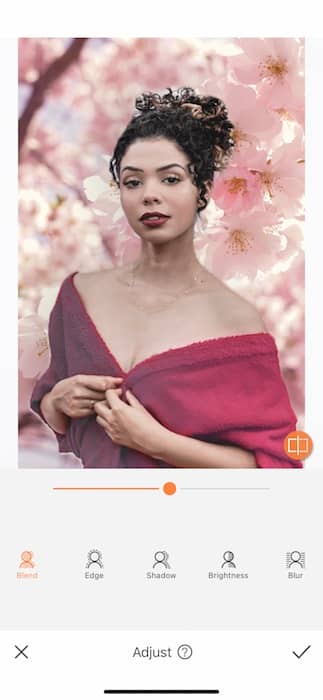
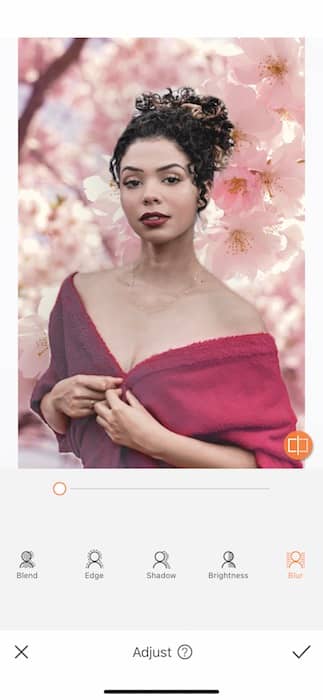
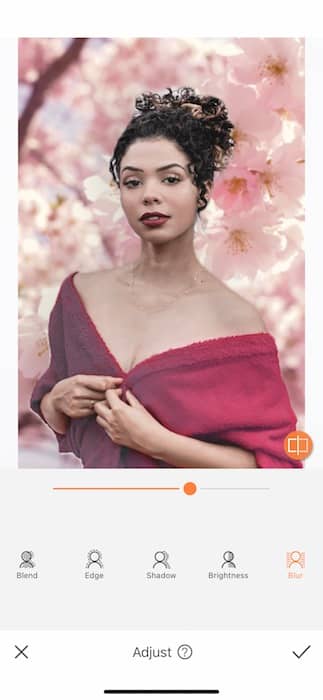
- The Blur Tool is important. When creating a realistic image with a Background you want to make sure there’s distance between you and whatever is behind you, like in real life. So, use the Blur Tool to create that distance.
- Once you’re ready you can tap the check mark to save your edits!
Her Name was Lola
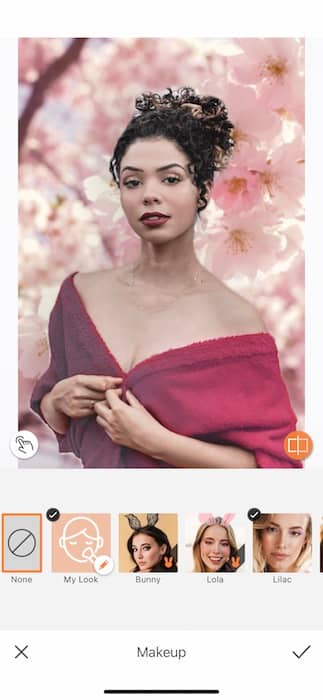
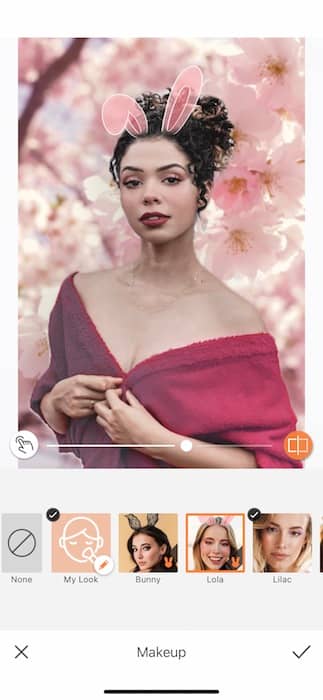
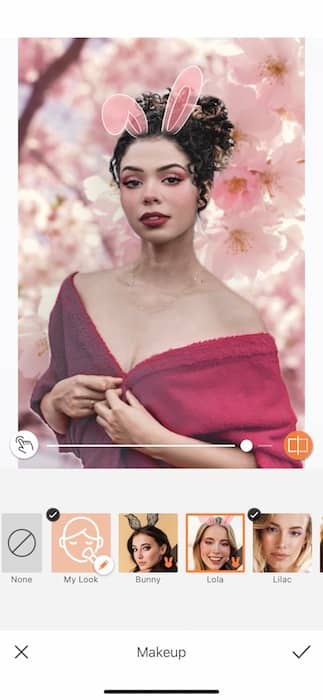
Now’s the moment we’ve all been waiting for!
- Go to your Makeup Tab and find our fabulous Makeup Library.
- Here you’ll find 3 brand new spring Makeup Filters ready to get you festive for the season.
- For today let’s play with Lola.
- Tap the icon to apply the spring Makeup Filter.
- Use the center toggle to adjust how strong you’d like to apply the spring Makeup.
- Notice that while the face Makeup changes, the ears stay applied. Perfect right?
- Tap the check mark to save your edit.
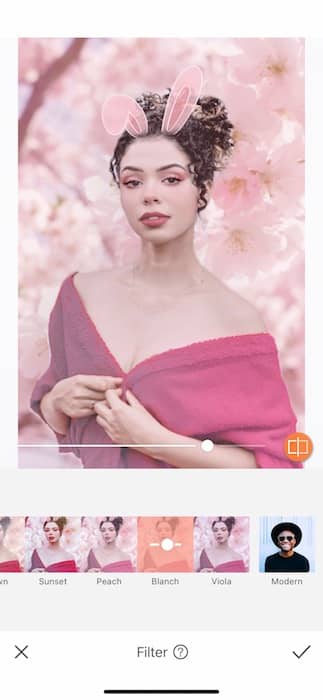
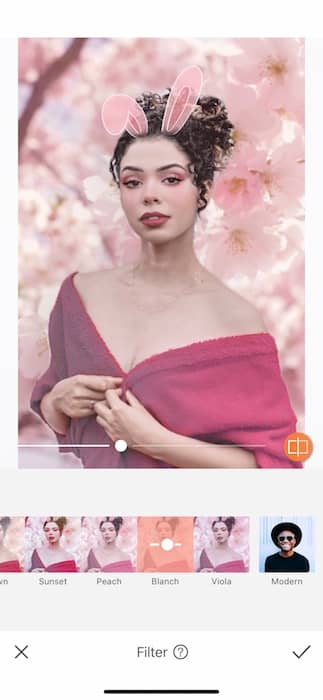
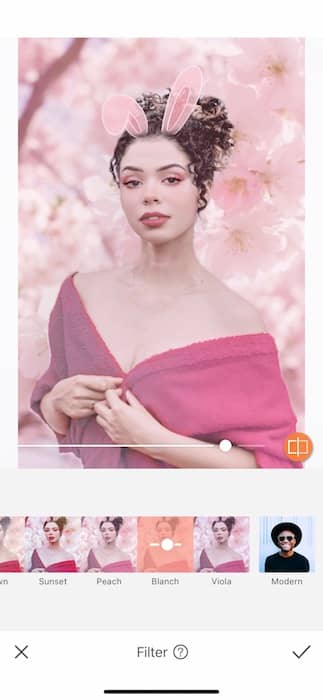
No good picture is ready without a fabulous Filter!
- Today we’re feeling… peachy.
- Go to your Filter Library.
- Find the Blush Filter Pack.
- Here you’ll find 6 amazing, rosy Filters perfect for your spring Makeup moment.
- Try the Blanch Filter for a sweet, blushy misty feel.
- You can use the center toggle to adjust the weight of the tool
- Tap the check mark to save your edits.
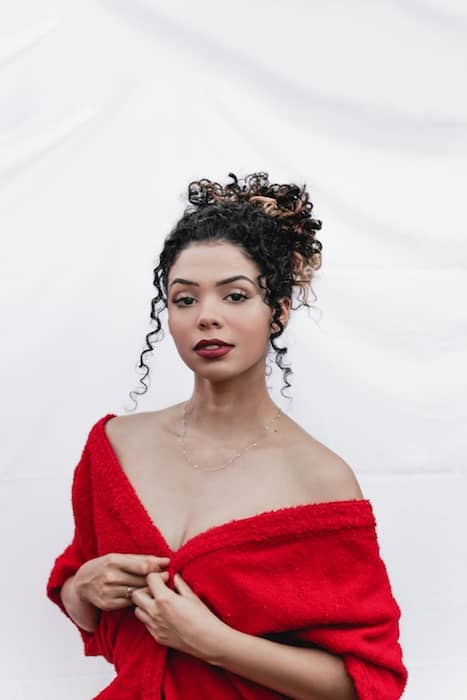
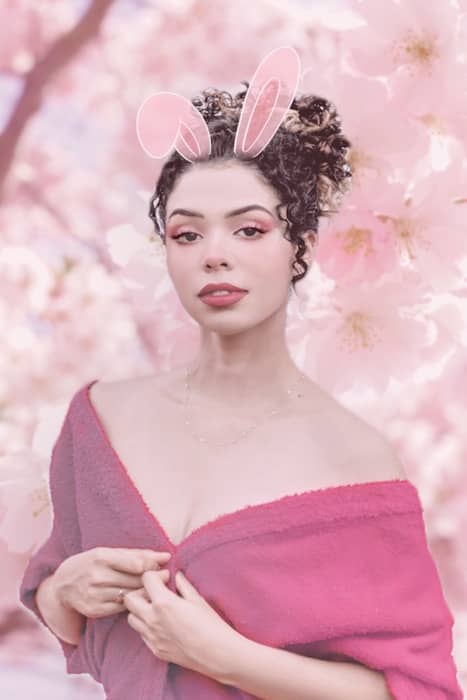
Did anyone order a hot transformation? Look at you, you spring makeup goddess! Now it’s your turn to be the queen of the meadow with this fabulous new Makeup Filter. Try this tool and many others by downloading the AirBrush app! Then you can share all your creations with us by following @AirBrushOfficial on instagram and use the tag #AirBrushApp. We might just feature you on our stories! ‘Til next time!


