Summer is the time of adventure and the great outdoors. Especially before the back-to-school mentality of the fall, August is the moment to catch those last rays of summer sunshine, commune with Mother Nature and take some adventure photos.
Have you ever had the experience of snapping a photo of a sunset or view and feeling like it didn’t capture the awesomeness of Mother Nature’s beauty? Us too. Which is why we’ve developed an array of tools on the AirBrush app to help you better capture nature’s glory on your next adventure shot.
Adventure awaits, friends! Take AirBrush with you on your next camping trip, underwater dive, or mountain climb to better capture your memorable moments. Here are 3 ways to use the AirBrush app to enhance your adventure photos.
Add Magic to Underwater Photos Using Bokeh
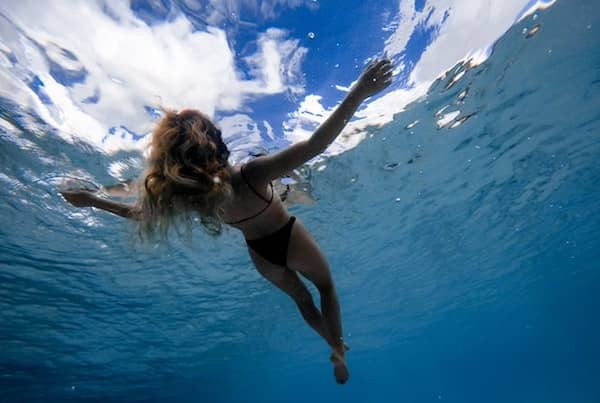
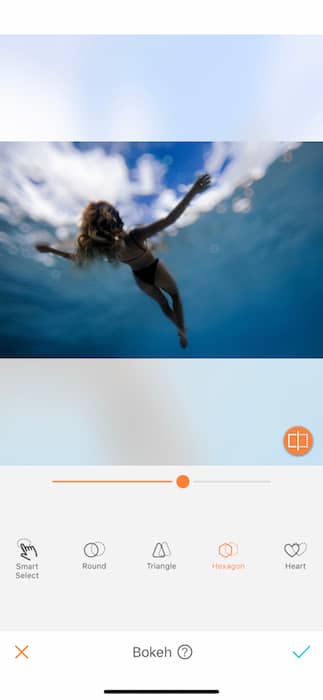
Underwater shots are the perfect place to experiment with AirBrush’s Bokeh tool, which lets you blur and shape the light spots in your photos.
Think of the dappled light of an underwater picture. What if you could change the shape and the form of that light to give your photo a magical quality?
The next time you find yourself editing an underwater shot from your last beach vacation, experiment editing the light with the Bokeh tool.
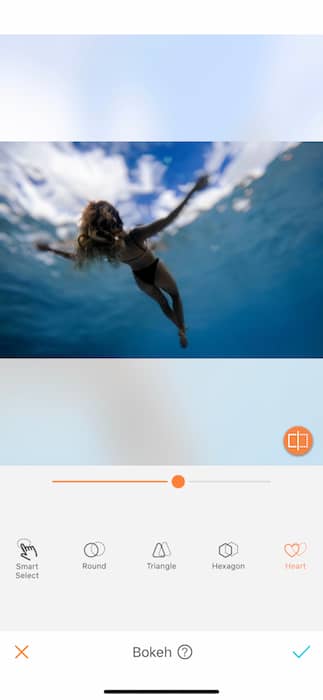
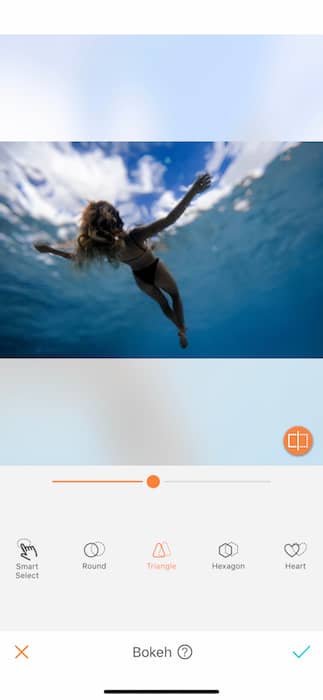
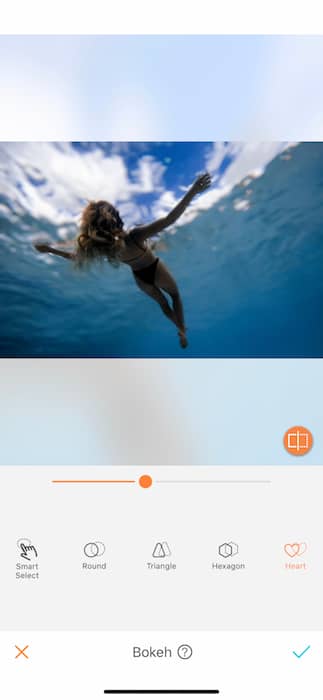
Upload a photo, tap ‘Tools’ and then select ‘Bokeh’ in your AirBrush app. You’ll notice a variety of shapes at the bottom that give you options of the different shapes you can change the light into. After you choose one, you can change the effect level by shifting the sliding bar.
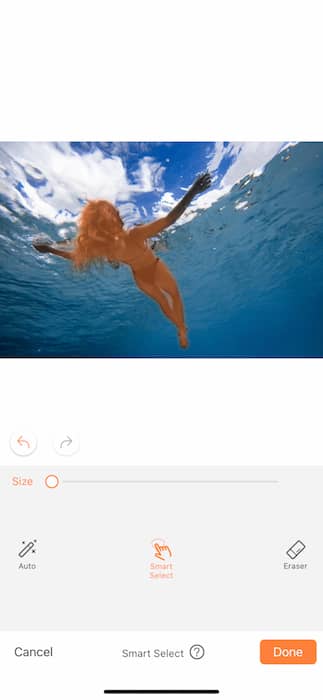
Sometimes you’ll notice Bokeh blurs the perimeter of objects in your photos on the edges of the focus area. If you would like to give the outlines of the figures or objects in your photo more precise definition, you can use the Smart Select tool to deselect the area in which the Bokeh effect is applied. This is a great tool to use when you want to give your photos a more subtle Bokeh effect.
Use the Smart Select Tool for a More Precise Effect
In these cases, just select the Smart Select option, change the size of the editing circle and color in the areas that you would like to remain unblurred for a more precise effect. If you make a mistake you can erase it using the Eraser tool. AirBrush uses its special algorithm to get smarter as you designate the right area to apply the Bokeh effect to for even easier application. Remember, you can always press the back arrow to undo any changes you make.
And, don’t forget to experiment with the different shape options to play with the light!
Add Vibrancy to Scenic Photos Using Enhance
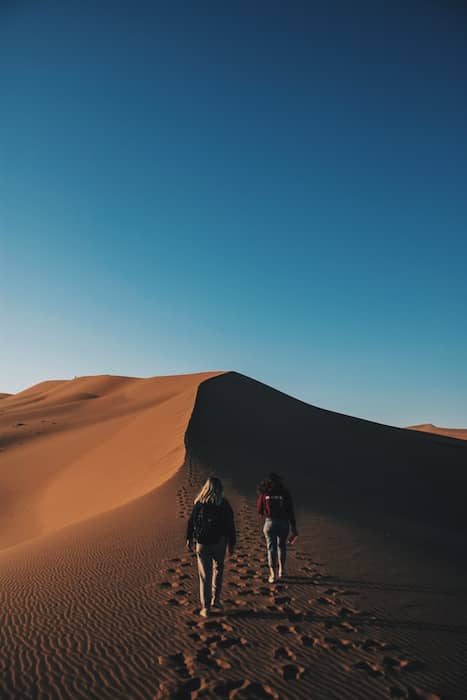
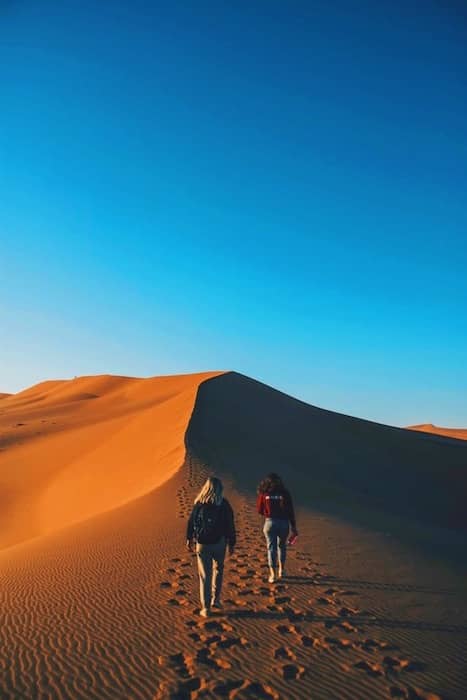
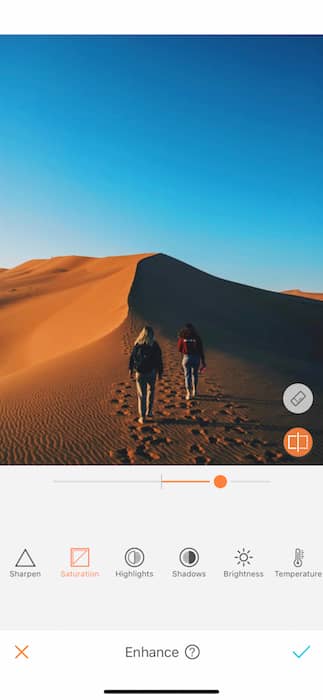
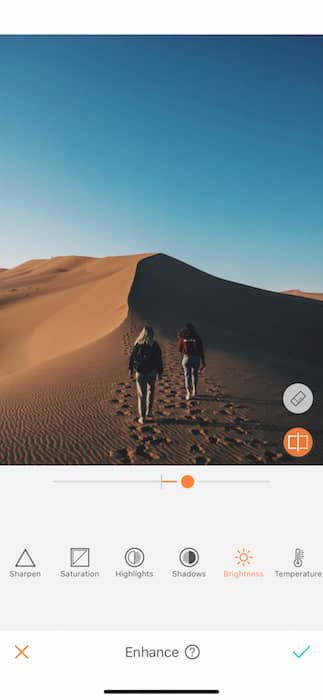
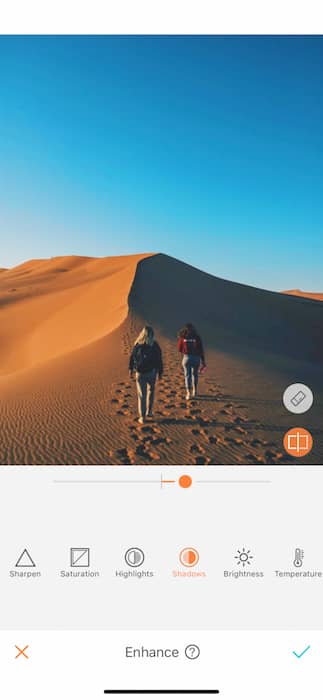
A lot of adventure photos just need a little extra “oomph” to capture the eye. The AirBrush Enhance tool is a great way to edit the foundation of a photo including its saturation, brightness and shadows.
Just upload a photo, tap ‘Tools’ and select the ‘Enhance’ option. Experiment with shifting different factors of the photo. If you want to amp up the color for a more vibrancy, edit using ‘Saturation’. To add more light to the photo, try the ‘Brightness’ option. If you find that the shadows in your shot are overpowering, try toning them down with the ‘Shadows’ option.
Add Intensity to Sunset Photos with the Vintage Filter
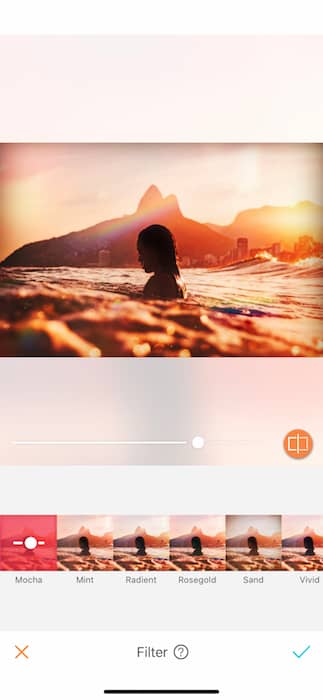
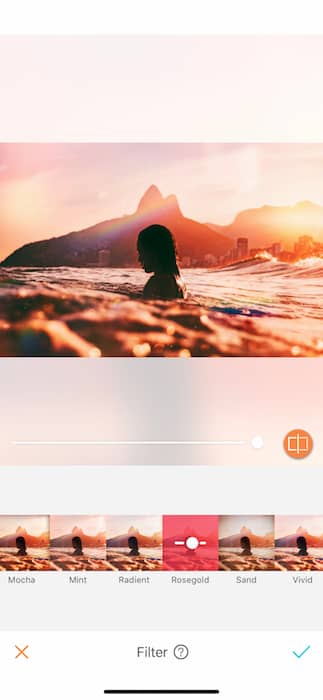
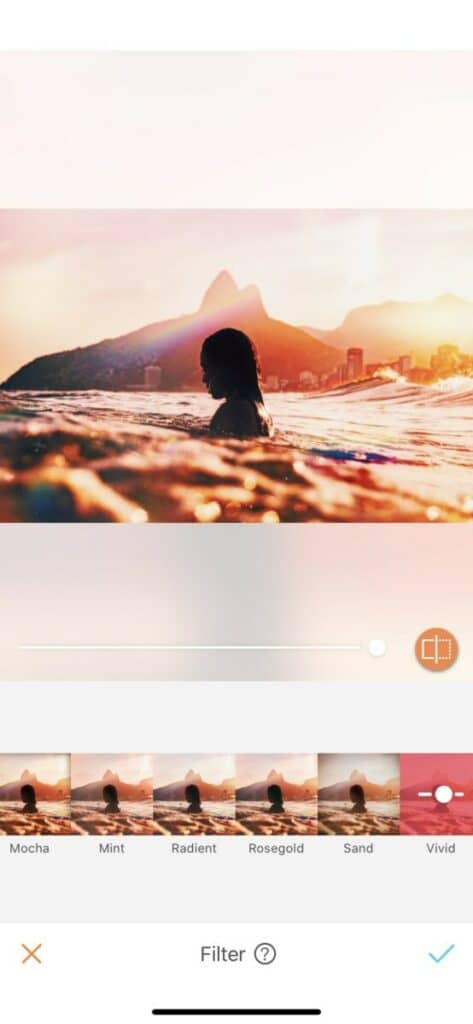
There are a ton of AirBrush filters to try and we’re constantly adding more! To give adventure shots more intensity, use the Vintage filter pack. This filter can take an already vibrant photo and turn up the passion even more. This filter is especially effective at making sunset photos as potent in your photos as they are in person.
Experiment with the 7 different options provided in this filter pack, including Mocha, Rosegold and Vivid. Explore the different effect levels of the filter to see how it affects your shot.
Adventure awaits! Now it’s your turn to unleash your creativity on your next nature shot! Show us what you got by tagging your adventure photos using the hashtag #AirBrushApp. Follow @AirBrushOfficial on Instagram for more content, video tutorials, and creative editing tips!


