In today’s tutorial, we are going to learn how to use the Blur effect in the AirBrush app. Nowadays, blurring backgrounds is trendy and brings depth to a photo. The Blur effect serves to accentuate the elements in the foreground and hides elements in the background. With the AirBrush app, it’s never been so easy to blur your pictures with a simple click!
The Blur Effect App
First, upload your picture into the AirBrush app and open the Blur effect. This one is located in the Tool menu.
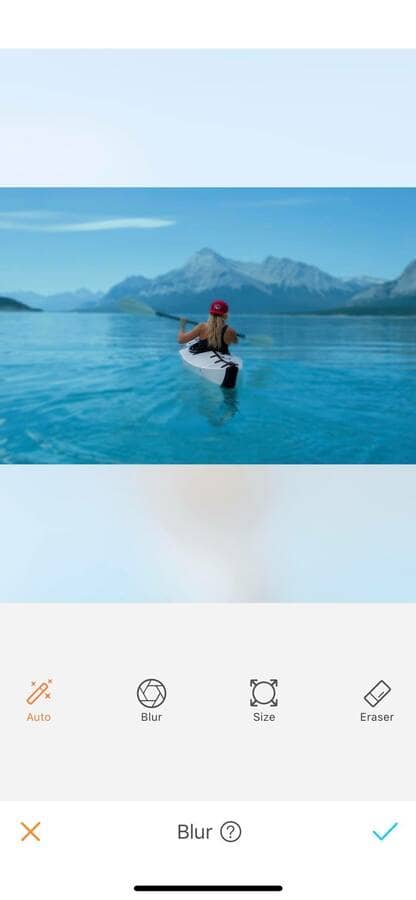
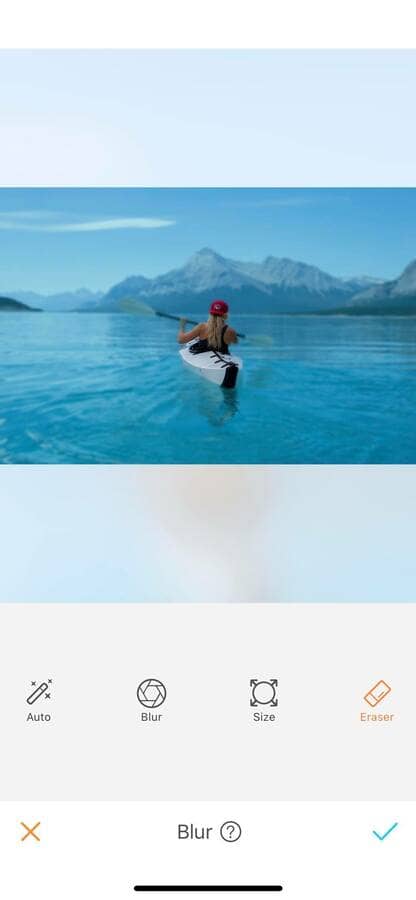
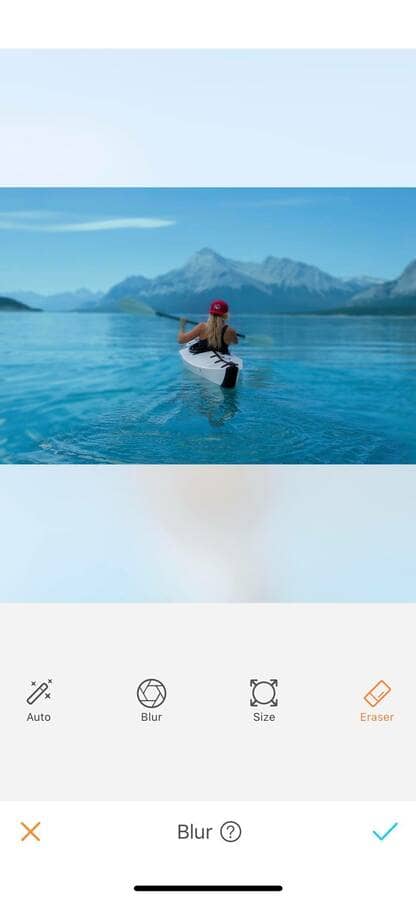
Once you have opened the tool, four options are available: Auto mode, Blur mode, Brush size, and the Eraser.
Auto mode
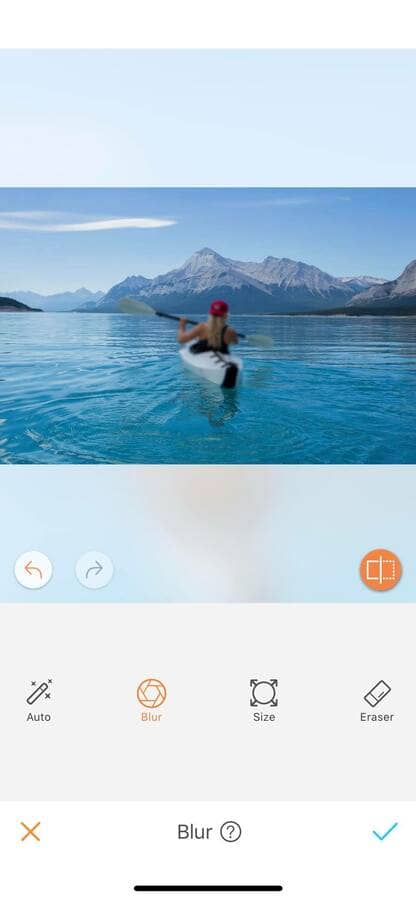
The Auto mode is the easiest and quickest way to blur your picture. This mode will automatically detect the objects or people present in your photo and apply the effect accordingly. To do this, simply select the Auto icon and let the app do the work! The effect will be applied instantly.
The Blur mode
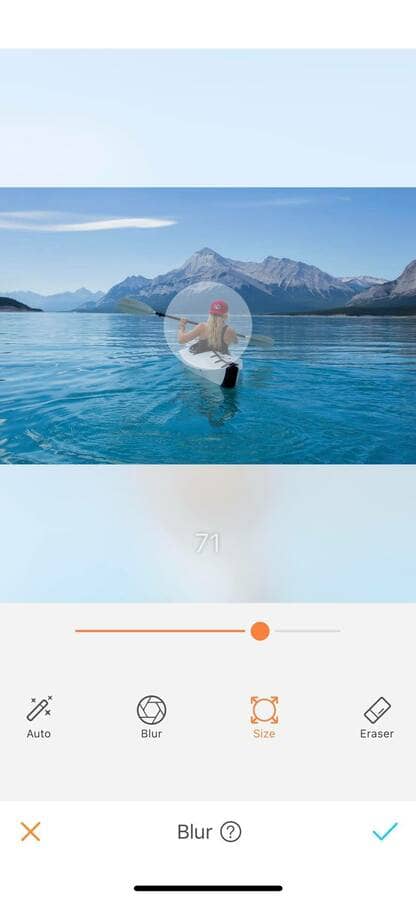
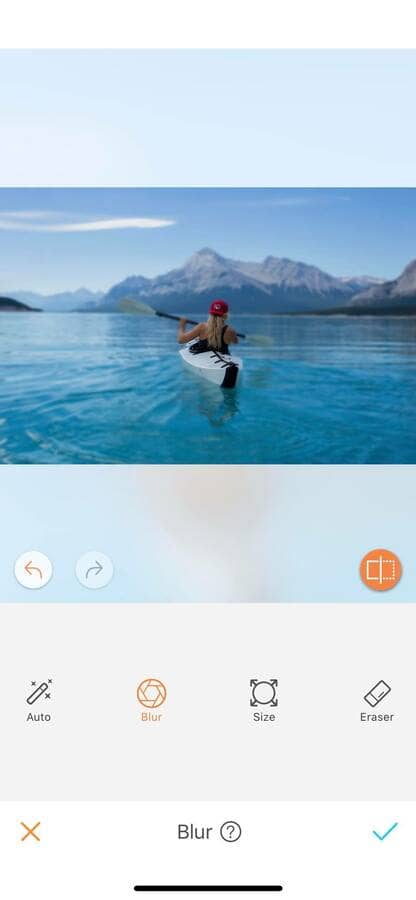
If you want to be more creative with your blurring, the Blur mode is made for you. With this option, you can decide where you want the effect to be applied. To do this, the first step in your edit will be to adjust the Brush size. For more accuracy, the Brush size ranges from 0 to 100. You can adjust the size throughout the edit to suit your needs. Then simply select the Blur icon and run your finger on the picture. For extra precision, zoom in as much as needed.


Eraser Mode
This feature also comes with the Eraser option. This allows you to remove parts of the effect without having to do the edit all over again. By selecting the Eraser button, the affected areas will turn blue to help you be more precise in your edit. To use it, run your finger where you want to Blur remove the effect.
If you haven’t used the Blur effect yet? what are you waiting for? Head to the AirBrush app and let yourself be creative! Send us the results on Instagram at @AirBrushOfficial and use the hashtag #AirBrushApp for a chance to get featured!


