Today’s tutorial is all about using the Bokeh option of the AirBrush app! This tool serves to blur the background of your photo, compelling us to focus our attention on a particular area of the picture. The Bokeh effect is one of the most popular in photography, as it allows any beam of light to be out of focus.
Using Bokeh
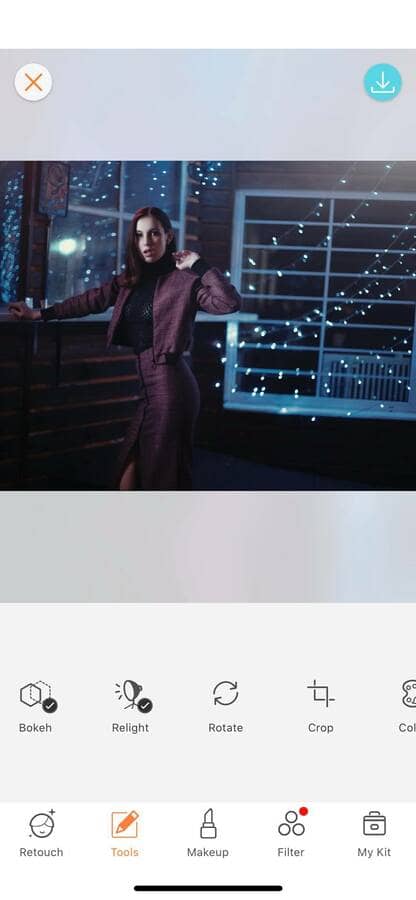
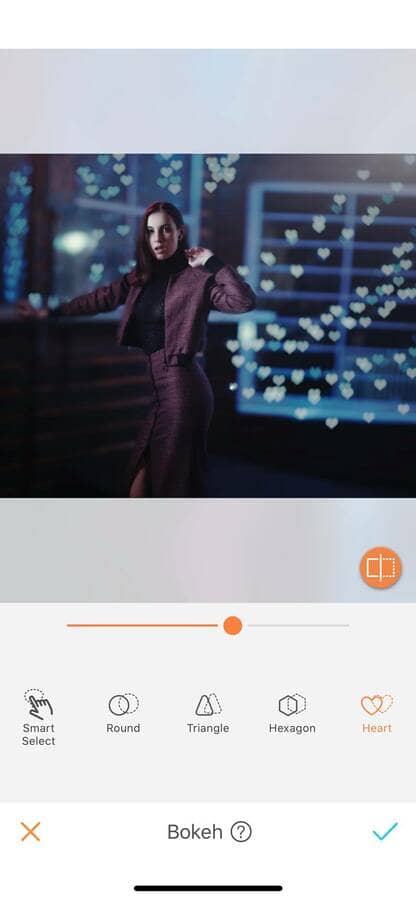
Once you’ve uploaded your picture into the AirBrush app, open the Bokeh tool. This one is located in the Tool menu and is represented by two hexagons.
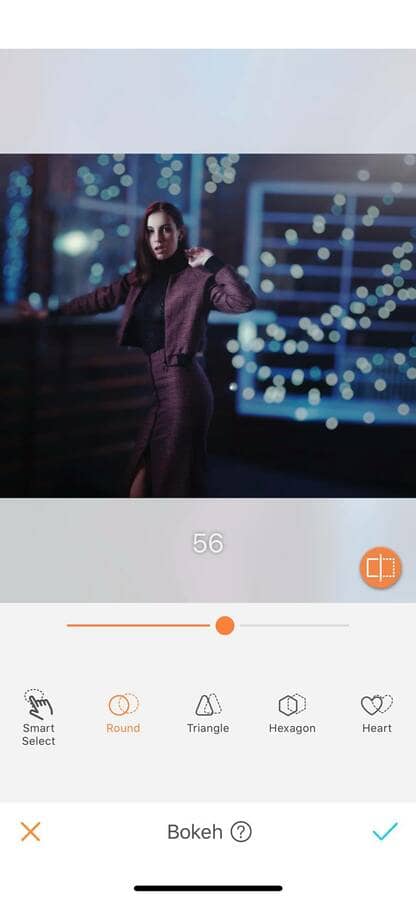
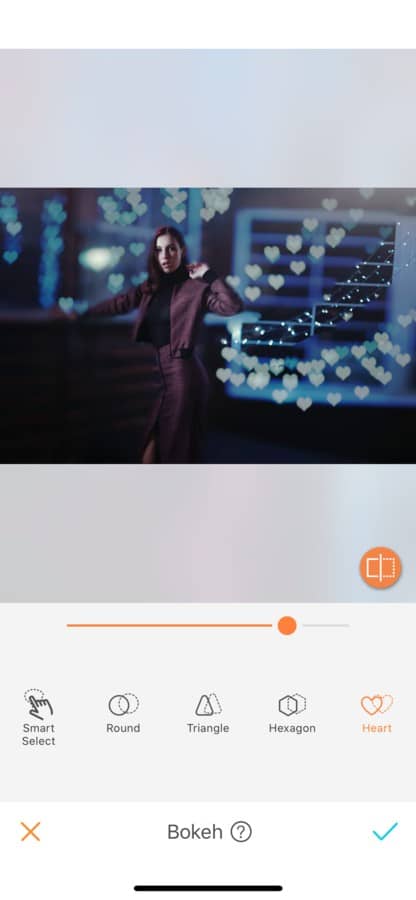
When selected, the Bokeh effect will be applied automatically. You can adjust the blur intensity by simply dragging the dot.
Different Shapes
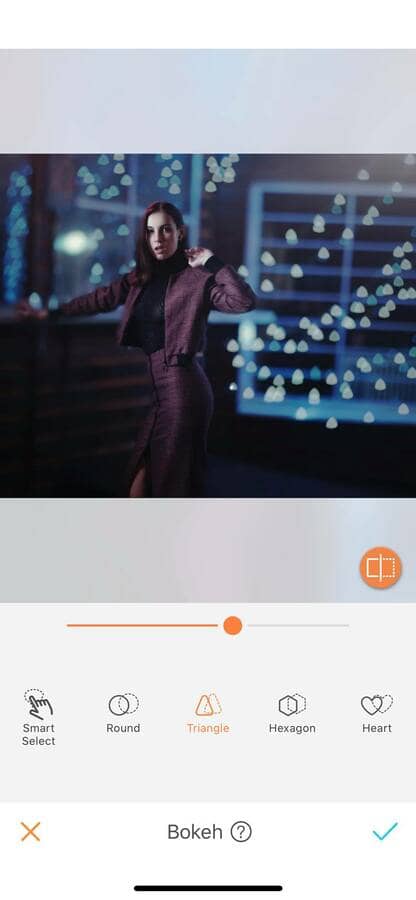
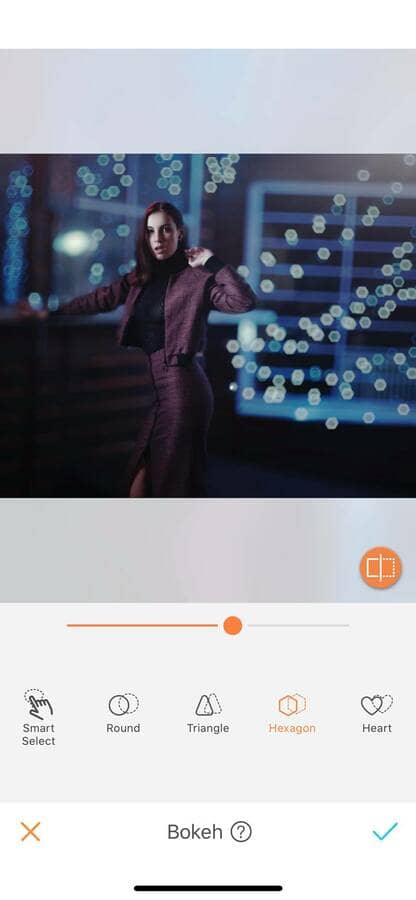
The Bokeh effect is one of the most popular in today’s photography, yet, the AirBrush app has added little details that make all the difference! Usually, the blur takes a round-shaped form but with the Bokeh options, you can have a triangle, a hexagonal, or a heart-shaped blur effect. Giving you the opportunity to create a unique photo!
Smart Select
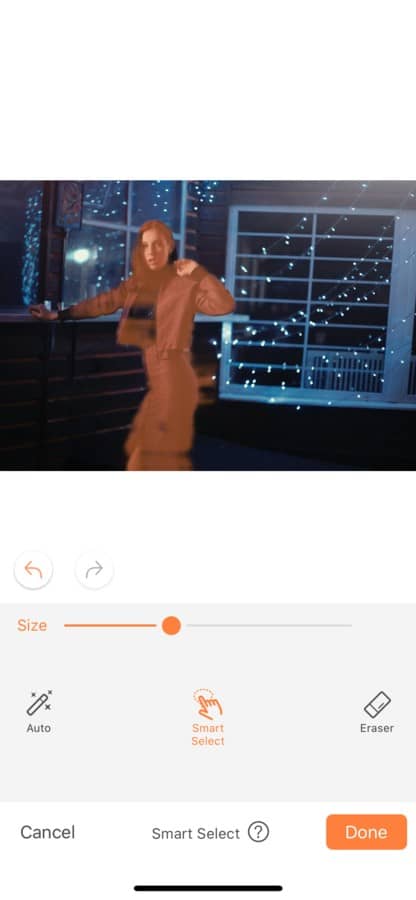
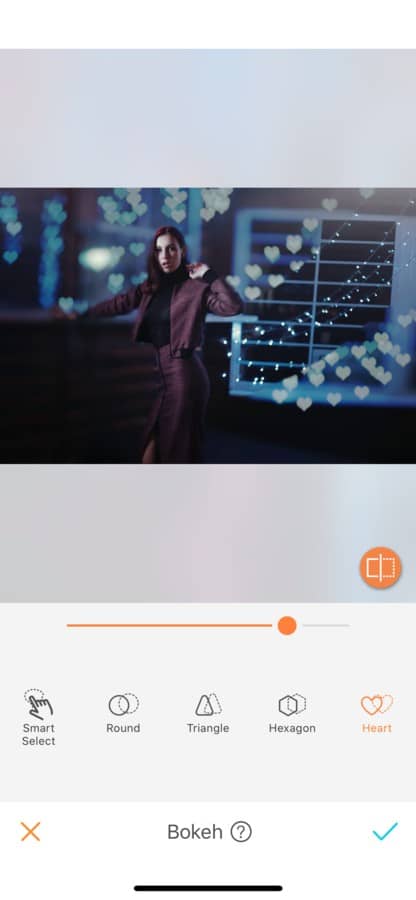
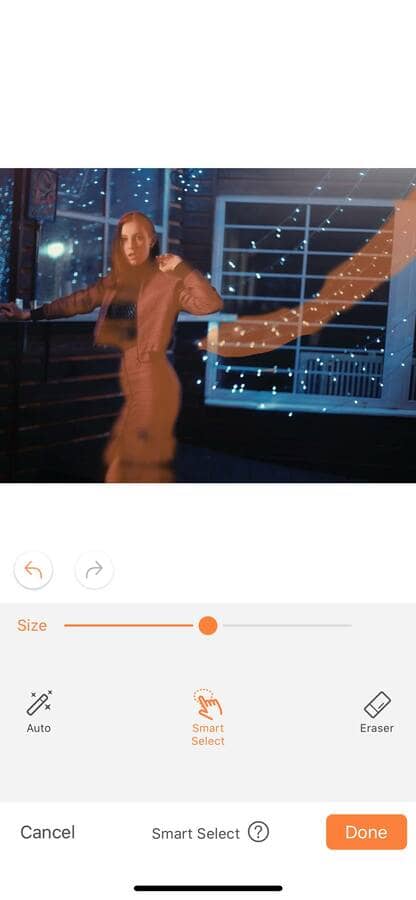
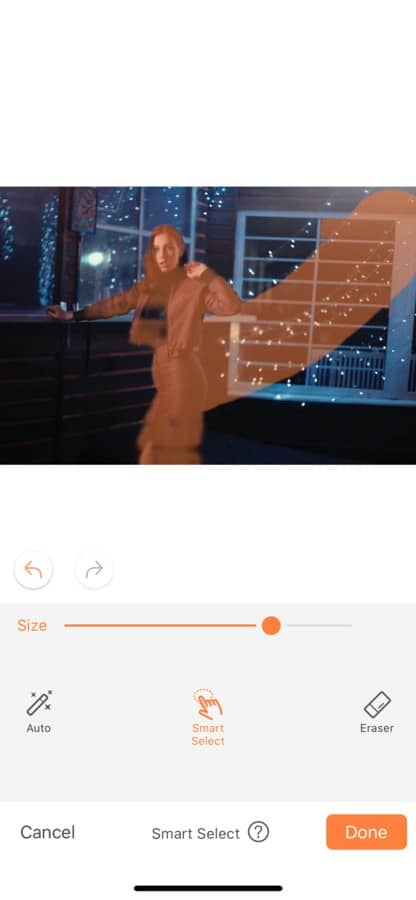
While the Bokeh effect is applied automatically, you can still decide the areas where the effect is applied. With the Smart Select option, you have the option to deselect the areas where you would like to remove the effect.
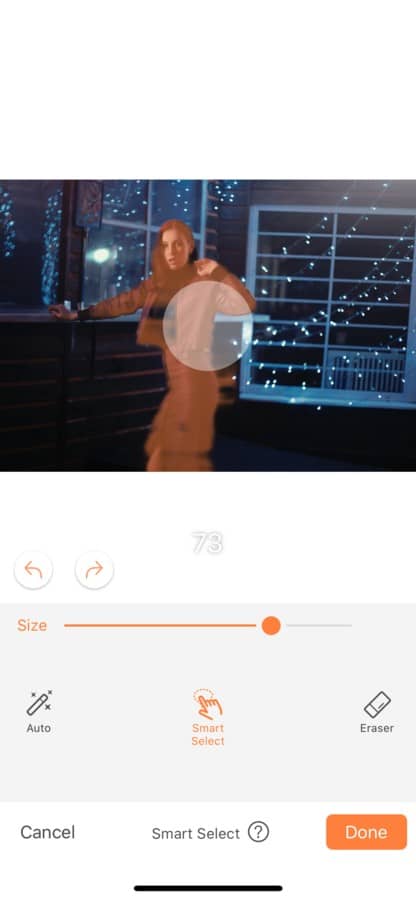
To do this, first, adjust the size of your brush by dragging the dot either right or left. Then run your fingers on your picture, the deselected area will appear in orange. Click “done” and the effect will be removed.
And if you made a mistake, the Eraser option is here for you. This option allows you to remove the Smart Selection without having to start the edit all over again.
With the Airbrush app and the Bokeh tool unleash your creativity and create unique pictures! Show us the results and join the AirBrush community on Instagram at @AirBrushOfficial, and follow us for more content, video tutorials, and a chance to be featured on the page with the hashtag #AirBrushApp.


