Today’s AirBrush tutorial is all about an indispensable tool in photo editing: the Crop tool. Cropping a picture means removing part of an image to delete unwanted objects, irrelevant details, or unused space in the background. By cropping your picture, you’re also giving it a new size and shape that can be vertical or horizontal, square or rectangular.
Crop
Once you’ve uploaded your picture to the AirBrush app, open the Crop feature in the Tool menu.
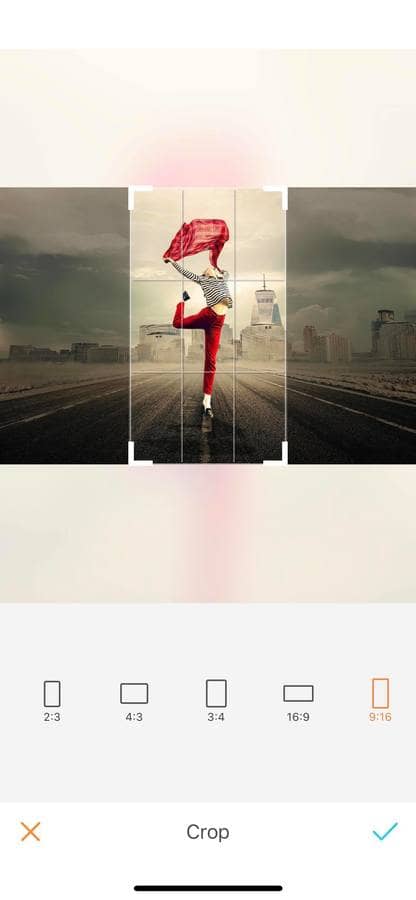
This tool gives you access to a Custom mode and 9 predefined sizes or ratios. To use them, select the desired size and shape. A preview of the cropped image will appear. You can then choose to leave it at its default placement or move it by dragging the shape across your screen.
You can choose among 9 predefined ratios:
1:1
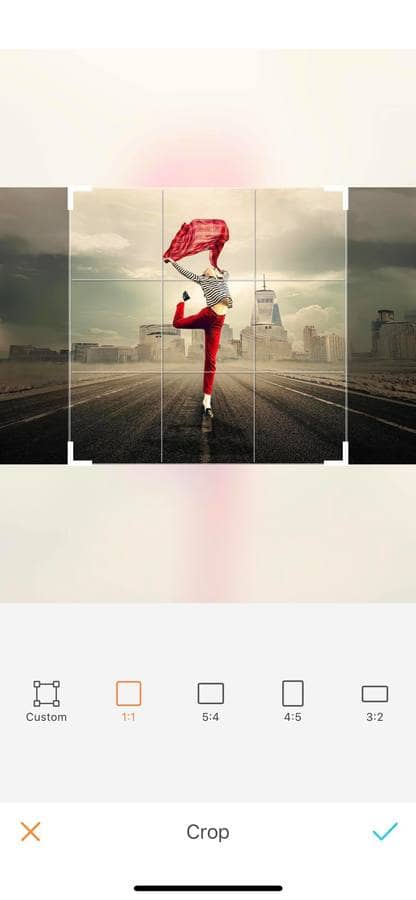
3:2
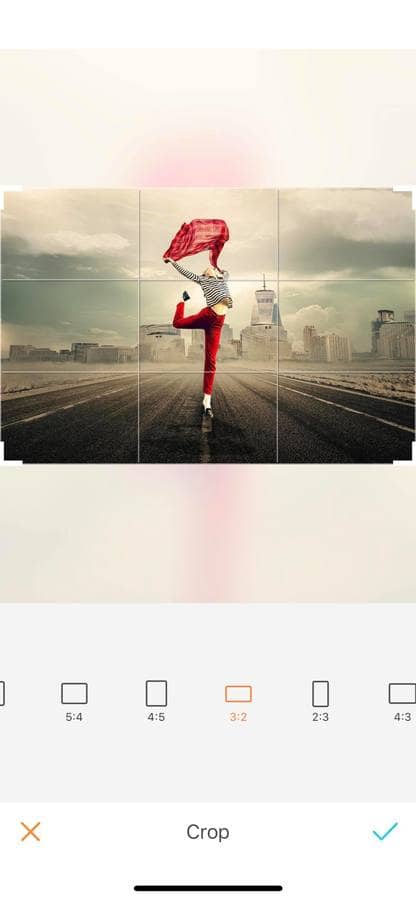
3:4
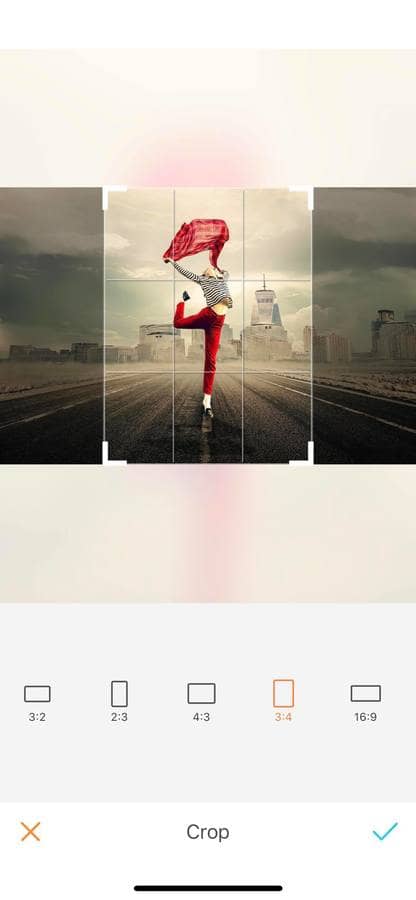
5:4
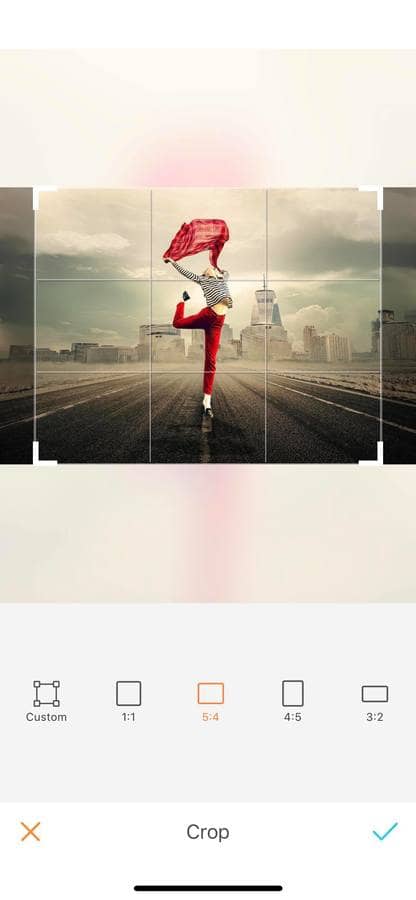
2:3
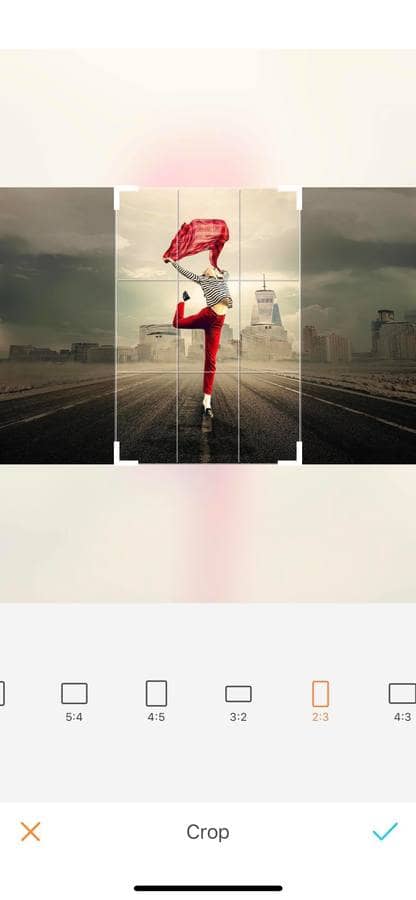
16:9
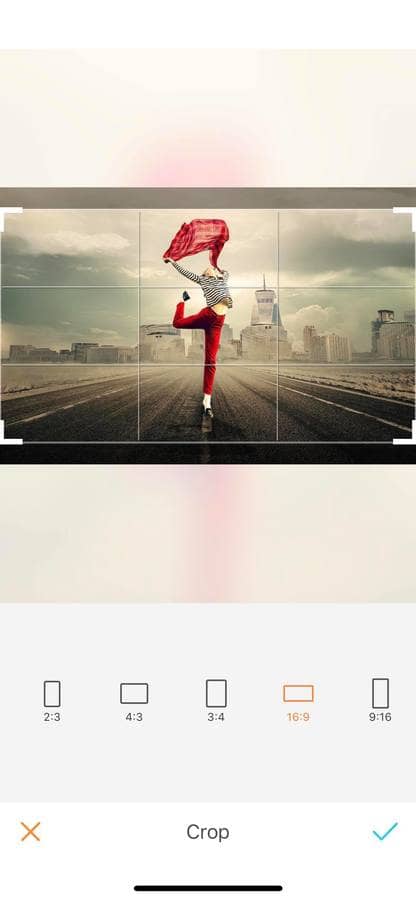
4:5
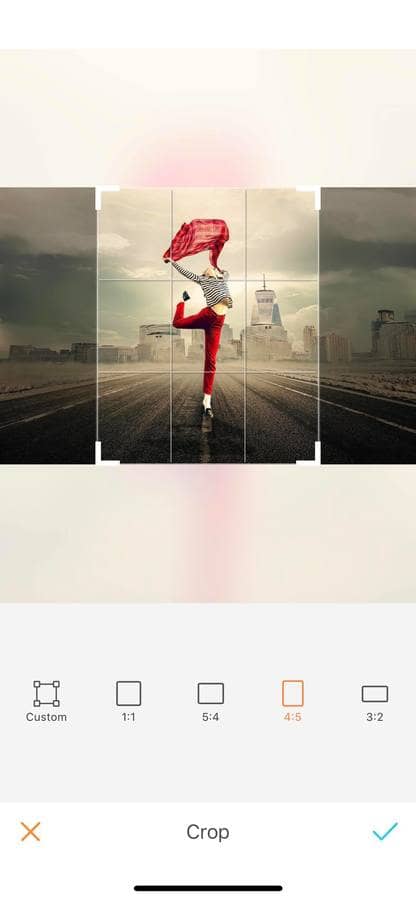
4:3
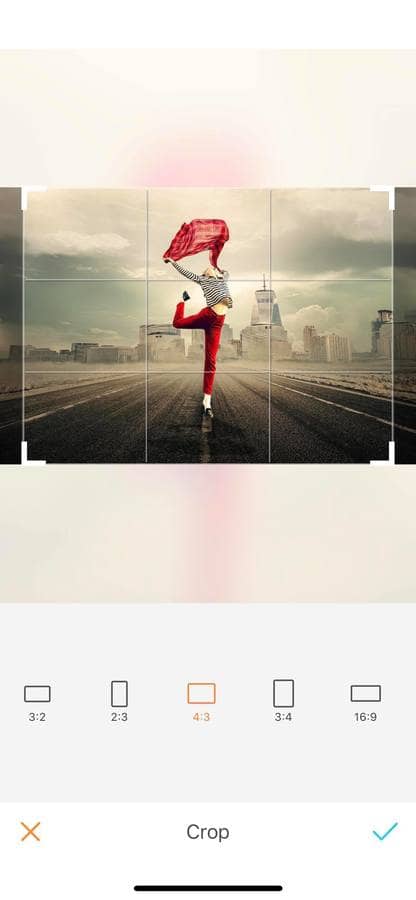
9:16
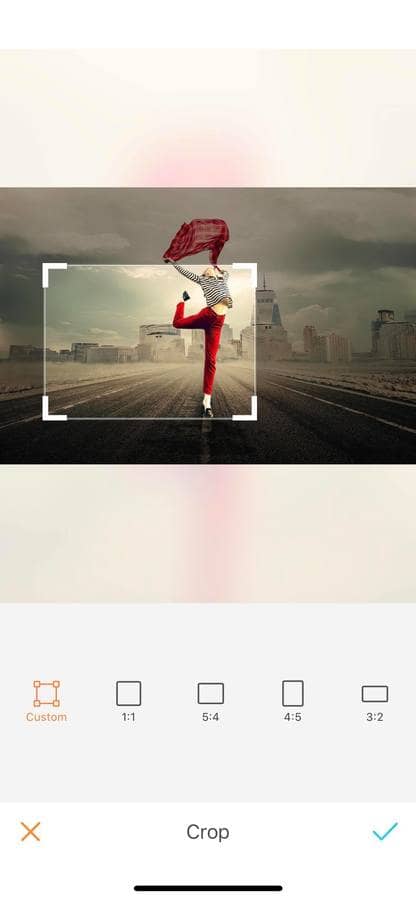
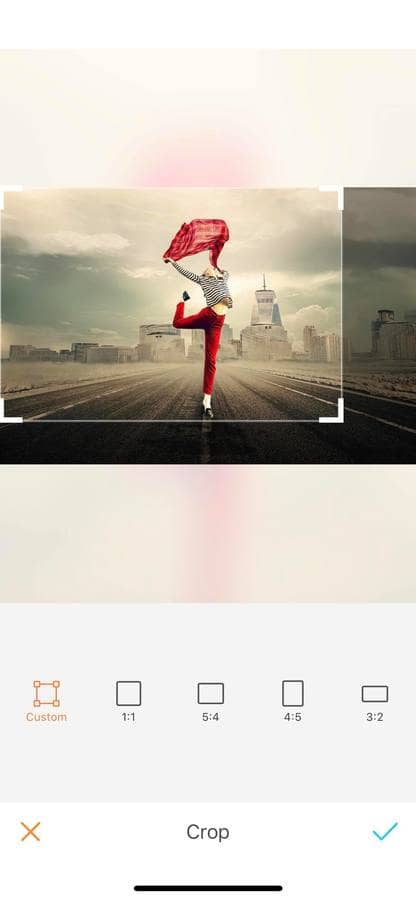
Custom mode
If you haven’t found the fit you wanted among the 9 predefined sizes, don’t worry! The Custom mode gives you the freedom to personalize the area you want. To do this, drag the corners of the square to your desired size, shape, and orientation.
Did you know this tool comes super handy when it comes to Instagram? By cropping your picture to a 1:1 ratio, it’s proven to increase your following! So what are you waiting for? Head to AirBrush app, upload your picture and crop it! Show us the results on Instagram with the hashtag #AirBrushApp. Follow us on our official account @AirBrushOfficial and get a chance to be featured!


