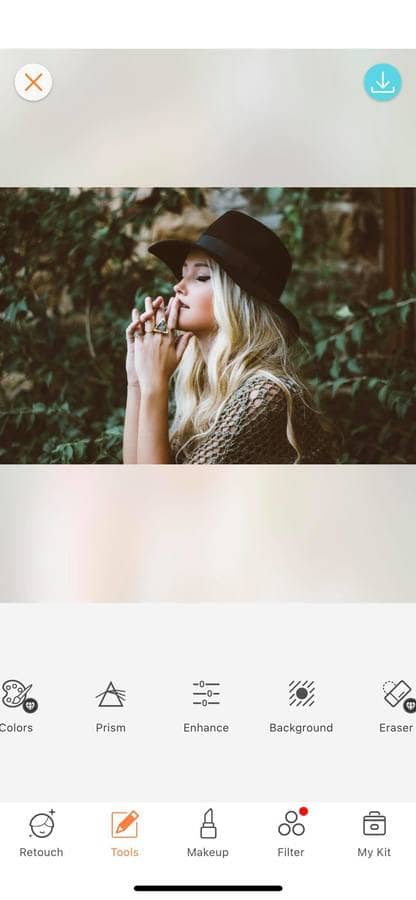
In today’s AirBrush tutorial we are learning how to use the Enhance tool. This tool gives you the possibility to modify the most commonly used functions in photo editing. With the Enhance feature, you have access to 9 features such as Contrast, Saturation, Brightness and Shadows, all at the same place. You can choose to either increase or decrease these features in a simple scroll!
Nine features
The Enhance tool gives you access to the most frequently used features while editing. These are:
- Contrast
- Sharpen
- Saturation
- Highlights
- Shadows
- Brightness
- Temperature
- Fade
- Grain
For each of these functions you also have access to the Eraser tool and a Brush option. These extra features allow you to be not only more creative but also more accurate.
Contrast
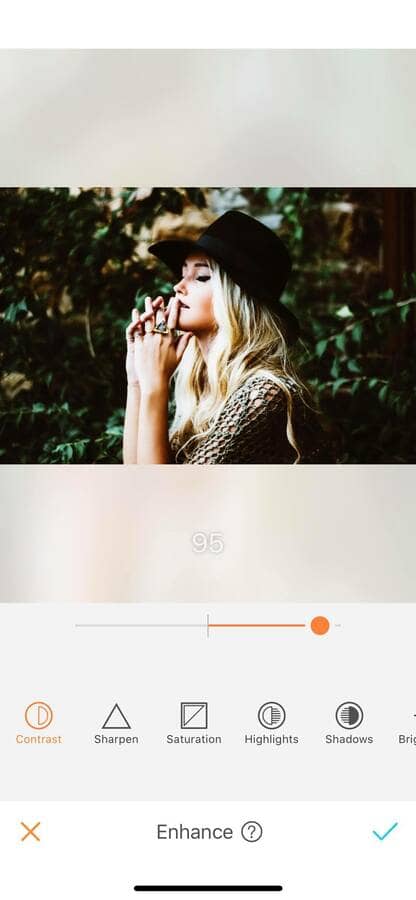
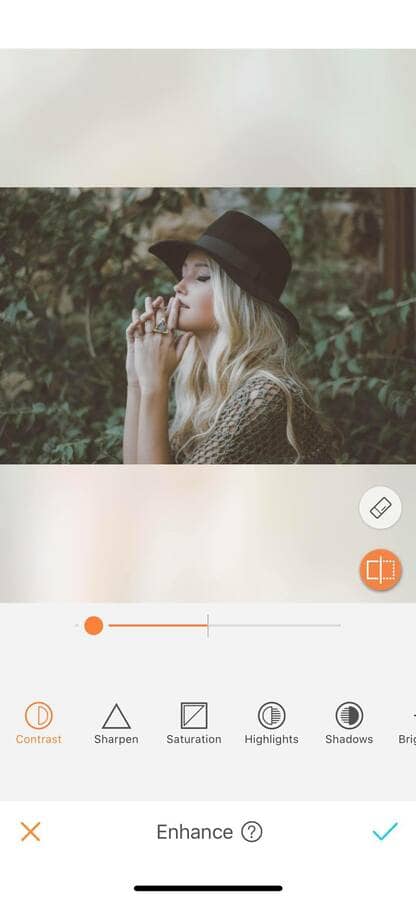
In photography, talking about Contrast is talking about the difference between the lightest and the darkest areas of the picture. Contrast is important in photo editing as it makes details clearer. By increasing or decreasing the amount of contrast in your picture you will be able to create a different atmosphere. Increase the contrast and get that extra energetic feel. Decrease the contrast and opt for a vintage and dreamy look.
With the Contrast feature increase or decrease the effect from -100 to 100. The Contrast feature also comes with the Eraser option. To use it simply select the “rubber” icon on the right side of your screen and run your finger on the picture to remove the effect. If you have erased too much, the Brush tool will allow you to return the effect in the desired areas.
Sharpen
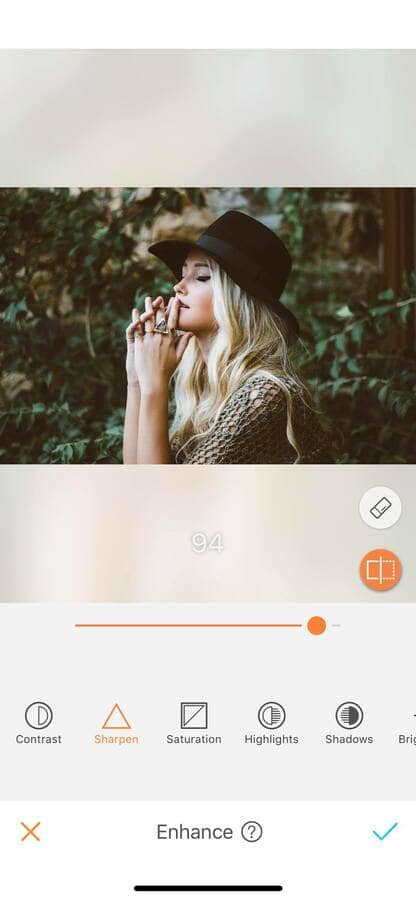
By using the Sharpen feature you will be able to increase the clarity of your picture. The Sharpen tool allows your picture to have increased clarity and remove the blurry parts of the image. You can increase the sharpness from 0 to 100. Like the Contrast feature, the Sharpness tool comes with an Eraser and a Brush option.

Saturation
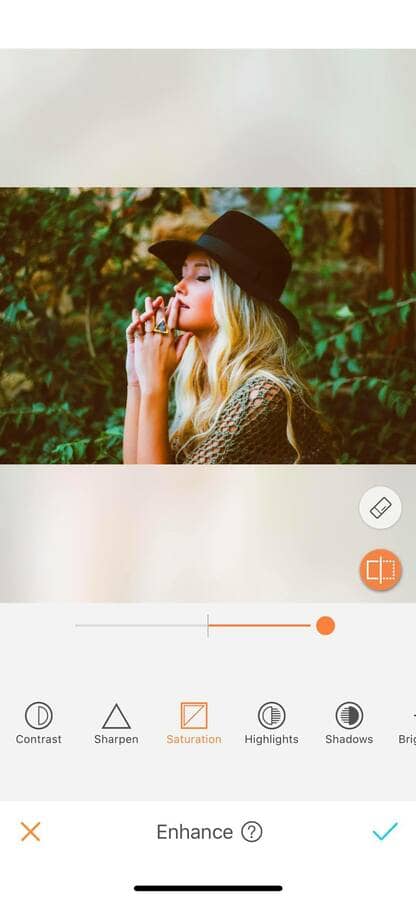
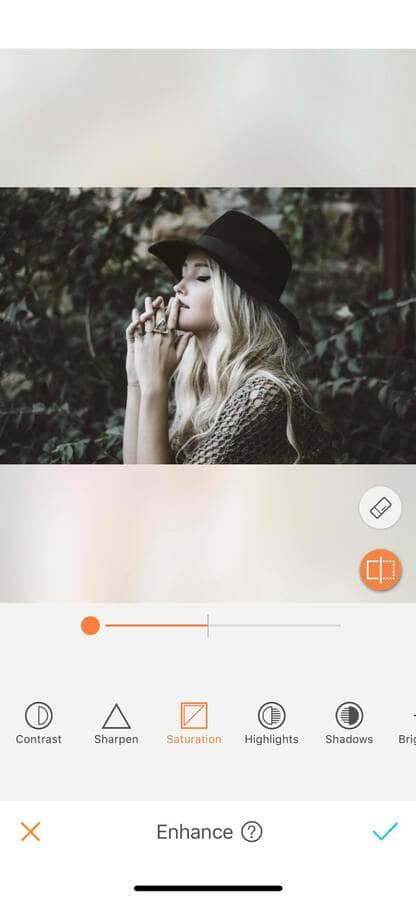
The Saturation feature evenly changes the intensity of the colors present in your pictures. You can increase or decrease the saturation from -100 to 100. This tool is very handy in giving a new look to old pictures. The Saturation feature is quite powerful and often just a tiny boost is enough. Use it too much and your picture might end up looking unnatural. This feature also comes with the Eraser and Brush options.
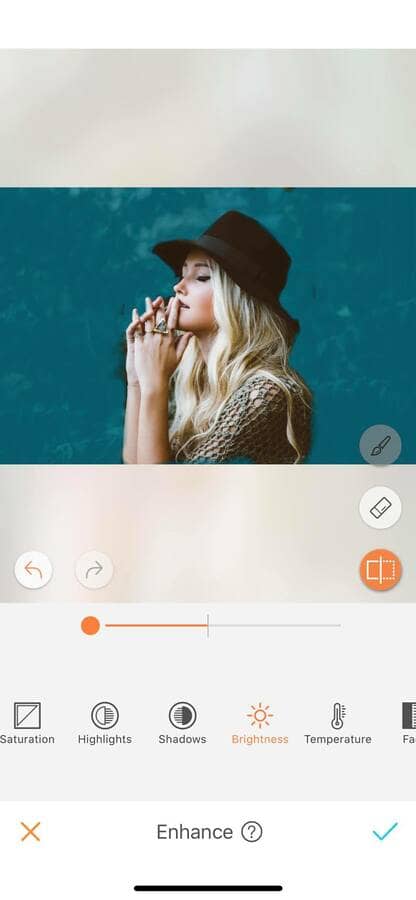
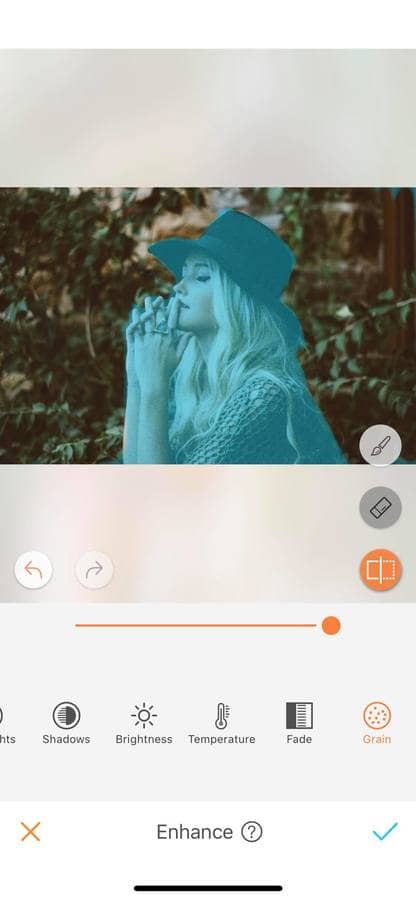
- Eraser: Delete the saturation effect from the areas you don’t want the effect to be applied. Hold the eraser icon and the screen will turn blue, to remove the effect just swipe your fingers.
- Brush: With this option, add the saturation effect where you’d like. This mode gives you the freedom to be thorough in your edit. To do this, simply select the brush icon and used it by running your fingers on the screen.
Highlight
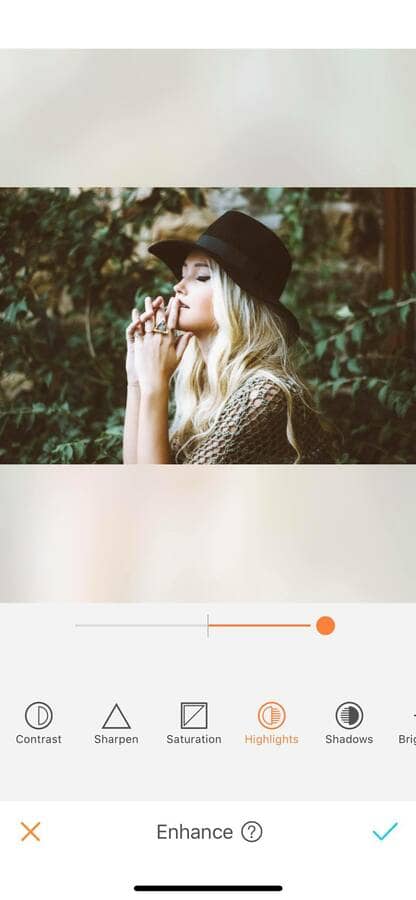
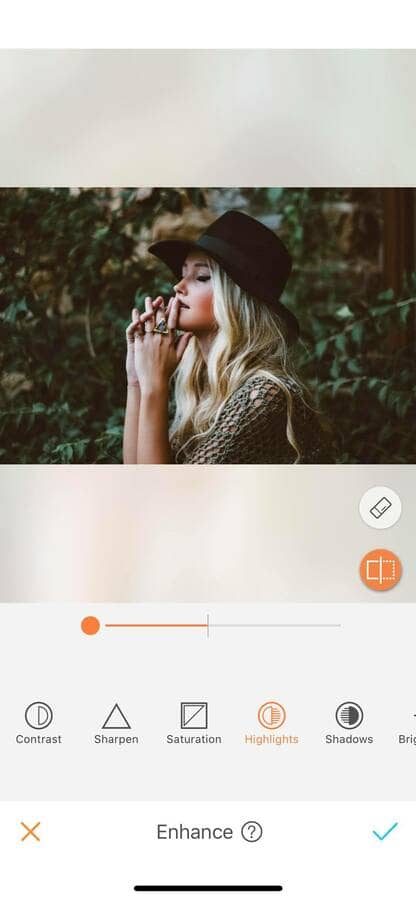
In photography, Highlights are the brightest part of the picture. And if a picture lacks highlights it will also be less dynamic. If there are too many highlights, the picture will be too bright and lose its details.
With the Highlight feature, you can increase or decrease the light in your photo. The range goes from -100 to 100. This will help to adjust the details in these brighter parts and improve the picture overall. This feature also comes with the Eraser option. To use it simply select the option and run your finger on your picture to remove the effect. If you have erased too much, the Brush tool will allow you to add the effect in the desired areas.
Shadows
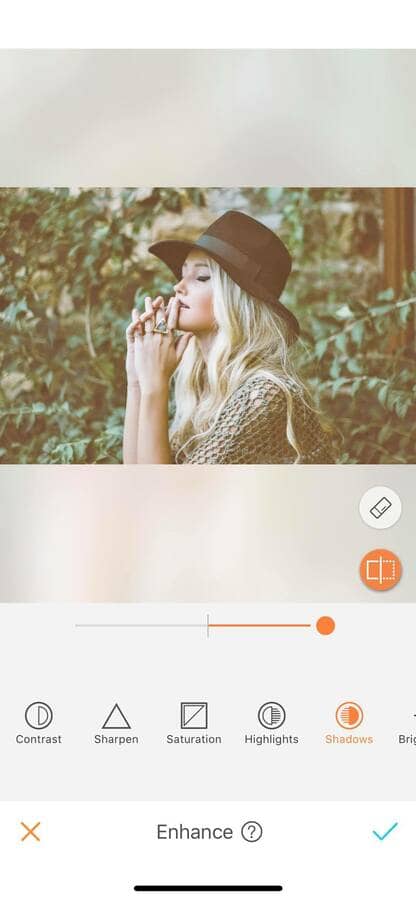
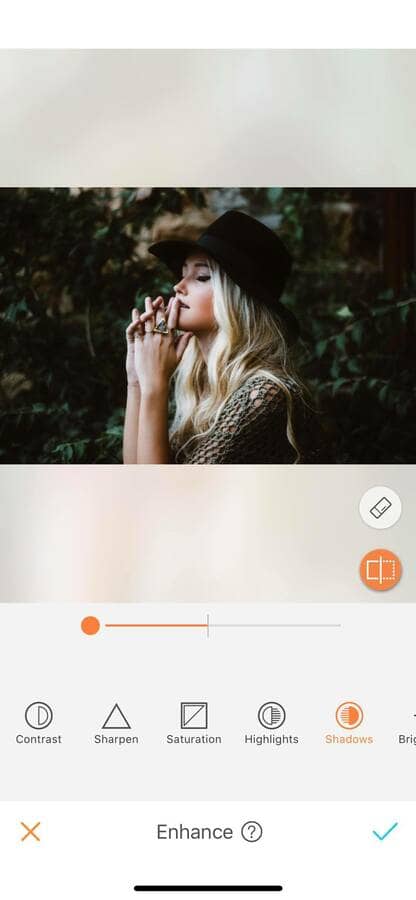
The Shadows feature is the opposite of the Highlight feature. This feature will help to adjust the details in the darkest areas of your pictures. By increasing or decreasing the shadows in the picture you will add or remove darkness from the scene. As a result, details will be more or less visible, giving you the possibility to create completely different pictures. You can increase the Shadows feature from -100 to 100. Like the other features, the Shadows tool comes with an Eraser and a Brush option.
Brightness
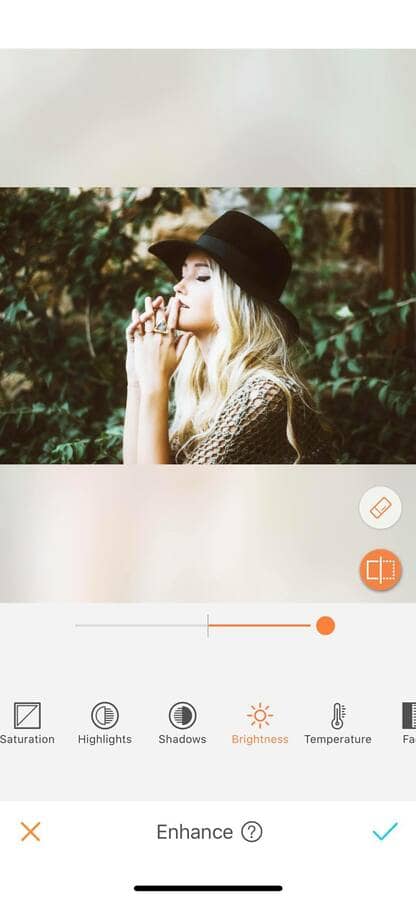
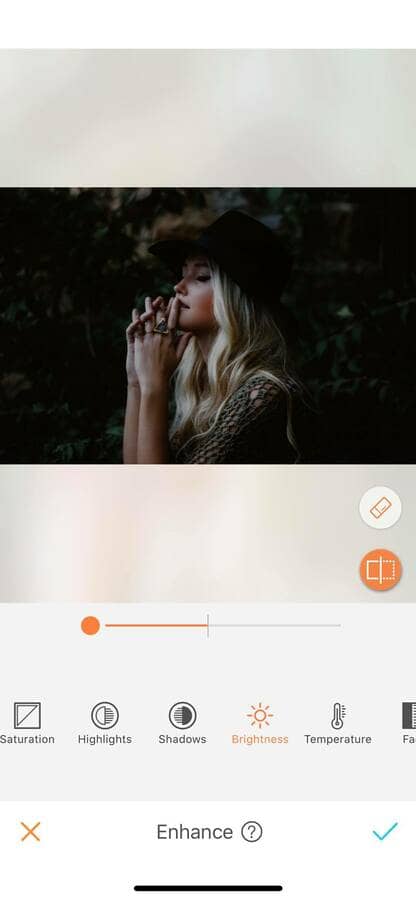
The Brightness feature changes all the colors present in your picture. By increasing the brightness, you will have an extremely light colored/ white picture. At the opposite end, by decreasing the brightness present in your photo you will make it extremely dark/black. You can choose to increase or decrease the brightness from -100 to 100.
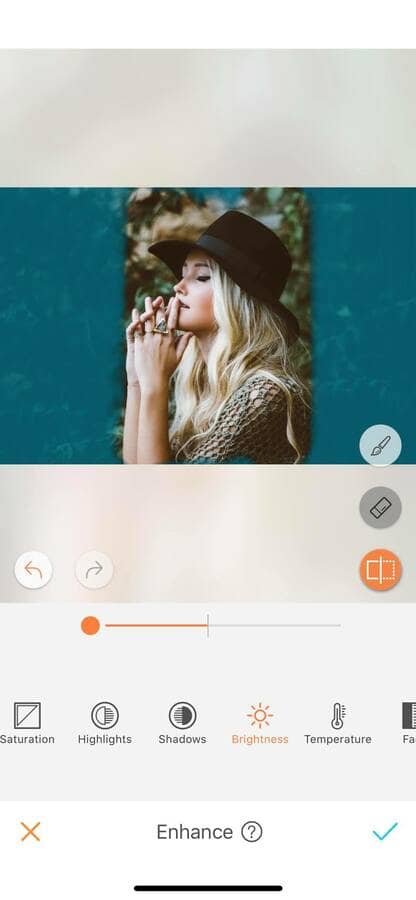
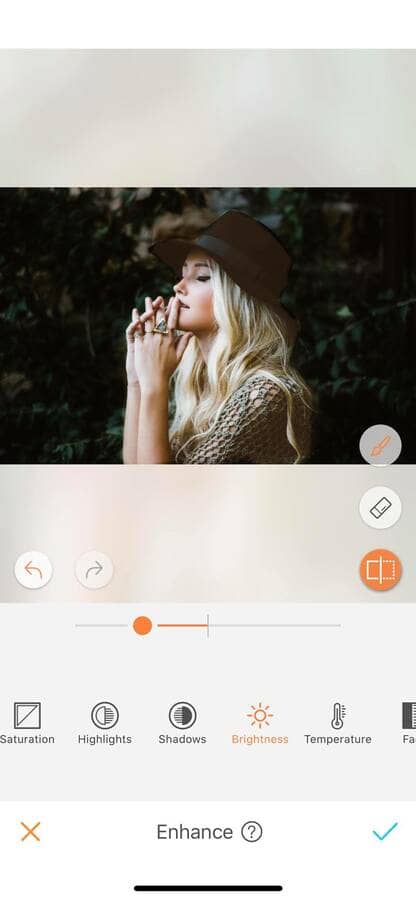
Usually, the Brightness tool changes all the colors altogether and you can’t select particular areas. Well, not with the AirBrush tool! Thanks to the Eraser and Brush option you can select the areas where you want the effect on. This allows you to be creative in your edit.
Pro tip: For more accuracy while using the Eraser or the Brush option, zoom in as much as needed.

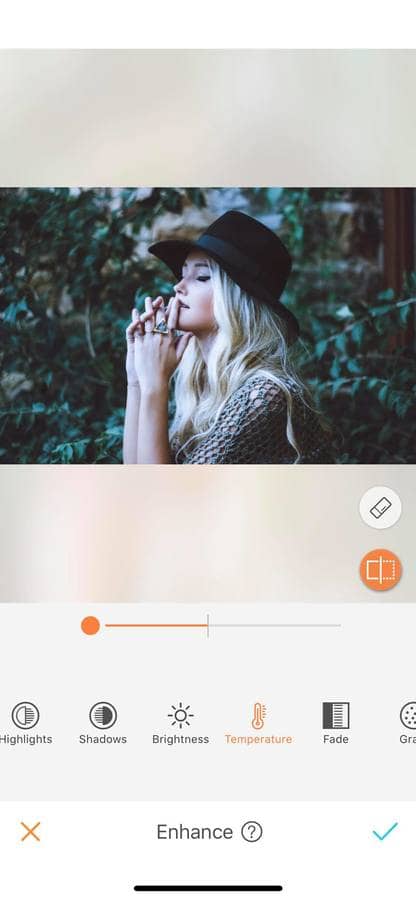
Temperature
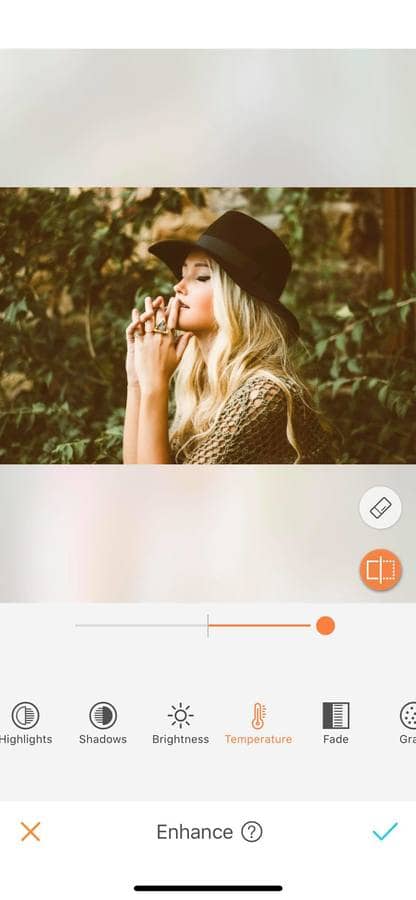
While taking pictures, color Temperature can be difficult to master and to understand. To put it simply, each source of light in your picture has a different temperature which transfers in blue or red colors. For example, a sunset or a candle will emit a red-ish light that gives your pictures a “warm” feeling. At the opposite end, a blue sky will emit a blue-ish light, this is a “cold” toned picture. Like the other options, you can increase or decrease the temperature of the sources of light in your picture by simply scrolling the dot from -100 to 100. This effect also comes with the Eraser and Brush options.
- Eraser: Delete the temperature variation from the areas you don’t want the effect to be applied. Hold the eraser icon and the screen will turn blue, to remove the effect just swipe your fingers.
- Brush: With this option, adjust the temperature on specific areas. This mode gives you the freedom to be very thorough in your edit. To do this, simply select the brush icon and used it by running your fingers on the screen.
Fade
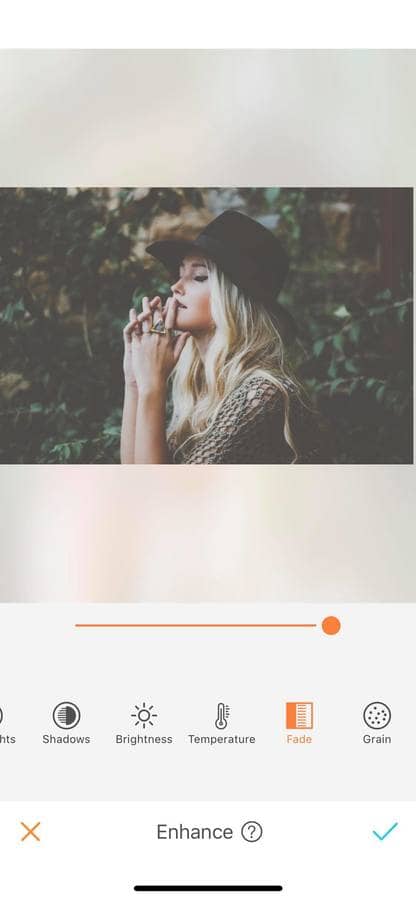
The Fade feature of the Enhance tool is perfect when you want to create a vintage look. By using the Fade feature, you will soften your picture. The effect will automatically adjust the colors and contrast in your picture. Of course, you can decide on the intensity of the feature by scrolling the dot from 0 to 100. Like the other features, it comes with the Eraser and Brush option.

Grain
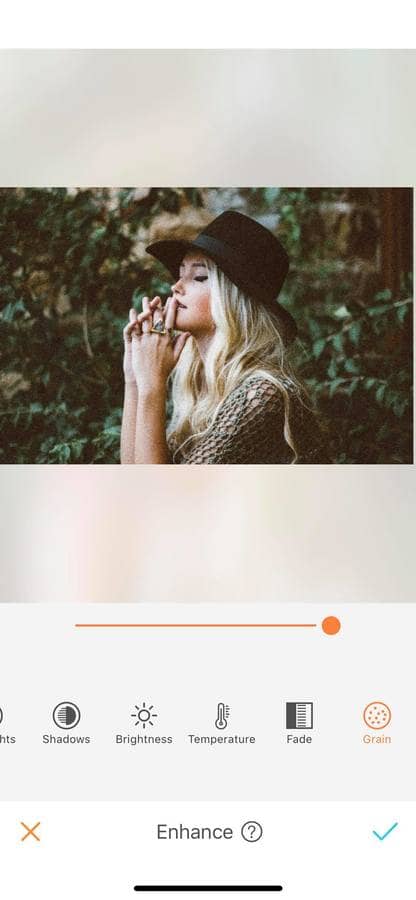
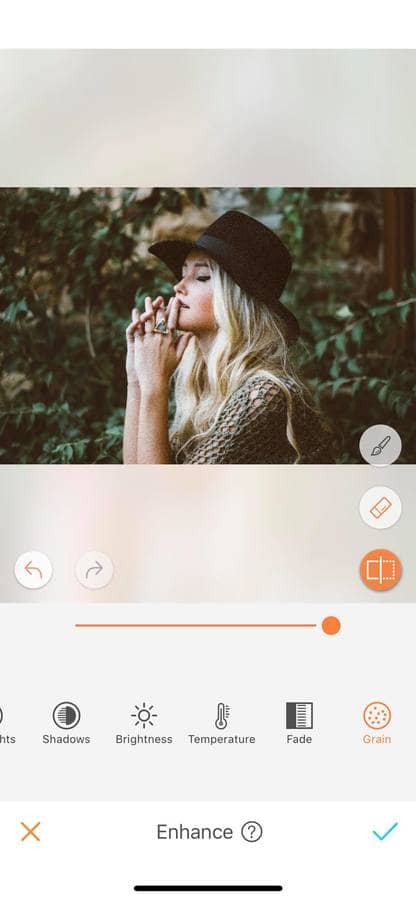
By increasing the Grain feature from 0 to 100, give your picture a unique retro “scratch” look. This feature is popular on Instagram feeds. Yet, the Grain feature does not only give a retro look to your picture, but it also allows you to hide the imperfections present in your picture. With the Enhance tool, the Grain feature comes with the Eraser and Brush option giving you the possibility to create a photo with selected granny parts! A unique look that only AirBrush users can create!
Now that you have a better understanding of the basic editing tools, we want to see your creations! Show us the results and join the AirBrush community on Instagram at @AirBrushOfficial, and follow us for more content, video tutorials, and a chance to be featured on the page with the hashtag #AirBrushApp.


