Hello my dear people, hope everything’s doing fine!
I’m baaack, and this time I’m here with crazy good news: AirBrush has a new feature, “Eraser”. And I’m dying to show it to you how to use it! ?
There are things we are better off without
Who could honestly say they have never waited to take the perfect photo, like for example, for people on the background to move? Or took a selfie on the mirror only to realize afterwards that your bra was on the back? Well, your problems are about to end!
Eraser tool is here!
If you, like me, are an AirBrush fan, you’ve probably seen what I’m talking about. With this month’s update, a new feature has been released and it will really make our lives easier: the super fabulous “Eraser”. It is the perfect tool to remove all the annoying this I just talked to you about, and some others as well…
Step by step
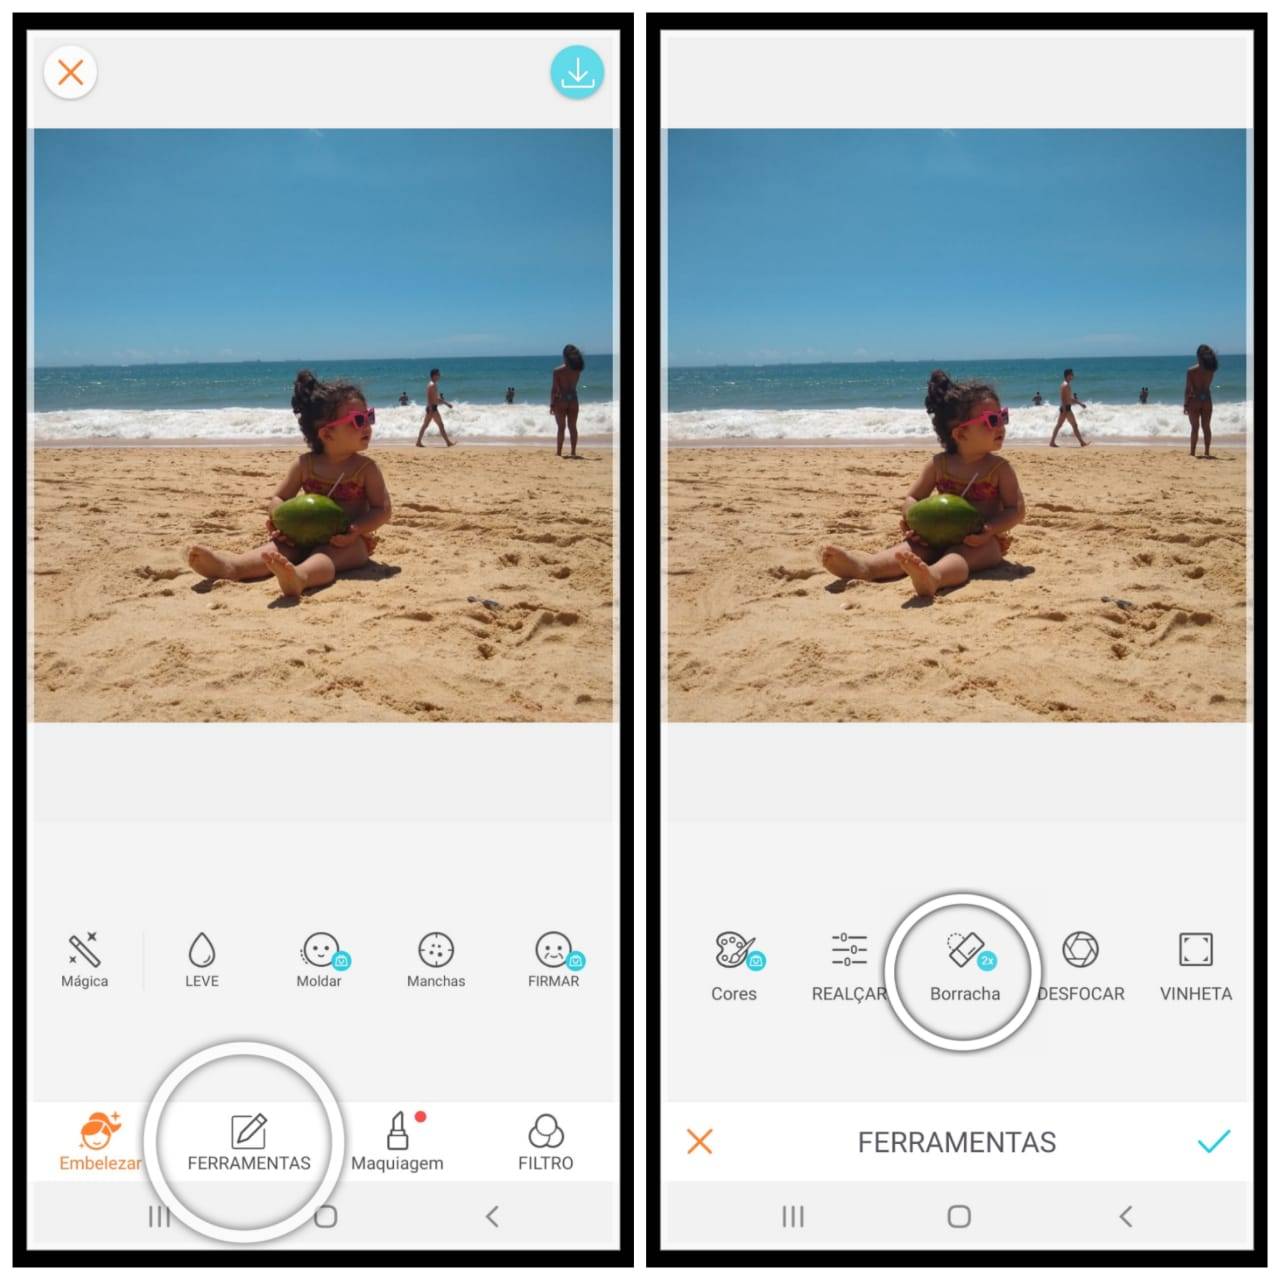
The “Eraser” can be found within the “Tool” section, and it’s really easy to use. Let’s start!
Choose a photo
Pick any photo you’d like to remove something from. 
Tools
Open the photo in your AirBrush app.Then, in the “Tool” section click on the “Eraser”. 
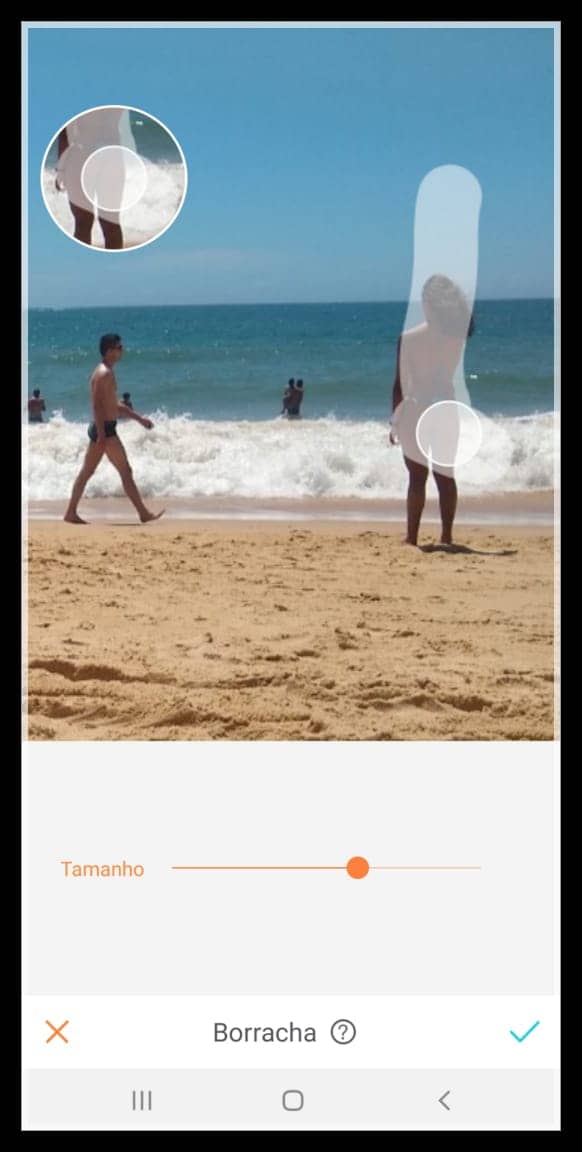
Eraser
Erase with your finger all the items you’d like removed (for better precision and a better outcome, zoom in on the details and do it patiently). 
Filter
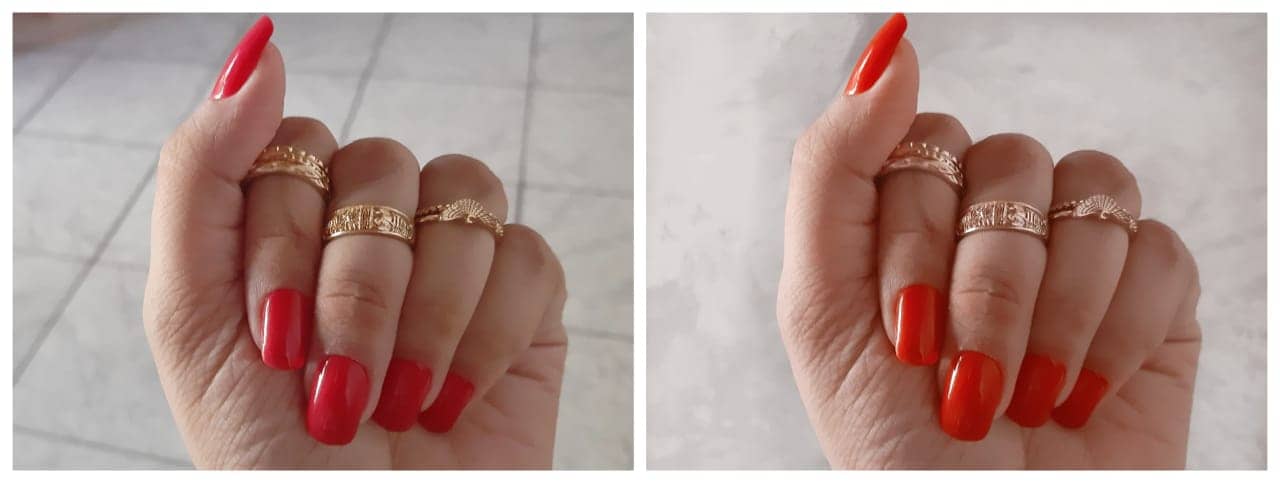
I used my favorite filter “Mint”, played a little with the brightness level, and the result turned out to be just what I wanted! 
Before and After!
Look how amazing it turned out! 
And there’s more!
This feature is very versatile, it could be used in different ways: to remove people or objects, to make a mosaic effect in the background, etc, it’s just a matter of creativity. 
Eraser is one of the Premium/Black features, but it is really easy to test it. If you share the app with a friend, AirBrush gives you the opportunity to use it 3 times for free. Cool, isn’t it?
And once you post it, don’t forget to tag me @gabibuck and @airbrush_Br in your photo.
Until the next one!


