The cold isn’t for everyone. All those layers, ice on everything. It can be a mess. So why not imagine yourself somewhere warmer during the holidays. Transport yourself to a tropical paradise where the xmas music is still playing but so are you… on the sand… with a beverage and snacks. Well AirBrush may not be able to help with the snacks but we’ve got the rest covered. Get ready to take your pics from the holidays to on holiday.
Now Boarding
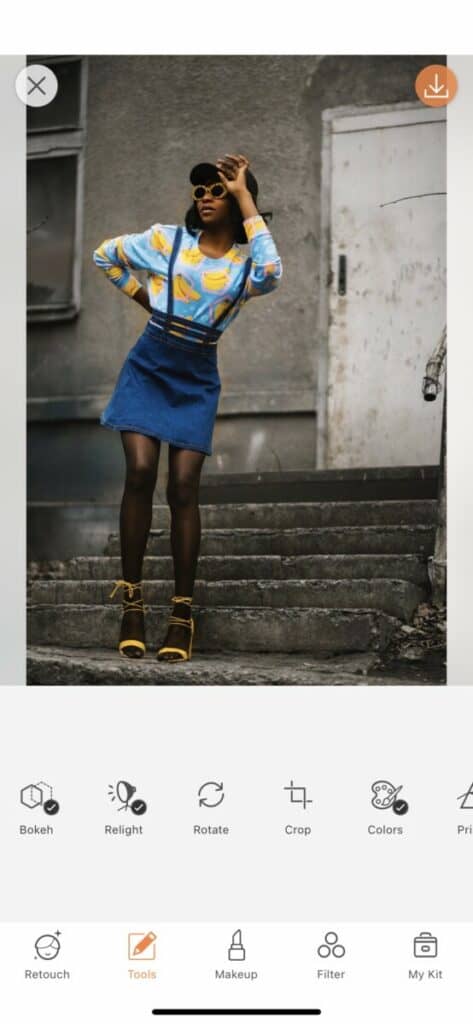
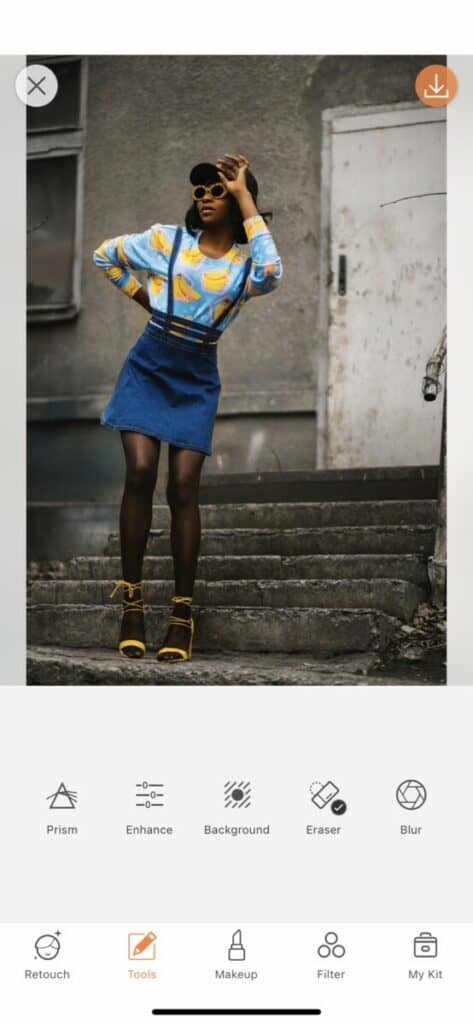
Our journey begins with on of the G.F.O.A.T. (Greatest Feature of All Time) the Background Tool. Find your Background Tool on your Tool Tab in between Enhance and Eraser (also g.f.o.a.t.’s).
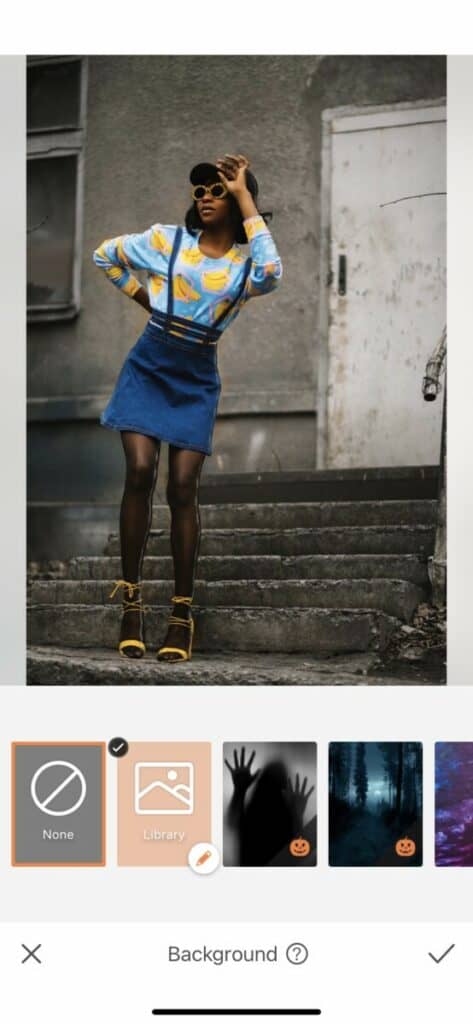
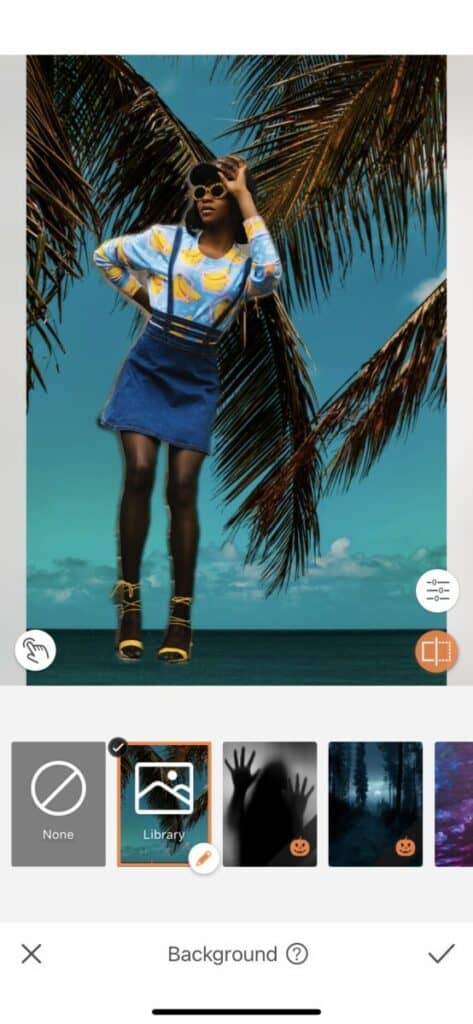
Once you open your Background Tool you’ll find countless amazing pre-loaded Backgrounds ready to take you anywhere. Today, however, we’re gonna go with something custom. The Custom Background Function allows you to load any image from your library to be used as a background. So let’s say you have a favorite beach spot you visit every year or the booth at your favorite restaurant. You can load any of this images and transport yourself there! As you can see today we’re feelin’ some tropical action.
The fine tuning
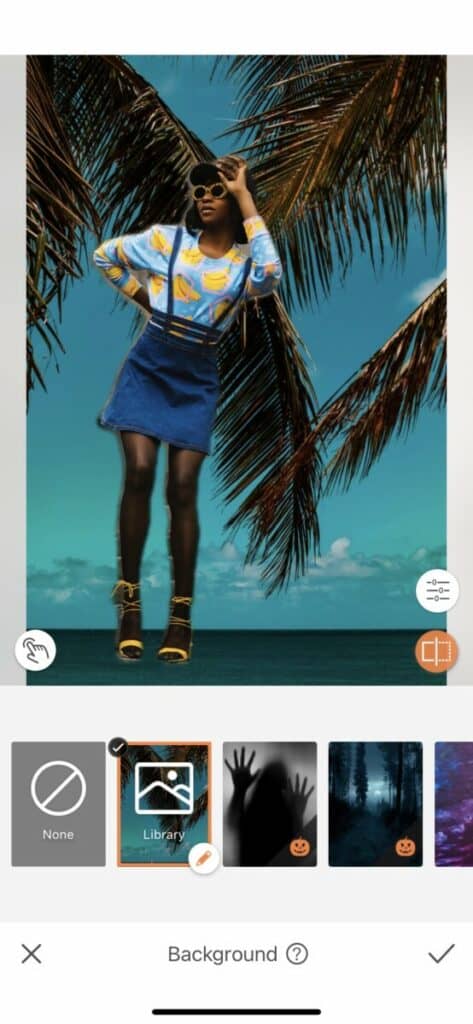
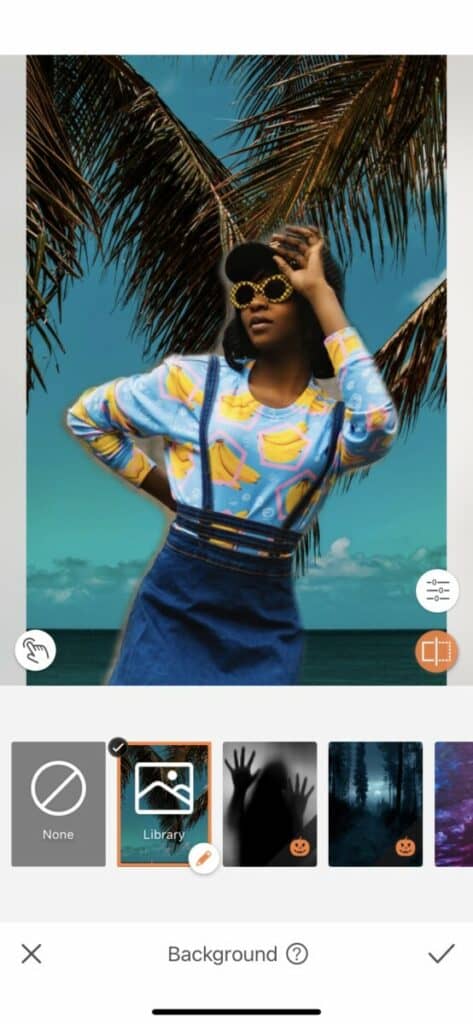
As you can see, sometimes our positioning when you upload your image might not be ideal for a realistic shot. You can fix this by dragging and pinching your image to fill the space and position in you a much more natural place in your image. Ain’t nobody gotta know you’re in your pj’s on the couch instead of in Aruba.
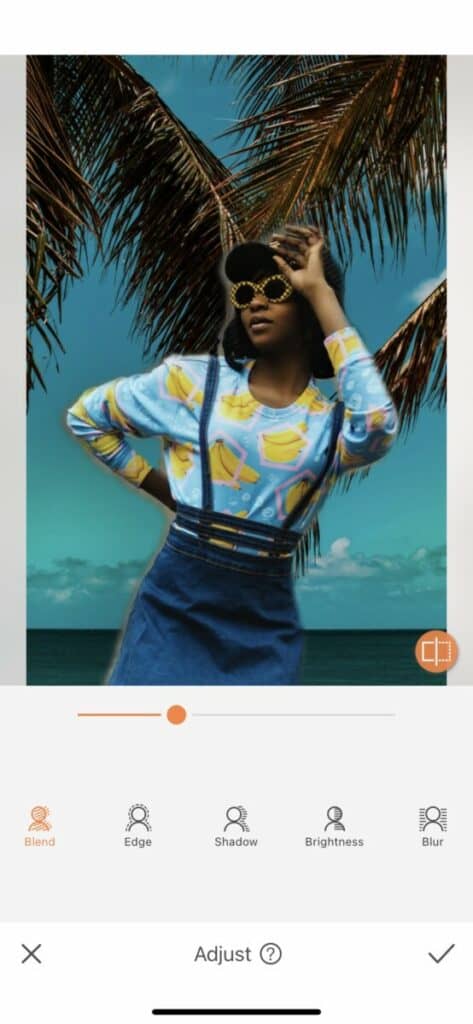
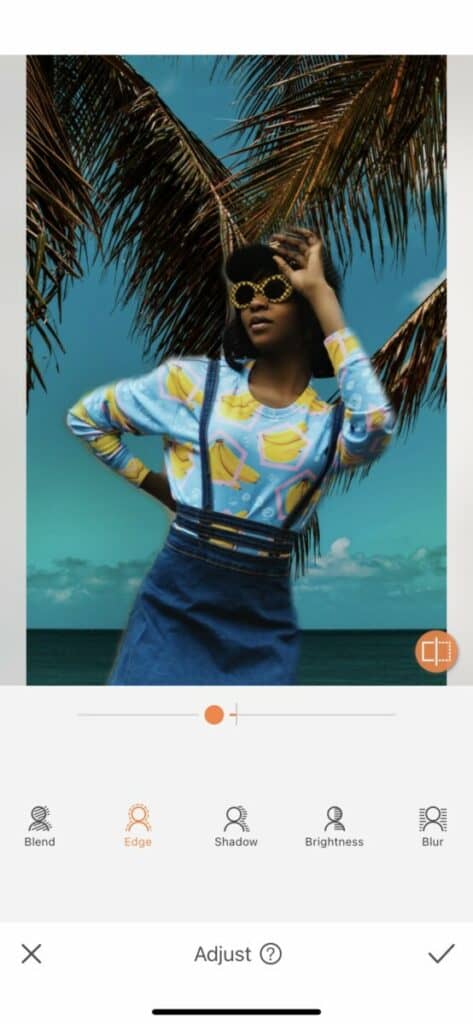
You may end up with some fuzzy areas or some parts of your image that need to be adjusted. Tap the white icon with the point finger on your bottom left to make these adjustments. You’ll see your original image with the focus material shaded in blue. You can adjust your brush size to either pick up more parts of the photo you want included or to eraser parts that don’t need to be there. In our case we ended up with some of the original background in between our arm. We’ll be going in with the eraser function to remove it. Tap the check mark on the bottom right to save your progress.
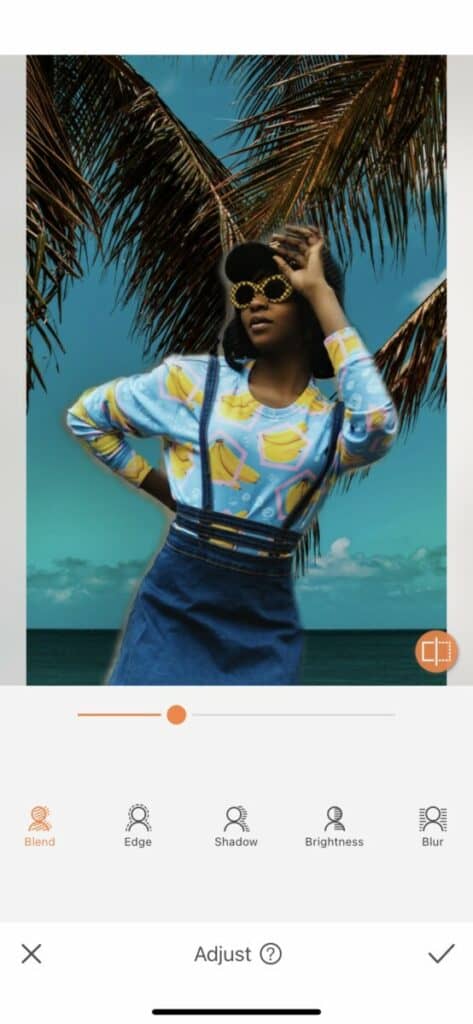
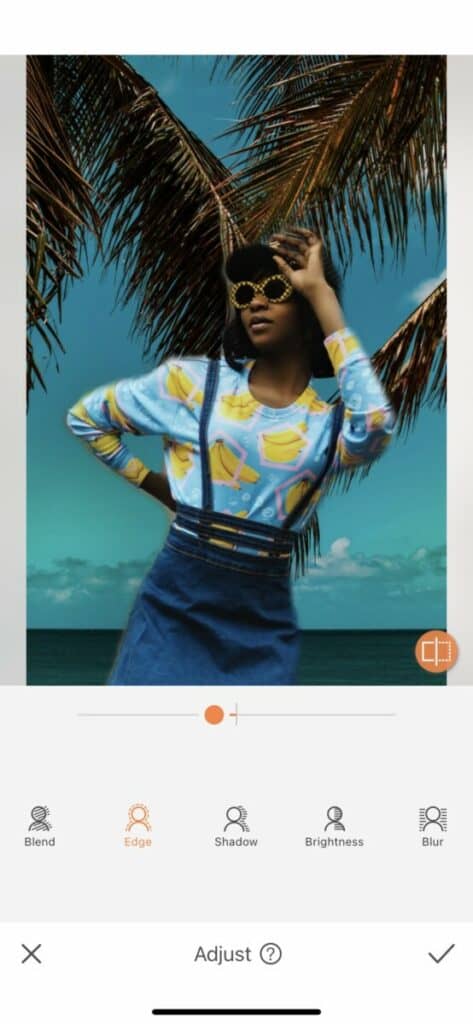
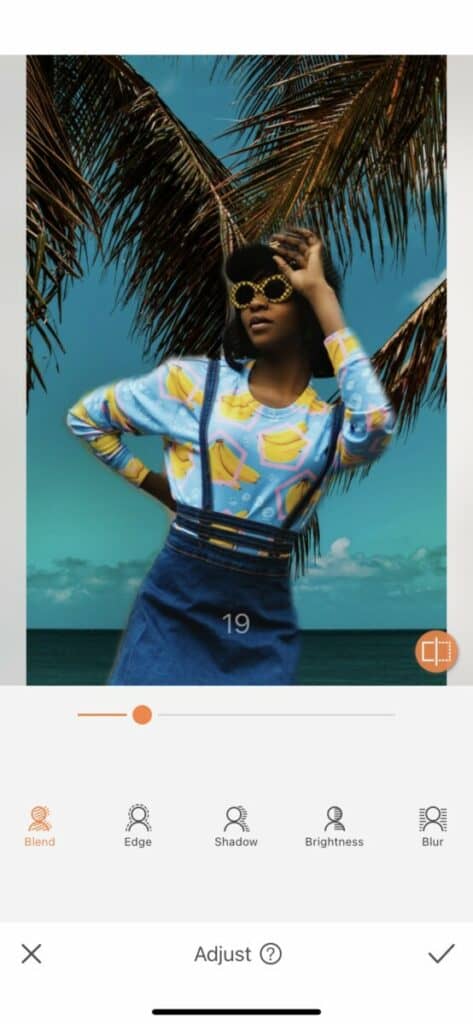
Our holiday on holiday pic could still use some adjustments which is why we’re heading over to the Adjust Tool. You’ll find this tool by tapping the white button on your right hand side. Here you’ll be able to shave off some of the original-image “glow” with the Edge Feature and also adjust the coloring to match the uploaded image with Blend. Another important move is to use the Blur Function to create realistic depth in your on holiday pic. You can save your progress by tapping the check mark on the bottom right.
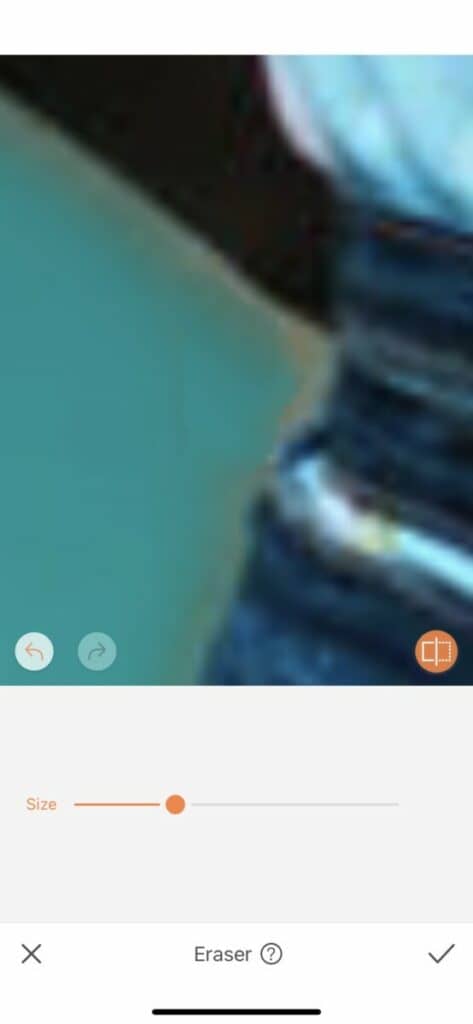
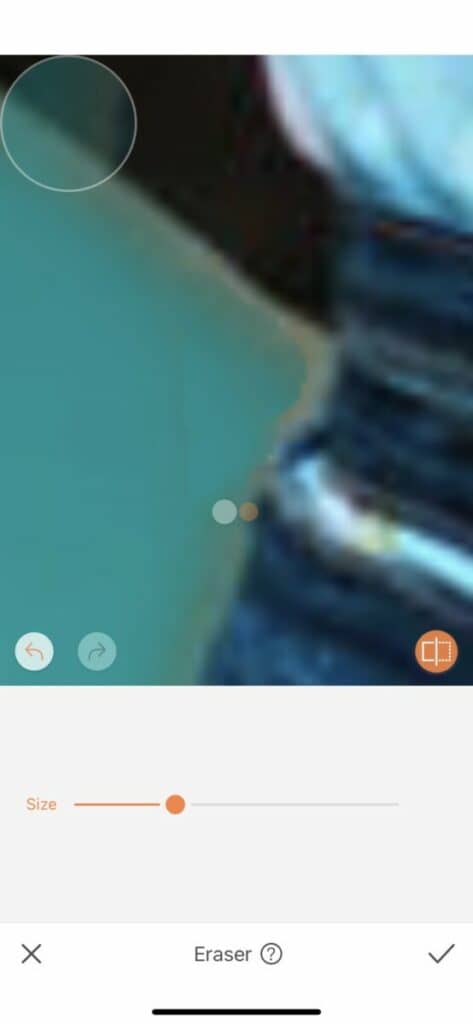
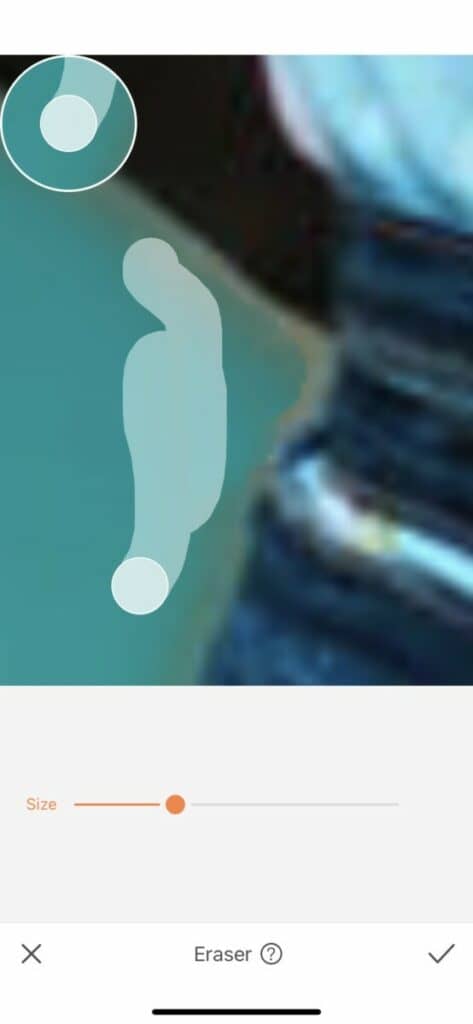
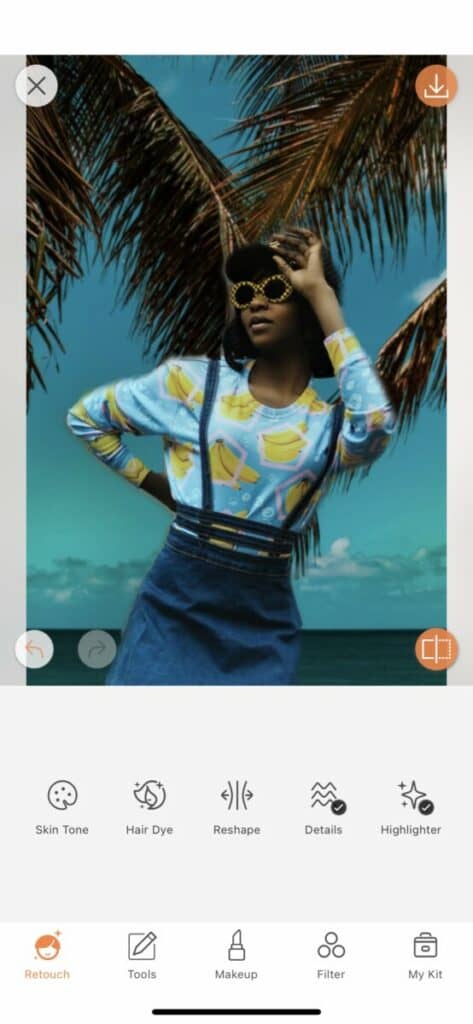
You may find that there are still some imperfections on the edges of your focal point. A great way to remedy this is with the incredible Eraser Tool. We recommend the tiniest brush and the most zooming in to make precise adjustments. The Eraser Tool can make some big changes so remember to make small brush strokes and keep working at it until you’re good to go.
Ho ho holidays
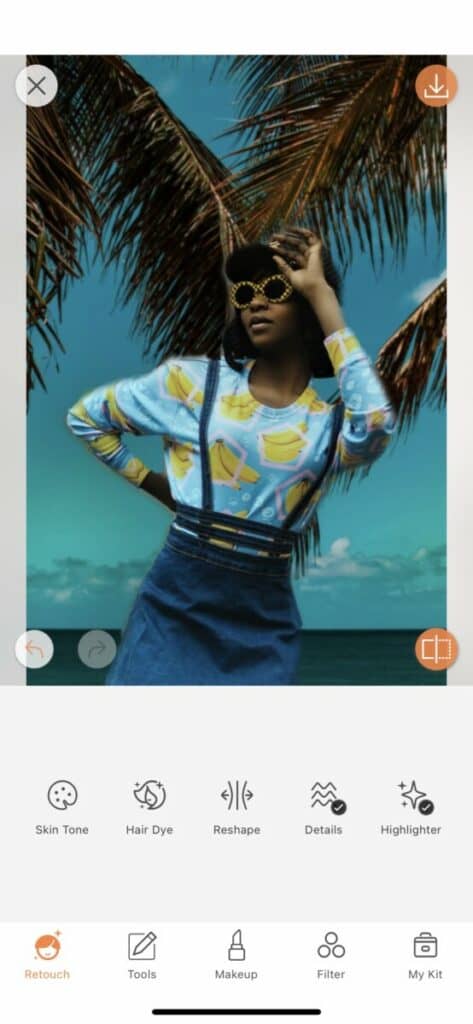
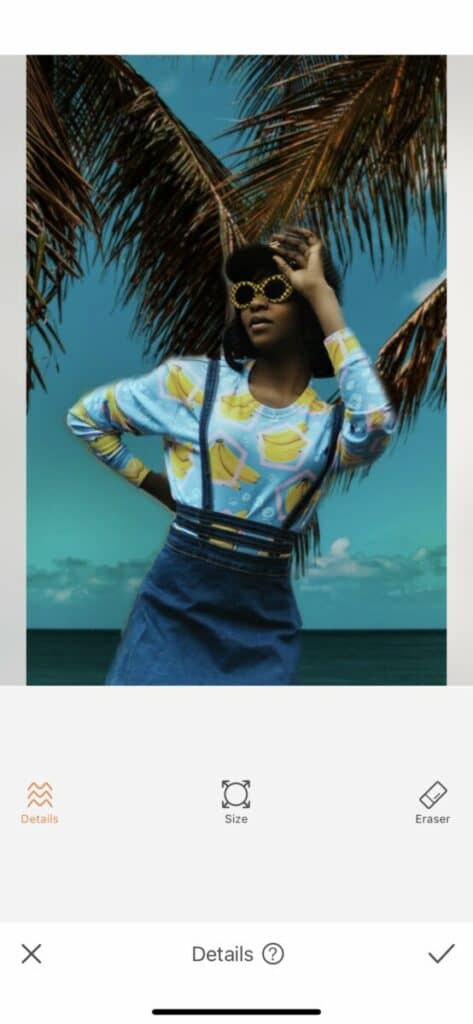
Next up we’ll be heading to the Retouch Tab and using the Details Tool. This tool heightens and sharpen details that you select in order to make sure they’re stand out to your eyes. You can adjust the brush size to fit your pic then use the toggle on the right to adjust the strength of the tool
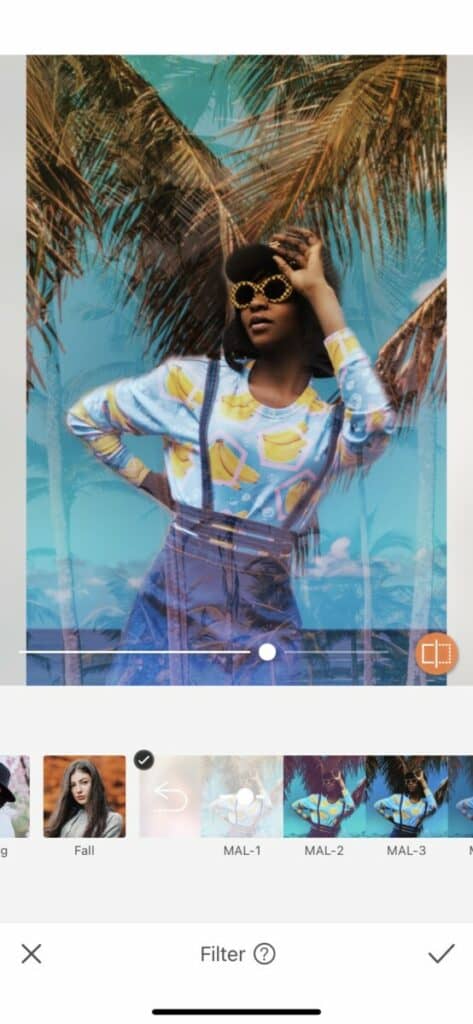
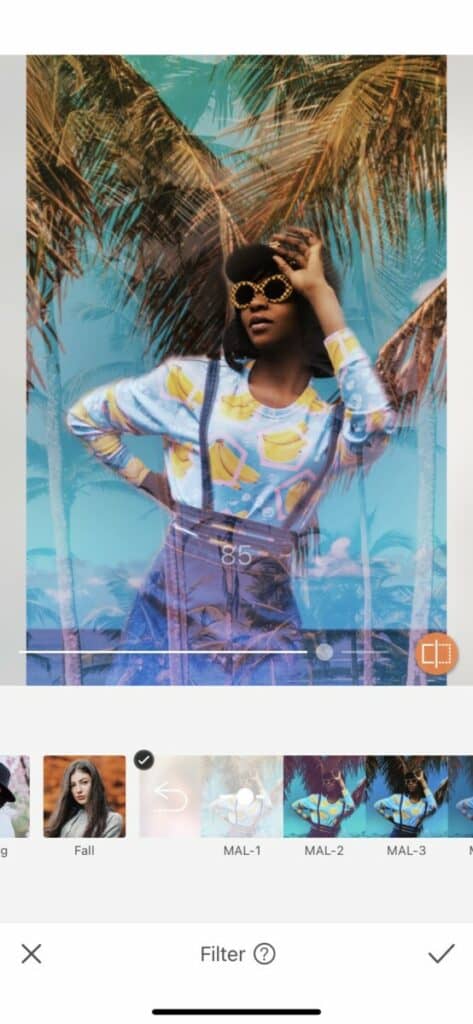
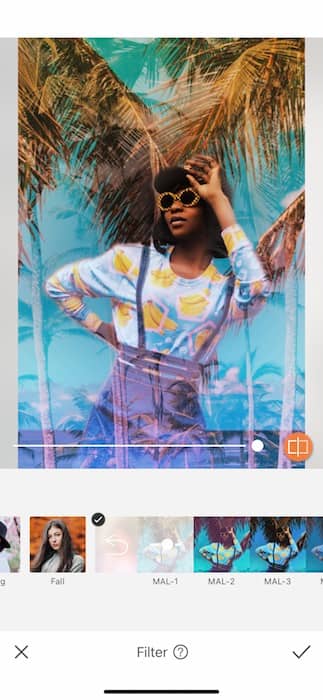
If you’re gonna live the fantasy let’s really live the holiday fantasy honeyyyyy! No good holiday pic is ready without a fabulous Filter. Head on over to your Filter Tab and find the Malibu Filter Pack. First one on the lineup is MAL-1 and it is everything we need during these nasty winter months. Tap on the Filter then make sure to adjust the strength to your liking.
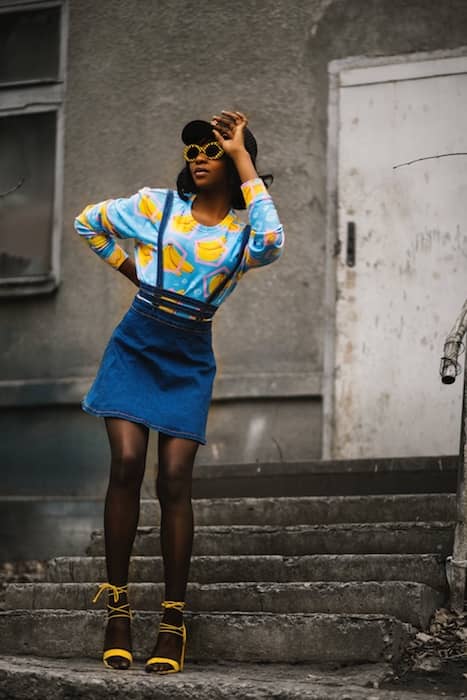

Work work work work work skadibidiy work work work All we can hear is Rihanna and feel carribean vibes with this edit. Don’t leave your AirBrush friends out in the cold! Go make a holiday on holiday edit of your own and tag it with #AirBrushApp and we might just feature you on our IG feed at @AirBrushOfficial. Now get out there, wear sunscreen and make some cool holiday edits!


