The role of “Creative” is one of the most intimidating hats an entrepreneur can wear. Conceptualizing and producing visually appealing promotional content can be overwhelming – especially if you’re not naturally inclined in this area. Fortunately, AirBrush, the easy photo editor, has all the right tools to give you a significant advantage, along with key product photography tips for those of you who are DIY-ing your visual assets! See how many of these marks you can hit to make your content look as professional as possible.
Product Photography Tips
Lighting
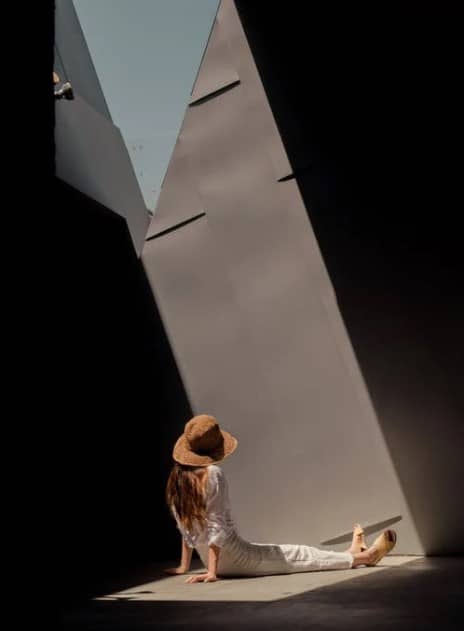
The absolute number one rule when taking product shots is to have adequate lighting. Your product needs to be well lit and shot from multiple angles. This allows potential customers to look over and familiarize themselves with the product like they would in a store.
Staging
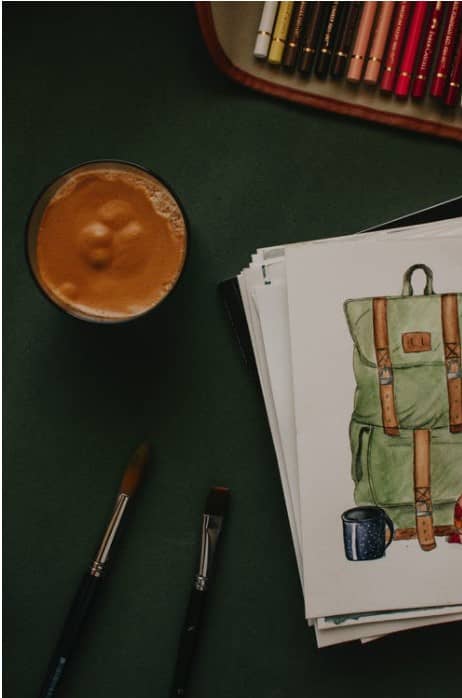
A stark white backdrop is a no-fail option when it comes to product shots. However, if you want to add interest to your visuals, try this next product photography tip. Invest in props that help create an aspirational vibe and experiment with fun backdrops that tie in with your branding.
Polish
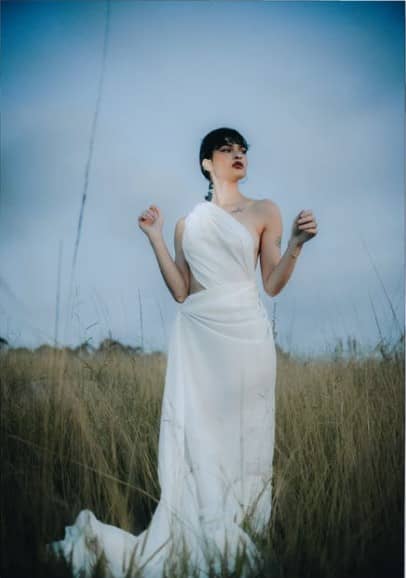
Whether your branding is luxury-focused or DIY-centered, it’s imperative that you make the product shot look as polished as possible. That is to say, idealized. This means taking into consideration even small details like making sure the human hand in the shot is clean and manicured. It also encompasses creating that “edited” look as opposed to the raw photo.
Product in use

This next product photography tip can mean the difference between a click-through or a scroll past. Showing your product in actual use, in a particular setting helps the customer more easily see themselves using your product in the same way. Visualize your target customer and reflect that in your promotional content.
An AirBrush Edit
We mentioned earlier, having the right tools can make all the difference and AirBrush is at hand with the product photography tips and toolkit. Achieve pro-level visual content whether you’re crunched for time or money.
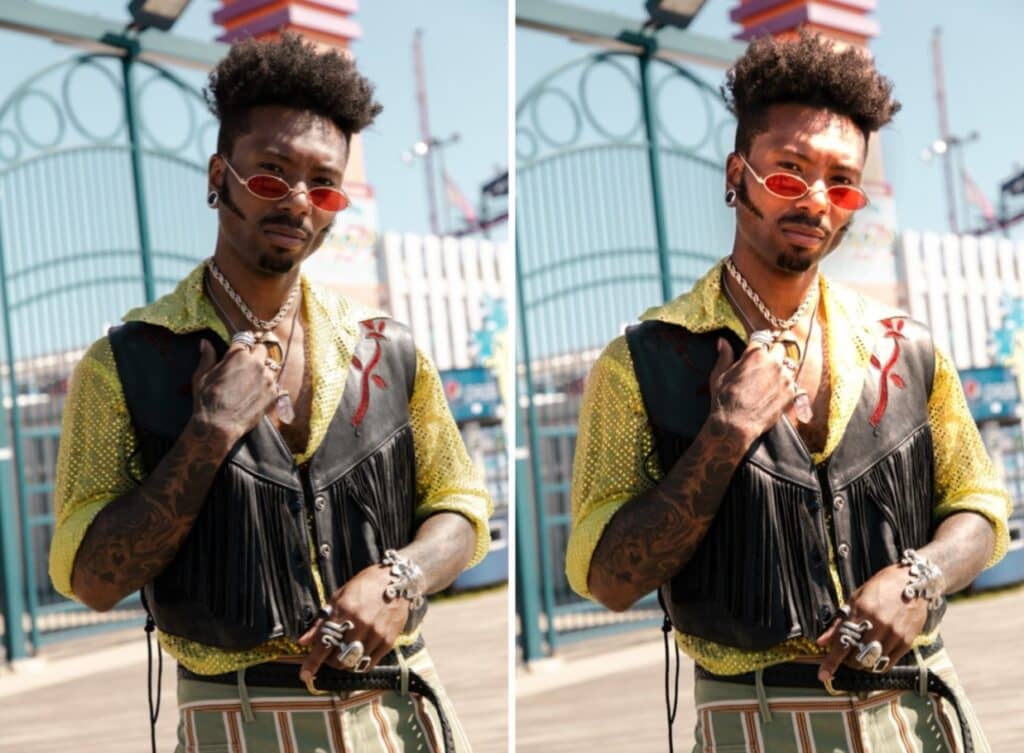
Achieve studio-quality lighting and show off your fashion or accessories brand with Relight. To show the actual color and texture of the materials, keep the light bright and focused. For a more editorial look try the colored light options like Neon.
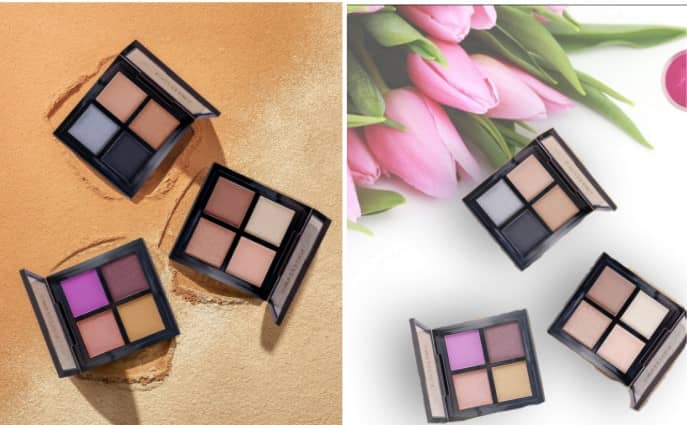
Transport your product to the perfect stage with Background. Whether you use a model or the product on its own, changing the setting by switching the background means you can save money and time on arranging your own props.
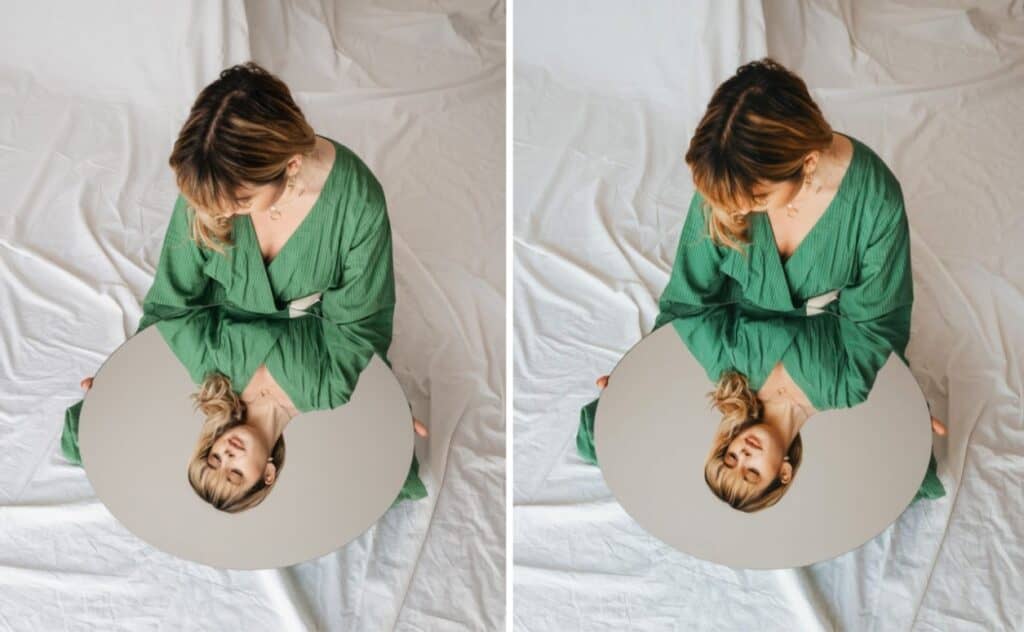
An easy way to give your photos that polished look is by applying a Filter. AirBrush’s 300+ filters can definitely deliver an overlay that will make your product photography look like it was edited by a pro. The choices in color and temperature themes also afford entrepreneurs aesthetic choices for visual branding.
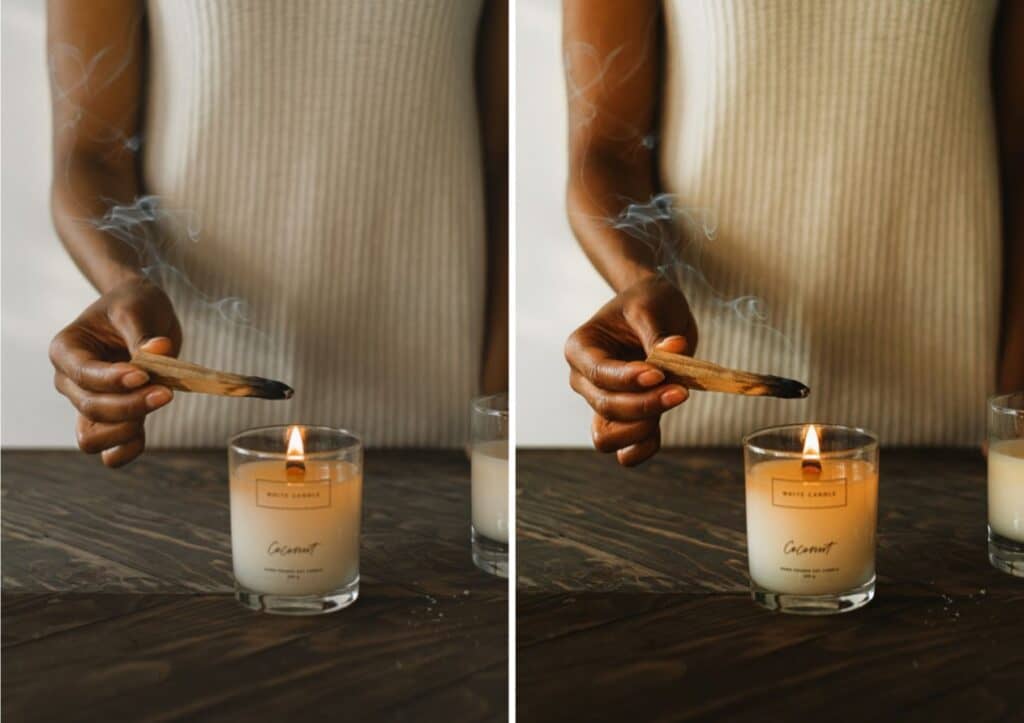
Our last product photography tip and tool are going to make your photos more eye-catching to your viewers. The powerful Enhance tool will show your DIY promotional content in the best possible way. Enrich colors, heighten contrast and definition to achieve product shot perfection.
The combination of product photography tips and tools is going to elevate your DIY promotional content and get your product in front of the right eyes. AirBrush, the easy photo editor, is here with the tools that are going to make visual branding that much easier. Tag your photos with #AirBrushApp so everyone can find them once you post. Then follow @AirBrushOfficial over on Instagram for our latest tips, tricks and hacks!


