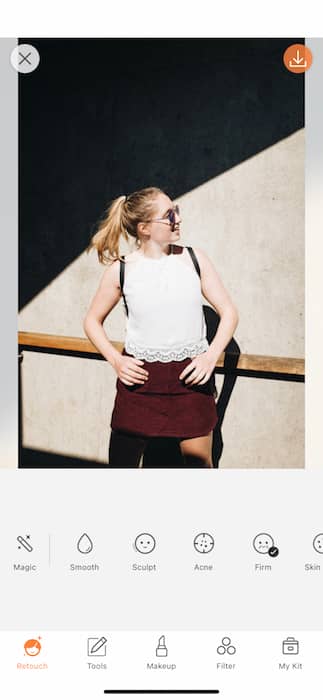
What is Santa-con? A collection of human beings who believe that it will be “fun” to dress up as jolly Saint Nick and run around wreaking havoc in the form of christmas carols and cookie eating. While most feel that this activity should be outlawed, some enjoy this type of tomfoolery so AirBrush be showing you how to have your very own Santacon with a few editing tips and a lot of psychological help. Ready? We’re not but here we go.
Wrapped in red
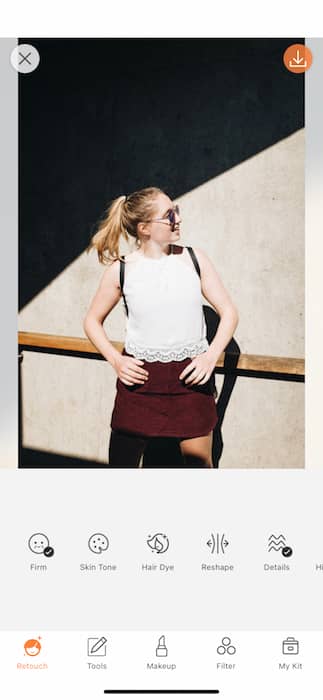
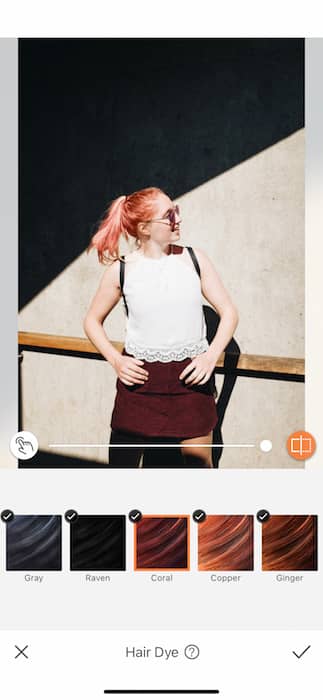
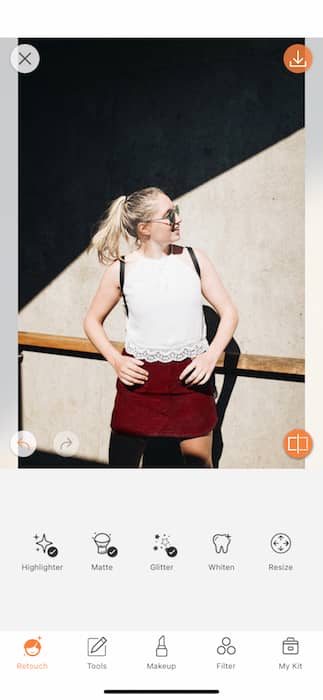
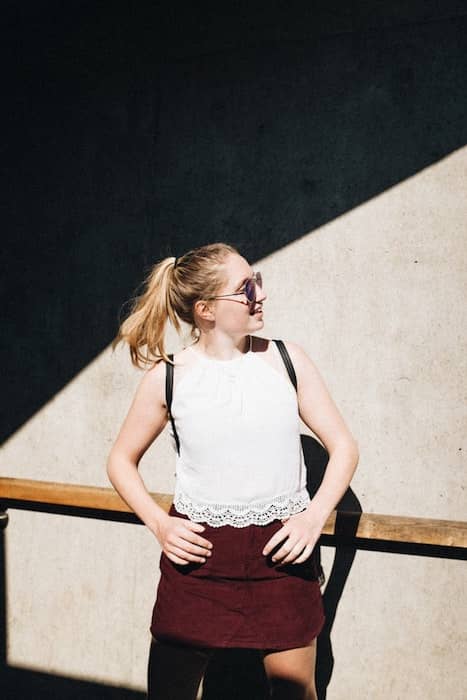
The dress code is relatively strict when it comes to Santacon. Red, green, & are your best bets but I’m sure if you show up in a gold body suit shaped like an xmas tree no one will bat an eyelash at you. So, start of with your jolliest outfit or make your way to the Hair Dye Tool to get jolly.
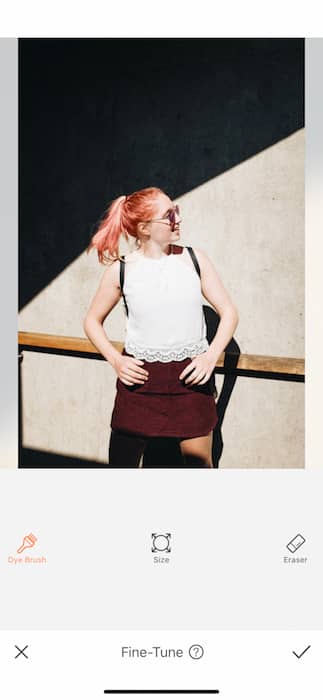
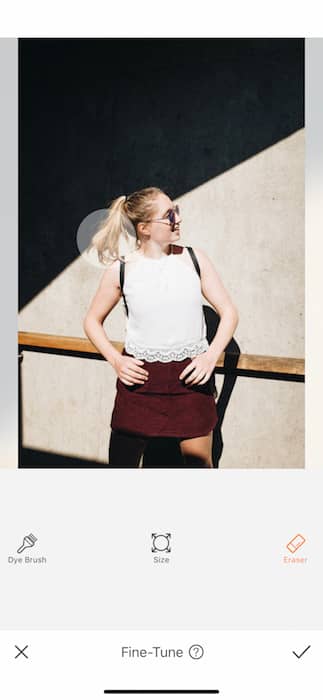
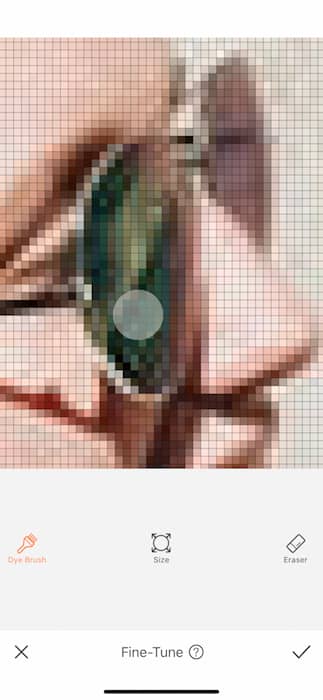
The Hair Dye Tool will automatically detect your hair and change it to the selected color. We’re going to say WRONG and tap the Fine-Tune feature on the bottom left of the image. Here you’ll have 3 Tools to work with: Dye Brush, Eraser, and Size. Tap the Eraser Feature and erase all the selected hair from your image.
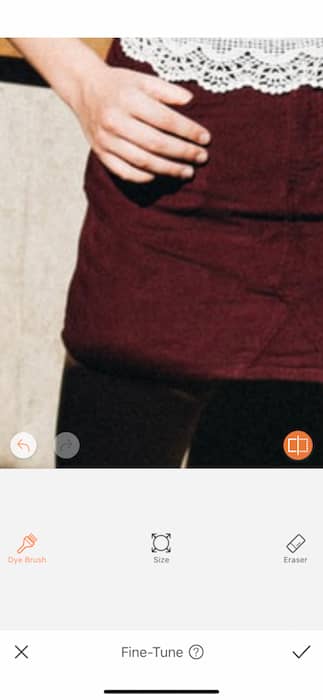
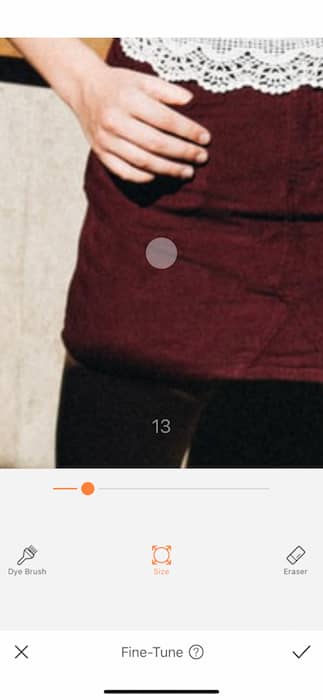
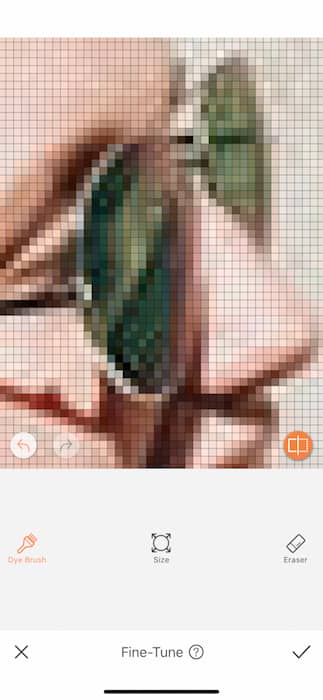
You’ll then select the Dye Brush and tap the Size feature right after. Adjust your brush size to fit your needs as you begin to brush across your item of clothing that will be Santa-fied. It can help to use a narrow brush to dye the edges then adjust again to something larger and fill in the body of the item. If you at any time feel you’ve overdone it (perhaps you’ve already overdone it.. with this whole Santacon thing…) you can use the Eraser Feature to clean up your act
I am my hair
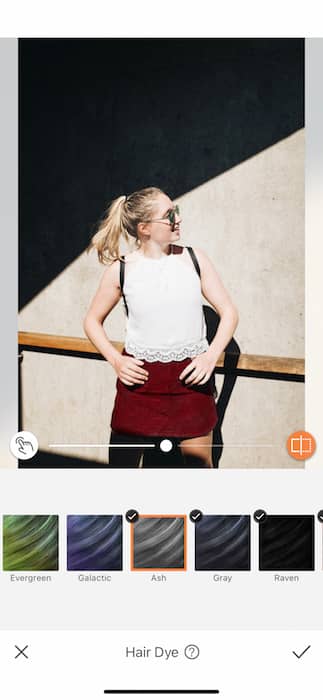
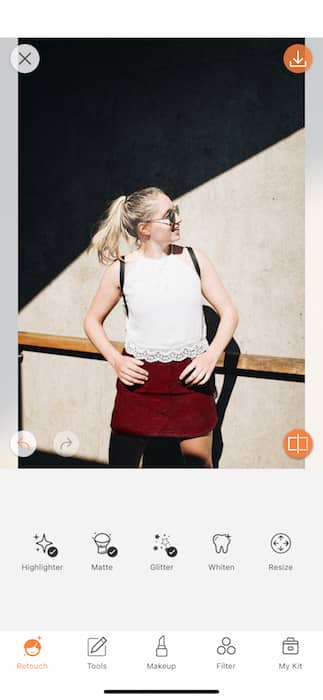
Today we are going to be Hair Dye maniacs. Tap the Hair Dye Tool once again and this time let’s let it do what it came here to do. The whole ‘Claus vibe is very white hair don’t care. Use the Ash color to get that I’m a million years old and delivering all this ish is really stressful hair do. Be weary of looking over edited and use the center toggle to adjust the strength of the dye as you work. Remember you can always go in and Fine-Tune anything if the automatic work isn’t perfect. Then let’s do some detail work. Get back in the Hair Dye Tool and do everything we learned in the beginning to throw a lil green on those sunglasses. Why? Because you’re already going to a Santa Claus convention, at this point what even matters anymore.
Shining glittering splendid Santa
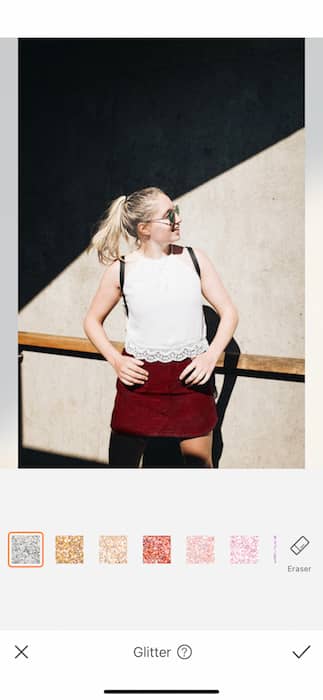
Glitter. If you’re into everything we’ve done before then it would be a say bet to say you’re into Glitter. Find the Glitter Tool on your Retouch Tab and get ready for some mess.
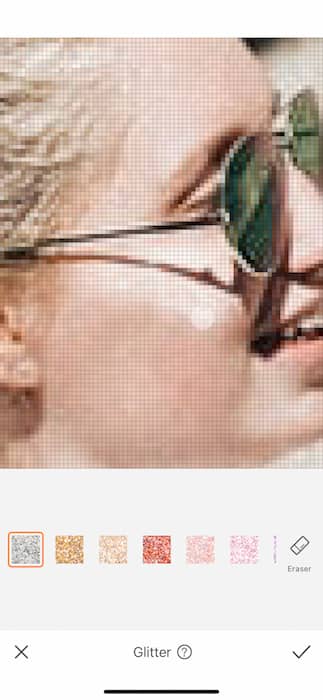
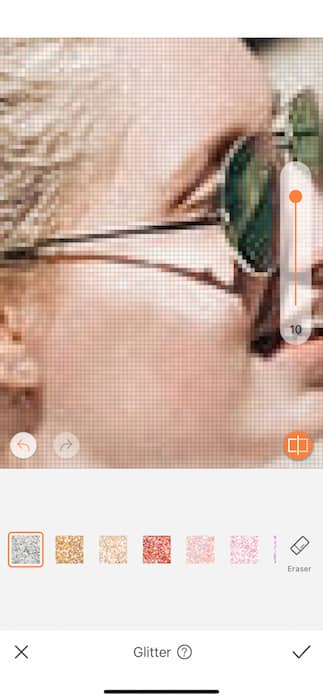
First off let’s put a lil shine on those rosey cheeks. Brush the Glitter then use the toggle on the side to adjust the strength of the tool. Once you’ve selected the area you can switch between colors until you find the one that fits your particular Santa vibe.
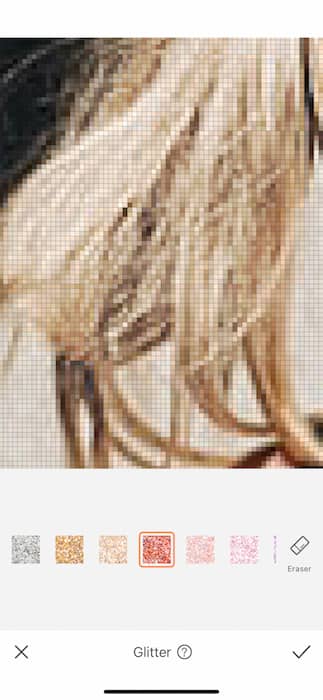
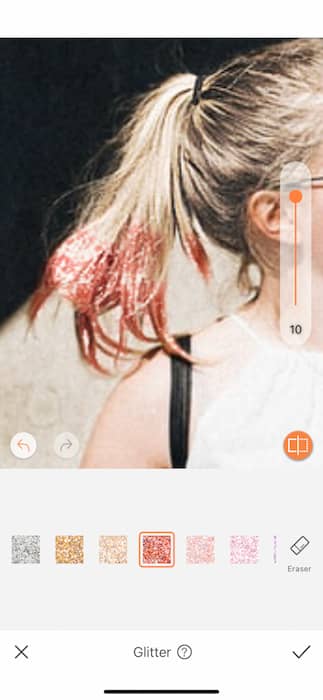
Again, it’s likely that subtlety isn’t a concern for you so let’s go ahead and throw some red Glitter on the tips of your hair for a lil zest. First remember to save your work from your previous glittering by tapping the checkmark on the bottom right. Apply the Glitter as before by brushing across your selected area. The Brush Size is not adjustable on the Glitter Tool but you can zoom in as needed for precise application.
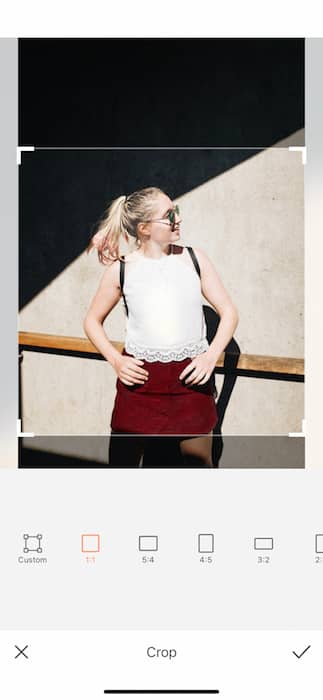
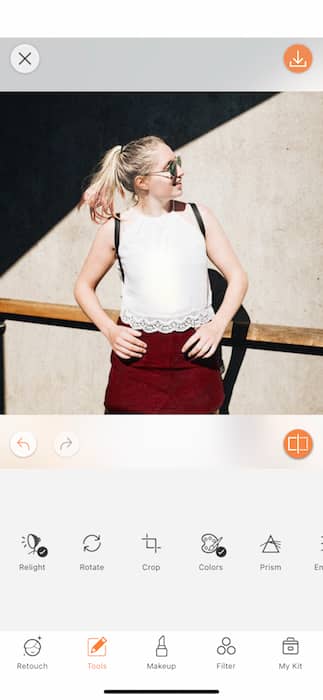
Next up let’s get our pic ready for the insta spotlight by giving it a quick Crop. Find your Crop Tool on your Tools Tab. You will find pre-set dimensions as well as a Custom option. For our purposes let’s go with a good ‘ole square.
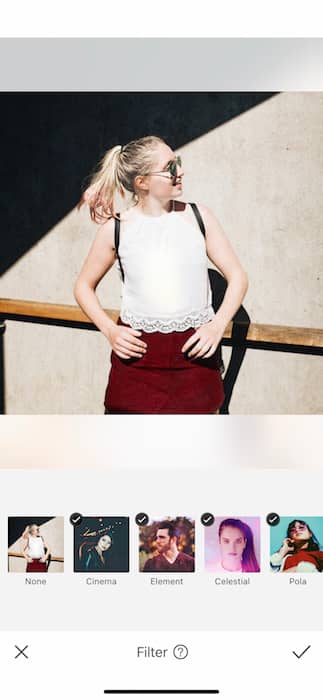
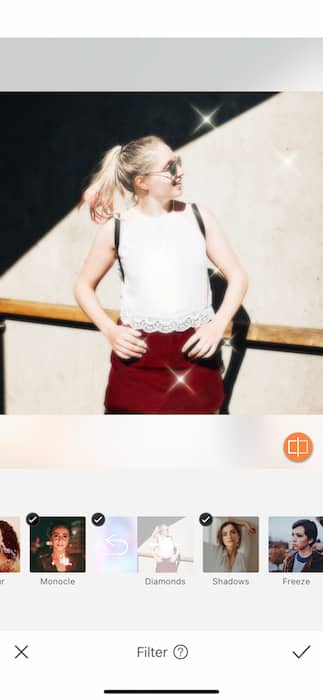
Last but not least, no edit is ready without the help of a gorgeous Filter. For our Santa vibes let’s go with a quick splash of Diamonds.
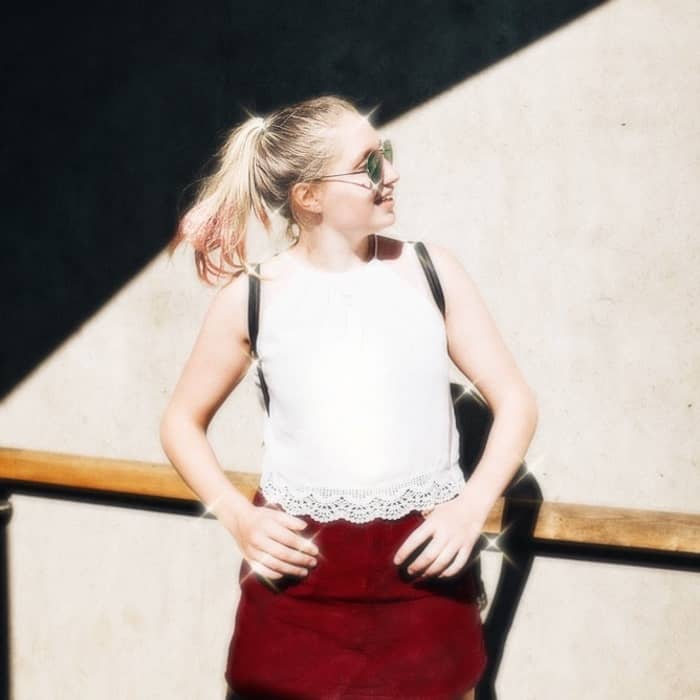
Wow wow wow. Look at all this holiday cheer! Well, now that you’re ready to invade the streets with your holly jolly look please remember to tag #airbrushapp and you just might be featured on our @AirBrushOfficial instagram feed. Thanks for joining us for this extra special holiday AirBrush tutorial. Stay tuned for more holiday cheer!


