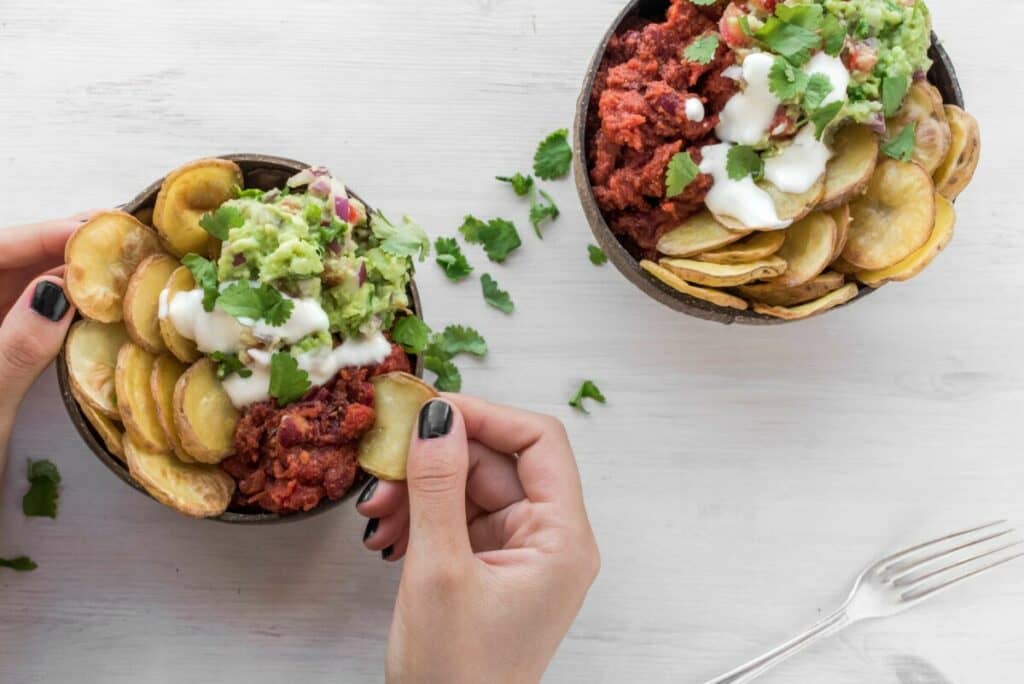
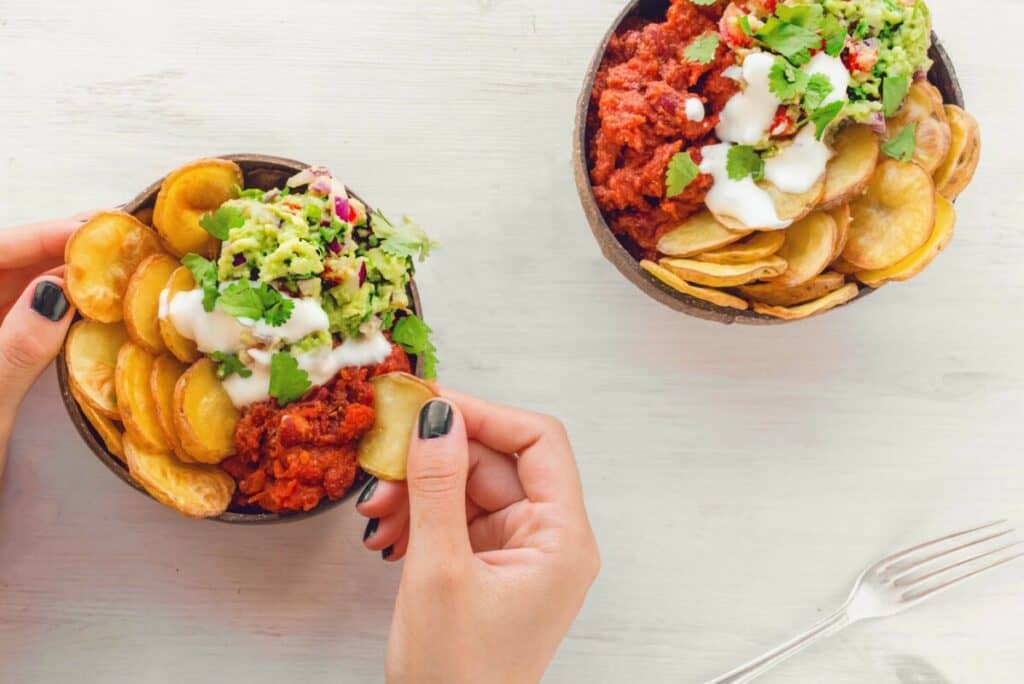
If it’s one thing we can’t resist, it’s scrumptious foodie photos on our feed. Well-plated dishes with colors that pop are our kryptonite, and we’re guessing they’re yours too! So, if you want to light up the ‘Gram with a scrumptious feast for the eyes, here’s how you can create delectable images using AirBrush, the easy photo editor.
Tips for Food Styling
The first step in taking strong foodie photos is food styling. Before you snap that first photo, you need to transform your dish into a visual masterpiece that will leave your viewers salivating. The goal is to create an image that not only captures the meal but also subliminally evokes the tastes and smells associated with your meal. That being said, here are a few quick tips for styling food.
- Good lighting is essential. Natural light works best so if possible, set up your shot next to a window or open door.
- Keep the portions small. Negative space on the plate allows the food to stand out, and prevents the food from overpowering the frame.
- Frame your shot from the angle you’ll be shooting. Whether you’ll be shooting from overhead or the side, display the food accordingly.
- Experiment with surfaces. The backdrop is almost as important as the dish itself. Select a surface that complements your dish.
- Be quick about it. Freshness is the key to great food photography so the faster you can capture your shots, the better.
Great! Now that the dish has been styled to perfection, it’s time to tap into AirBrush, your secret ingredient, to put a few finishing touches that will transform your photo into a gastronomic showpiece!
Enhance Dishes with Skin Tone
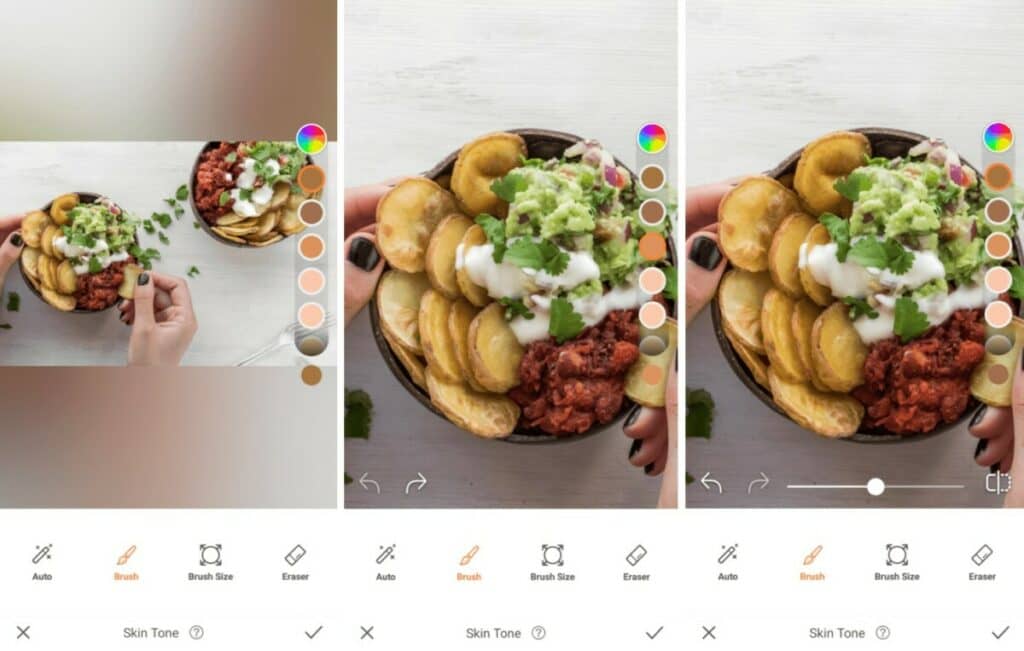
The ability to think outside of the box is an asset in photography. This approach also spills over into the editing process. So don’t let the name of a tool fool you, many of our features are versatile in nature and can be effective in a range of applications, such as our Skin Tone tool. Not just limited to enhancing your tan, you can use Skin Tone to enhance the color of toasted or baked goods!
- Go to the Retouch tab
- Tap on the Skin Tone feature
- Select a hue that pairs well with the color of your dish
- Adjust the Brush size if necessary and zoom in on the photo to apply
- Move the Brush over the food to create a rich, golden glow
- Tap the click the checkmark to save your edit
Use Details to Make Ingredients Pop
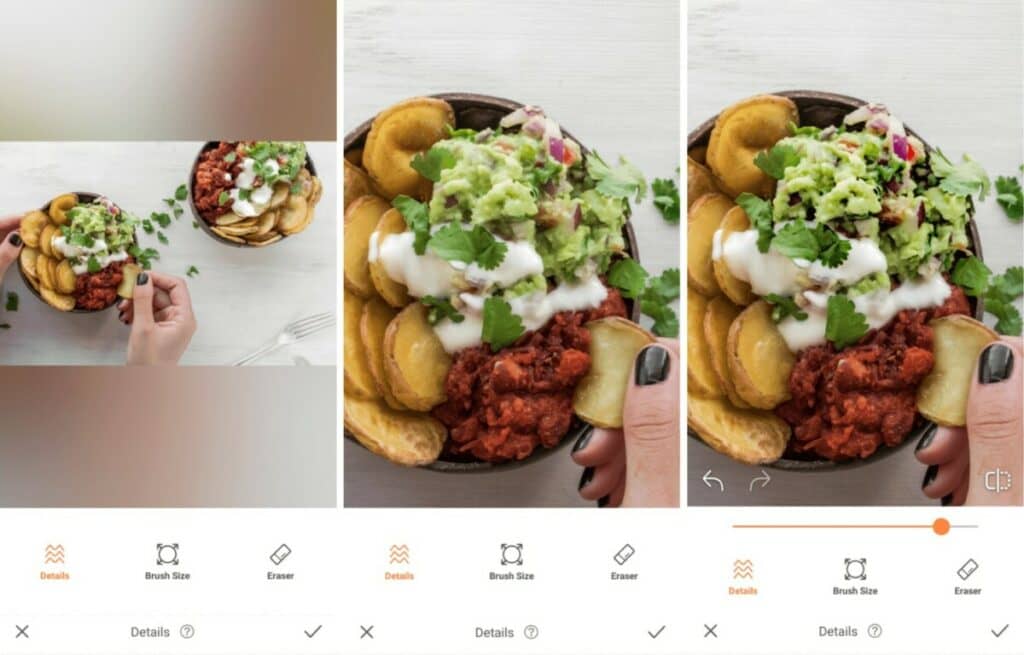
Did you know that color is quite possibly one of the most important elements in the world of food? Not only do hues excite and entice, but many people instinctively use them as an initial indicator of the freshness and tastiness of a dish. So, when you’re editing foodie photos, it’s imperative that you make all the shades of your food stand out. The Details Tool makes that process simple.
- Select the Details Tool in the Retouch tab
- This Tool allows you to sharpen and emphasize any surface or item you swipe across.
- For precision, zoom in and move the brush over the elements you want to stand out.
- Tap the checkmark to save your edit
Keep the Surface Clean
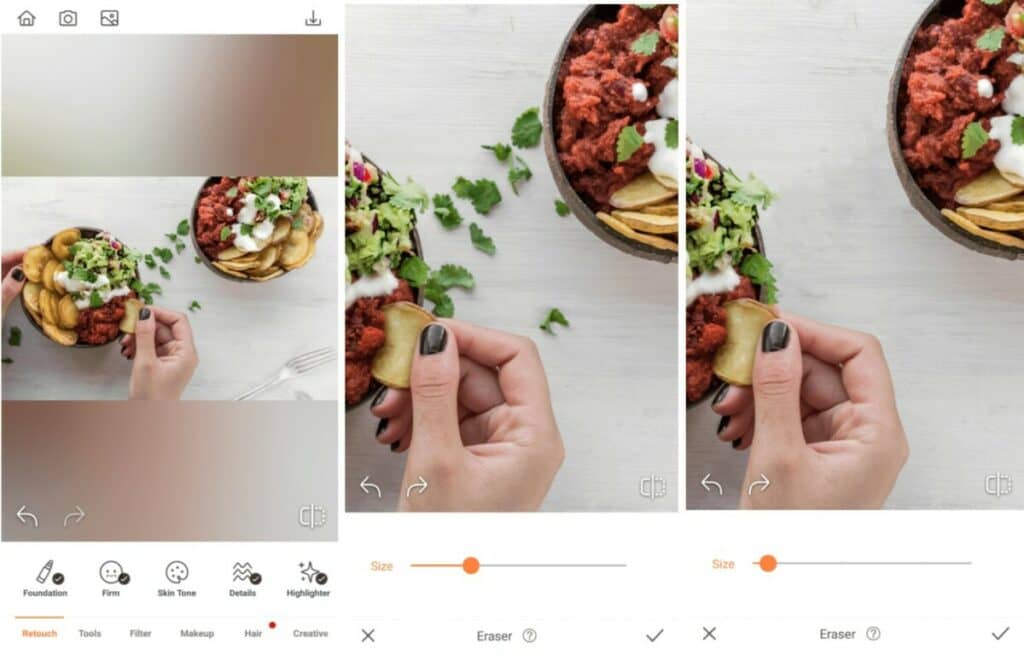
Crummies! Oh, the crummies! They’re an unavoidable element in foodie photos, and sometimes, leaving them in your shot makes for a more authentic presentation. But in those instances, when you want a fresh, clean space without a spec of distraction, you can use the Eraser Tool to remove those pesky little flecks with just a few swipes of your finger!
- Find your Eraser Tool in your Tools Tab
- Start by adjusting the size of the Brush by tapping the Size icon
- Use the toggle to adjust the diameter to fit the object you’ll be Erasing
- Swipe the Eraser Tool across the crumbs you’ll be Erasing
- As soon as you lift your finger you’ll see the item disappear
- Tap the checkmark to save your edit
Top it Off with a Juicy Filter
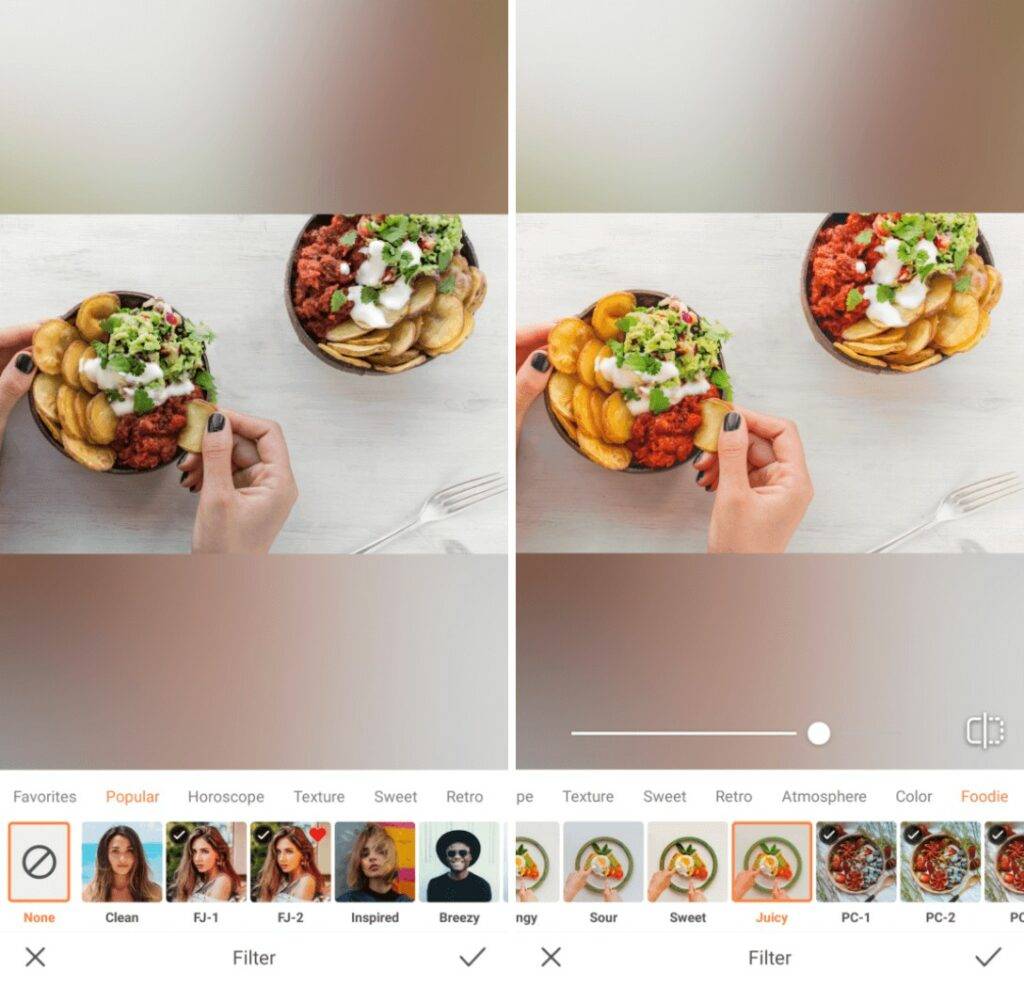
When it comes to foodie photos, a scrumptious filter always provides the perfect finishing touch. Scroll through our selection of carefully curated Foodie Filters designed to showcase all the hues and tones of your dishes just right.
- Go to your Filter Library
- Scroll through to find a Foodie Filter Pack
- Select the Juicy Filter
- Use the center toggle to adjust the strength of the Filter
Nom nom! We’re absolutely drooling over this yummy edit! Now it’s your turn to create mouthwatering foodie photos and share them using#AirBrushApp. Want to learn more cool ways to create stunning edits with AirBrush, the easy photo editor? Follow us on Instagram @AirBrushOfficial!


