Nowadays, not a day goes by without seeing food pictures on your social networks, especially on Instagram. Whether you are at home, in a café, or a restaurant, taking pictures of what we eat has become part of the culture. These dishes are beautiful, why not share them! But food photography is trickier than it seems and it’s not always easy to bring justice to the dish. But, there are a couple of hacks the AirBrush team uses to make food look appetizing and we are sharing them with you below.
Composition
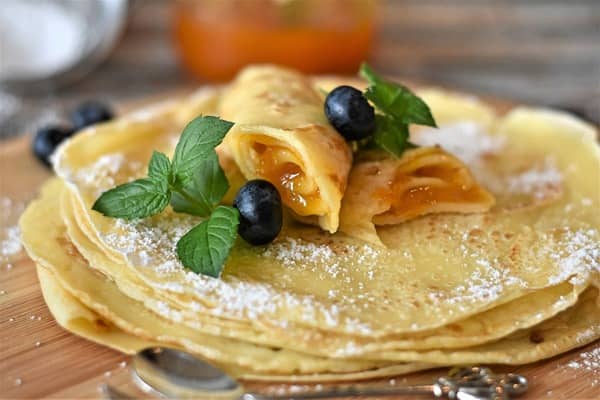
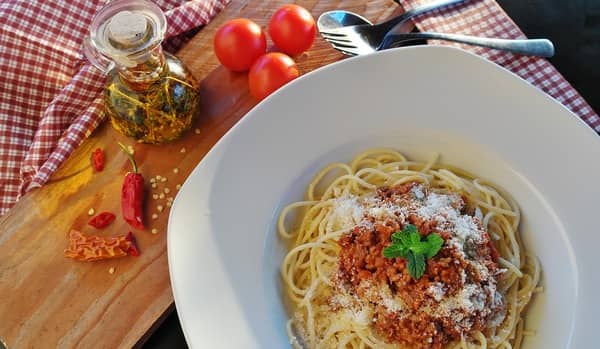
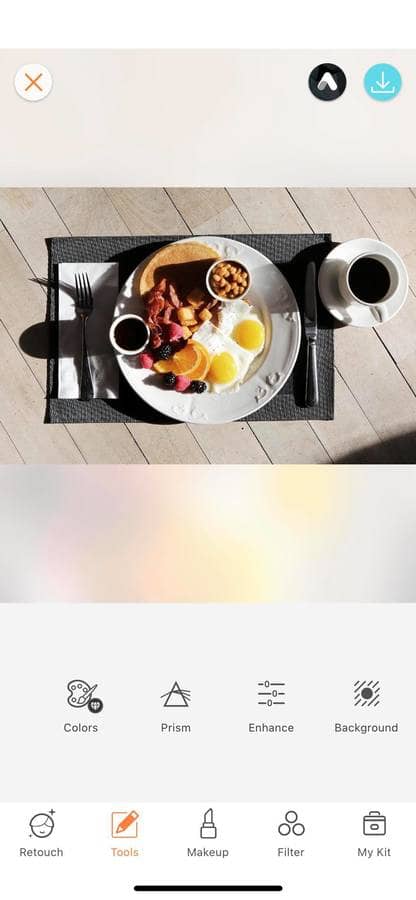
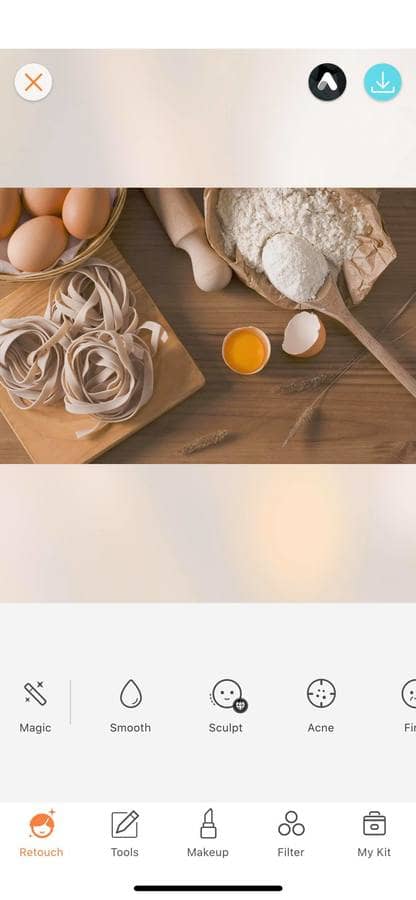
Before even shooting, you should consider the composition of your picture. This is one of the most important aspects of food photography. Try to balance your picture and your plate of food to create an interesting and hungry feeling for the viewer. Focus on the main dish and organize the space around it: add secondary items such as a knife, spoon, or even a napkin. However, these elements aren’t essential, if they do not feel right in your composition just remove them, sometimes ‘less is more’.
Tell a story
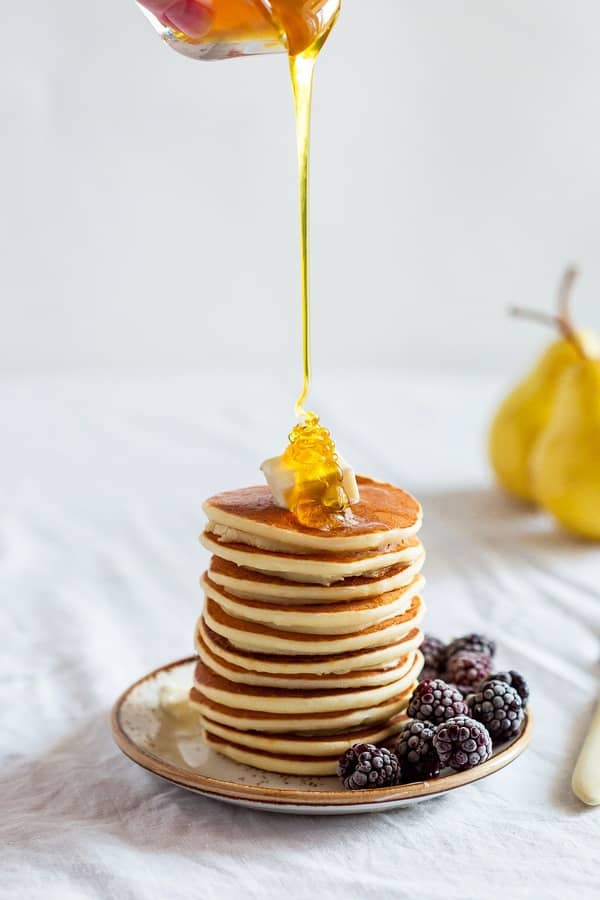
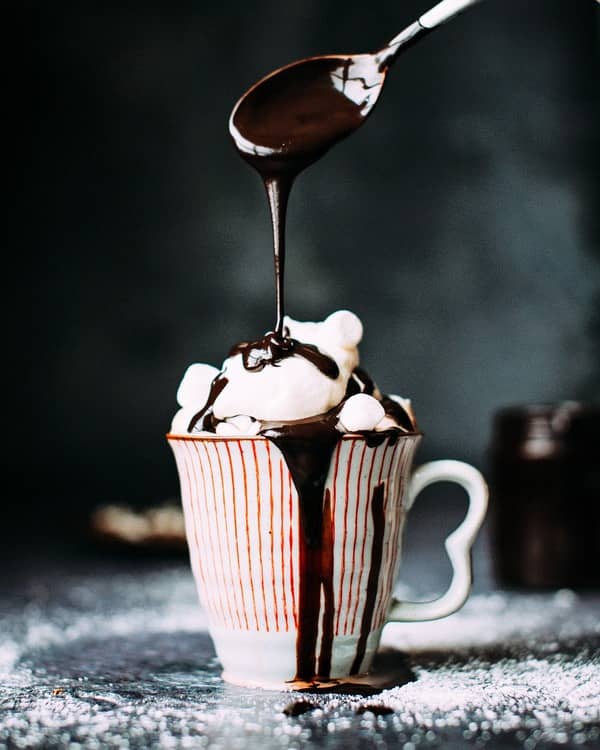
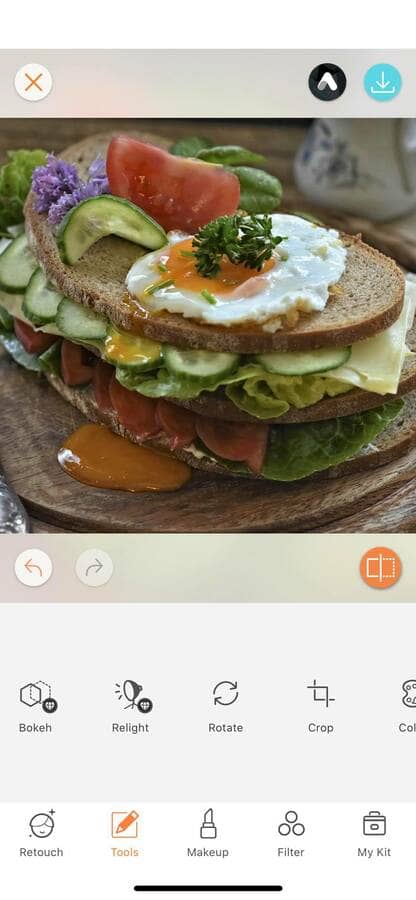
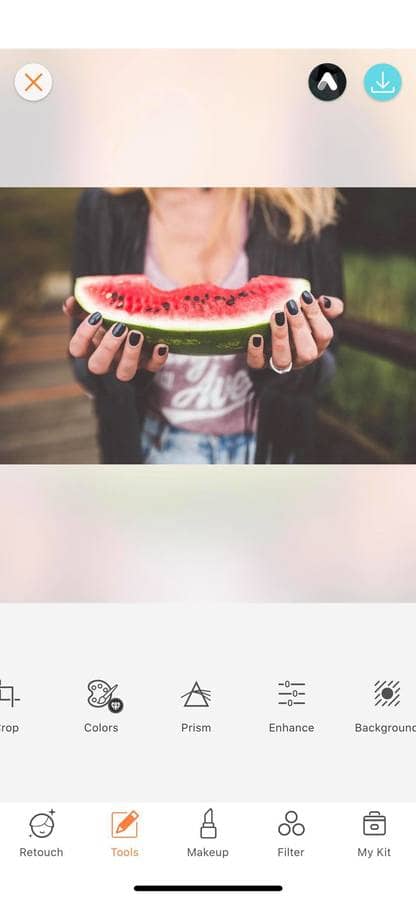
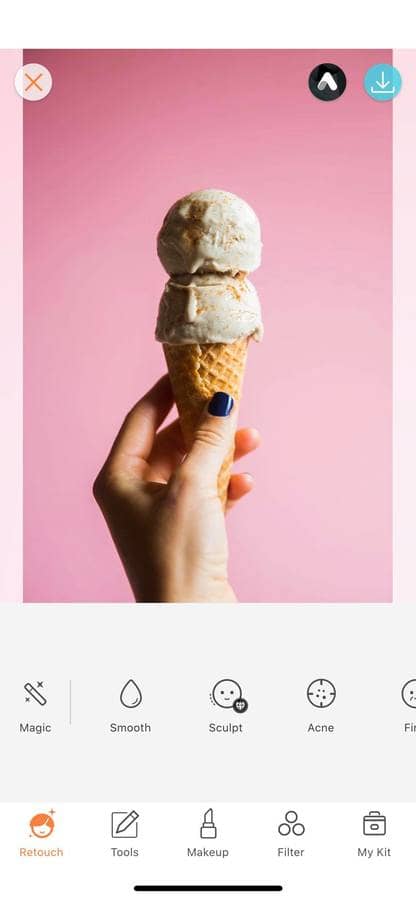
Another unique way to produce incredible food photography is to create a story. Storytelling in food pictures is done by adding elements to your composition. For example, you can use the ingredients needed for the dish or even the utensils on the background. You can also create movement in your picture by pouring some syrup, milk, or sauce, or simply by including people (or hands) in your picture.
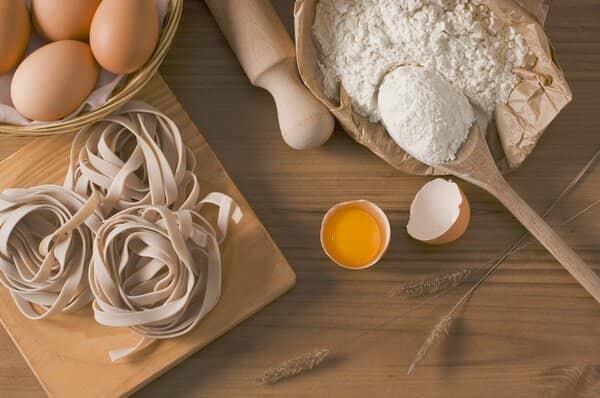
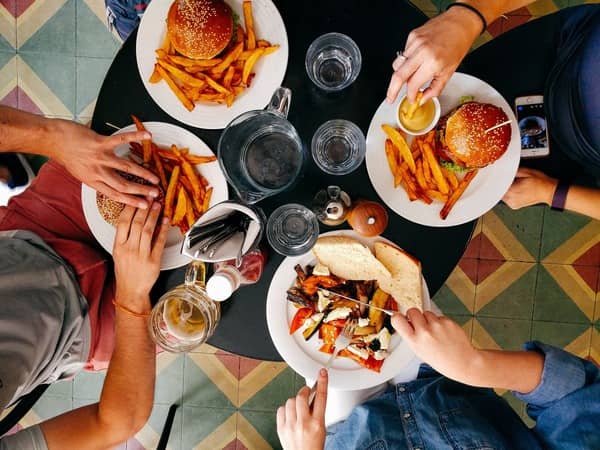
Try different angles
Don’t be afraid to move your plate around the table. Food photography doesn’t have only one standard. Some dishes look better from the side, while others are better from above or below. Every plate of food will require a different angle to make it look appetizing. If you aren’t sure which angle you should go for, simply do them all and pick the best picture later on.
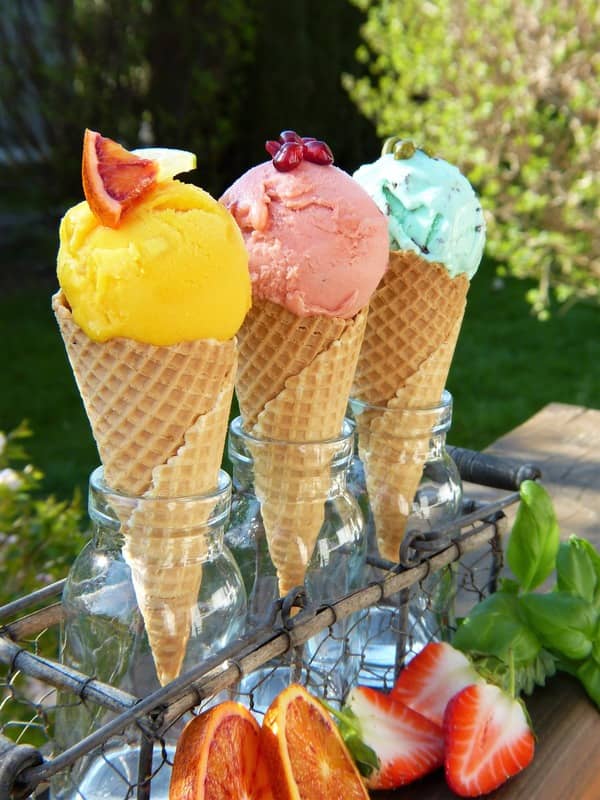
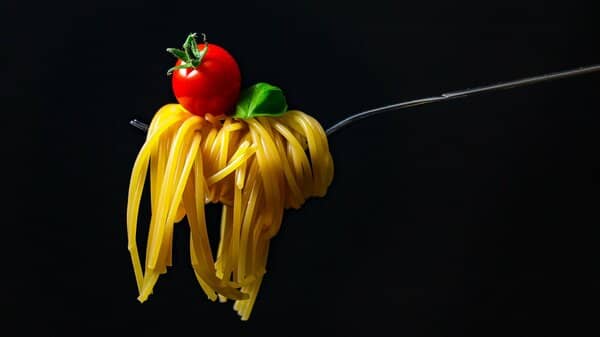
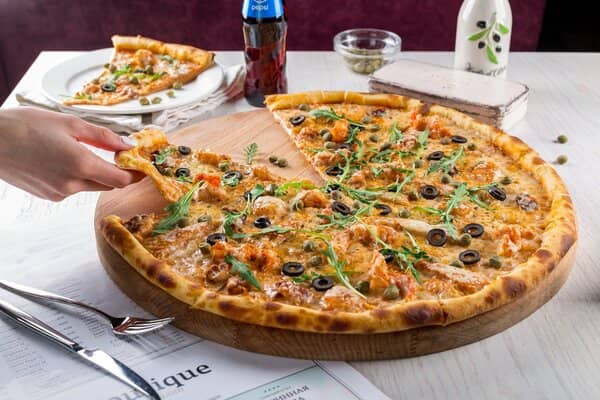
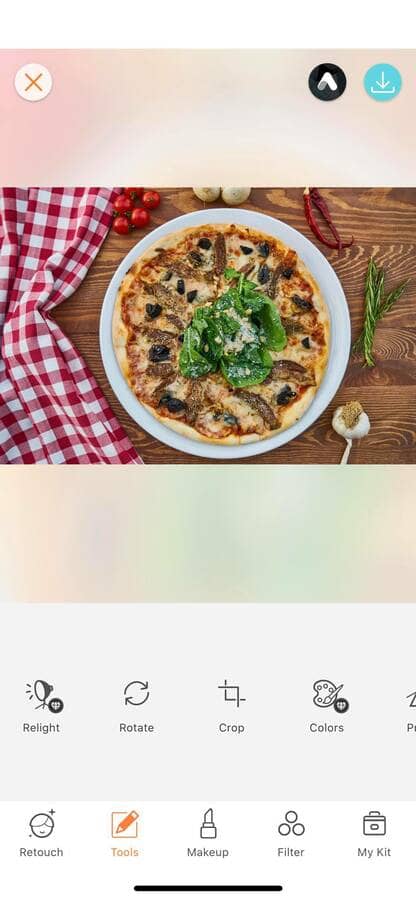
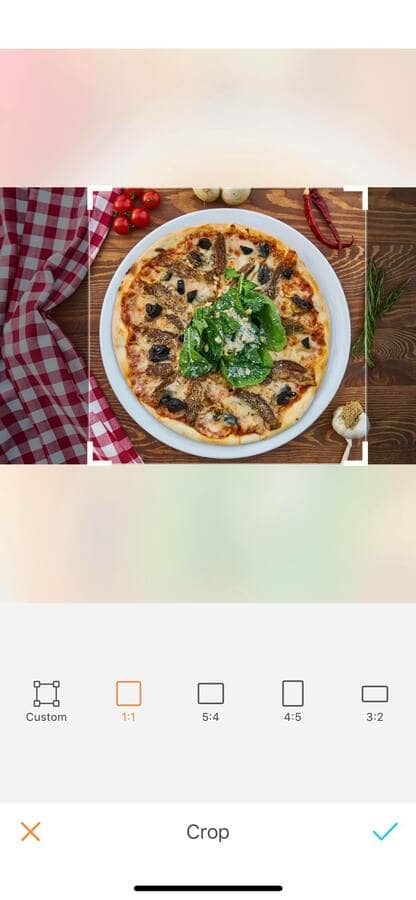
Pro tips: Whatever angle you chose for your picture, remember Instagram has a 1:1 rule. Resized your picture with the Crop feature of the AirBrush app.

Lightning and shadows
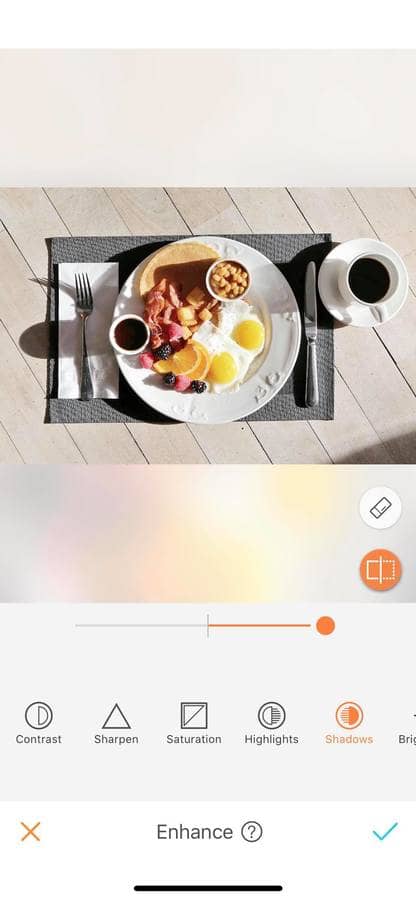
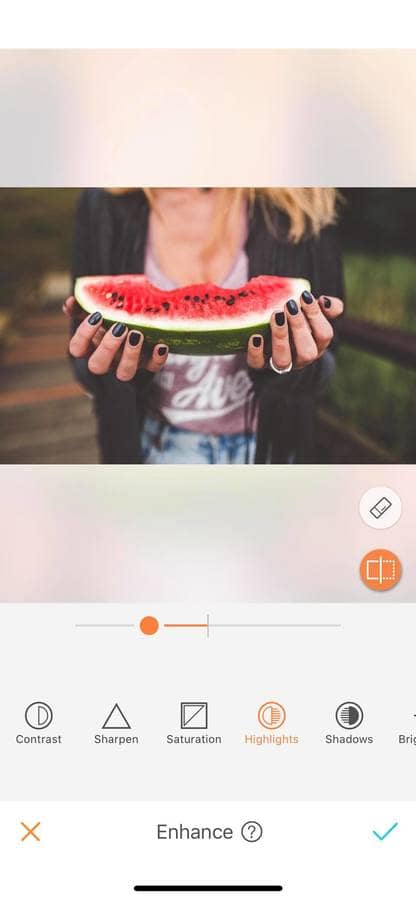
In any type of photography, lighting is one of the major elements of your picture. When it comes to food photography, shooting in natural light is recommended. The best way to have natural light to shoot your dishes is to pick a table by a window. If you are outside, the natural light can be too bright and create shadows. While soft shadows in your food picture can create depth, a strong one will overpower your creation and you’ll lose details. Adjust your light and shadows with the Enhance tool.
Background
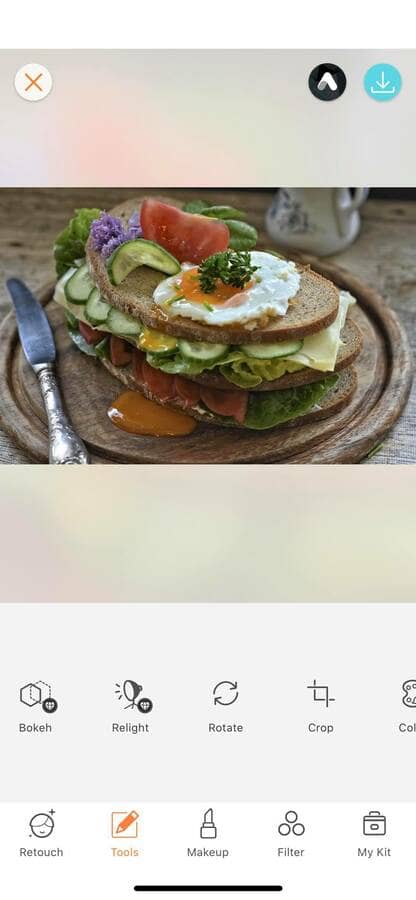
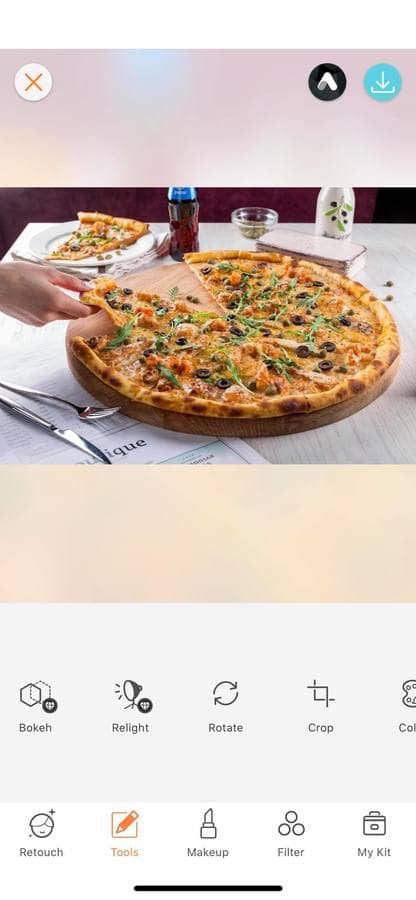
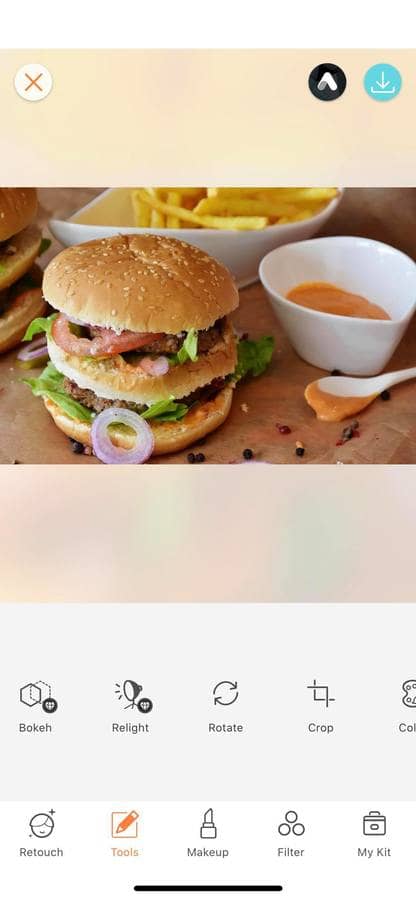
Backgrounds are important in food photography, as they give an overall mood to the picture. By using natural backgrounds, such as white, wooden, marble, or black you will put the focus of the viewer back on the food. Sometimes it’s also interesting to play with flashy backgrounds, especially with bright colored food. This will make your picture pop even more! But, at the restaurant, you don’t always have the choice. If the background is cluttered use the Bokeh tool to blur it and put the focus back on the food.


Colors
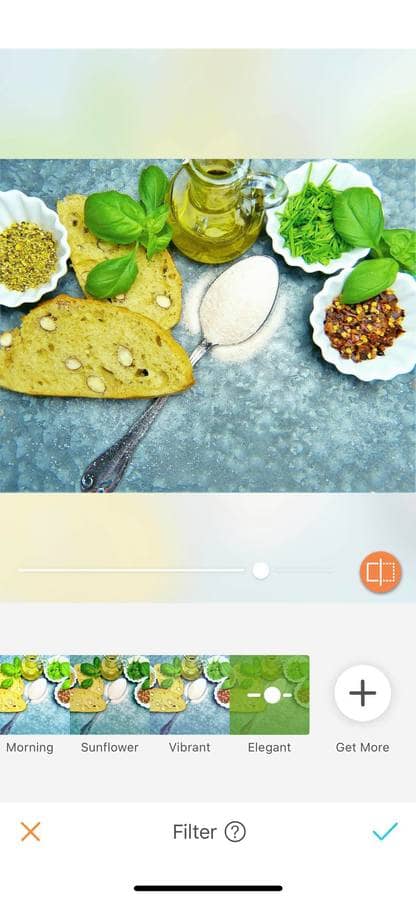
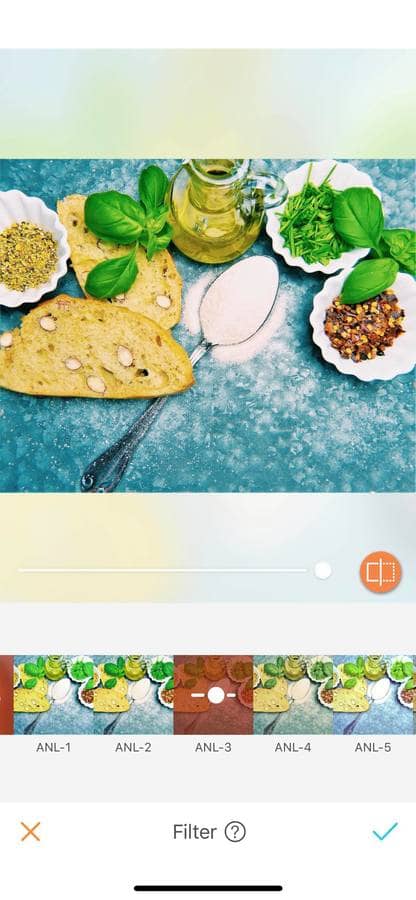
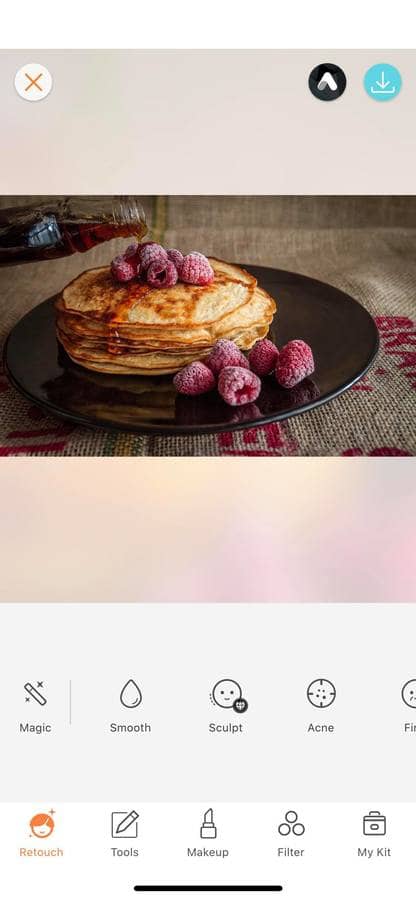
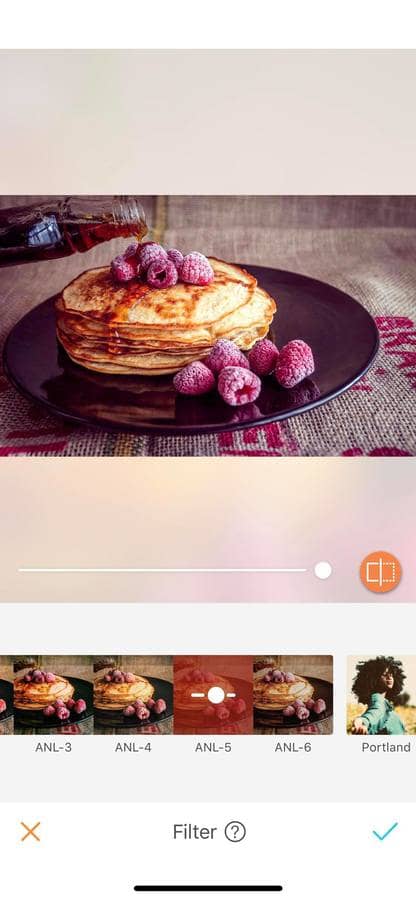
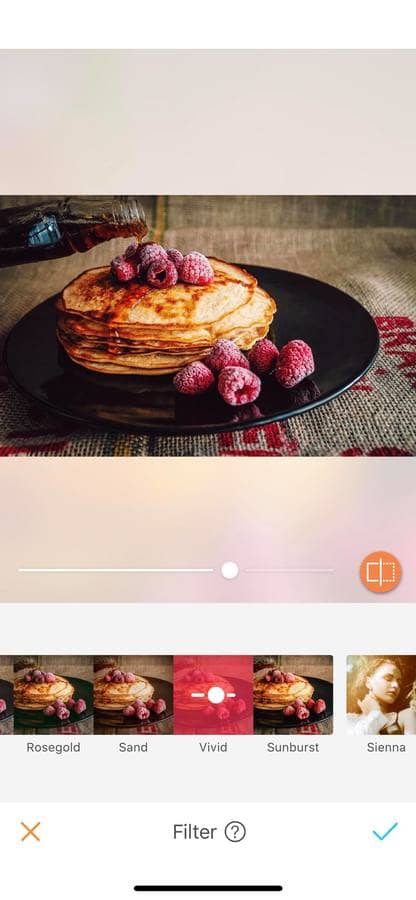
The beauty of food photography is exploring the different colors of the food present in your dish. But depending on the light, the setting of your camera, and whether you are using a phone or a DSLR, the colors aren’t always truthful. You can effortlessly adjust the colors on your picture by using the Filter tool. Some filters will soften the colors and create a warmer mood while other filters add vibrancy and create excitement for the viewer.

Black and White
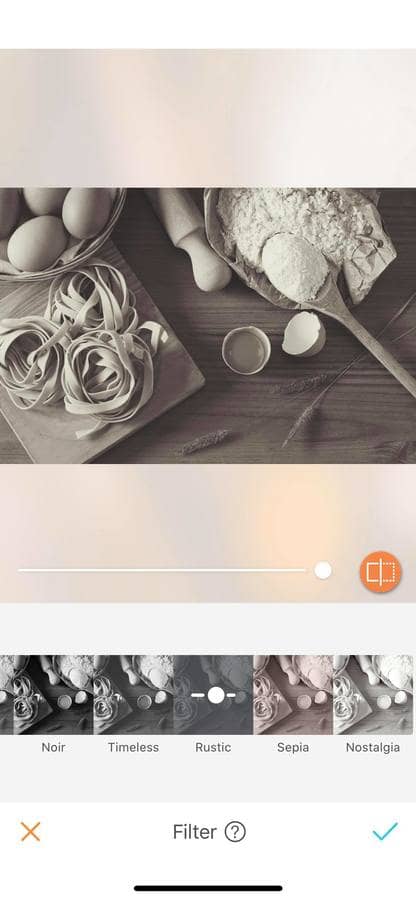
You can never go wrong with Black & White pictures. They always bring a classy and sophisticated vibe to the picture and this also works with food. B & W photography brings contrast to your food revealing more details. Use the B & W filter and choose different shades of black.

Now that you know how to take and edit food photography, we can’t wait to see your dishes. Show us what you eat around the world with the AirBrush app! Don’t forget to tag us in your pictures with the hashtag #AirBrushApp and get a chance to get featured on our main account @AirBrushOfficial.


