AHHHHH It’s finally herrreeeeee!!!! It’s been 3 long years since we got to see the gorgeous Gal Gadot kick some major mythological God you-know-what on the silver screen. Now, we’ve been hearing rumors, looking up reddit threads, watching the trailer over and over; all so we can finally watch our girl back at it again. AND THIS ONE IS 80’S THEMED! Well we we’re about to let this occasion go by without a proper editing tutorial now were we. Why? Because we all deserve to unleash our inner Wonder Woman on the world. Now, without further hair do, our Wonder Woman edits.
Lasso of truth
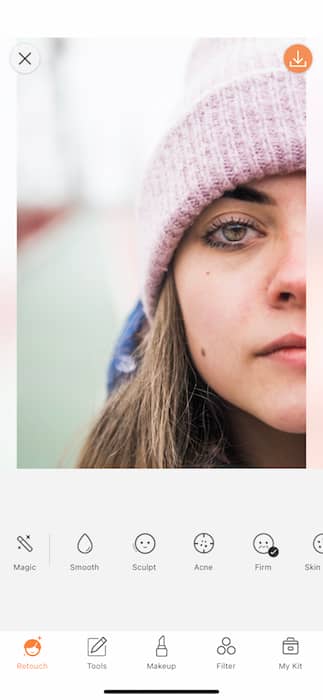
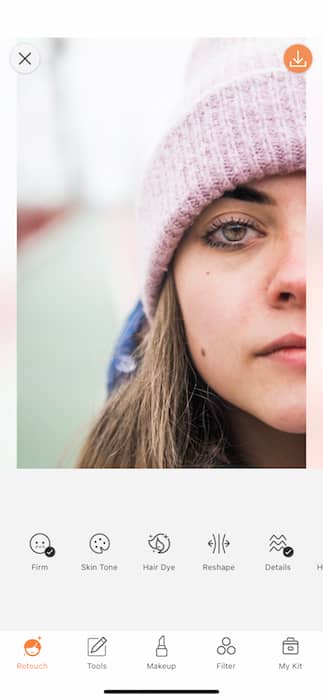
We don’t believe that an uncanny resemblance is needed to unleash your inner Wonder Woman but some efforts are just worth making. That’s why we’re starting off our heroic editing adventure by tapping our Retouch Tab and finding the Hair Dye Tool.
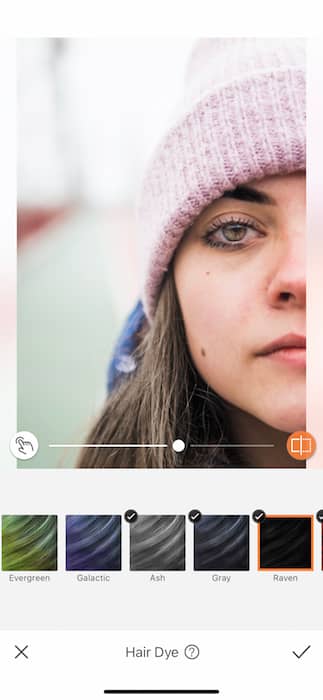
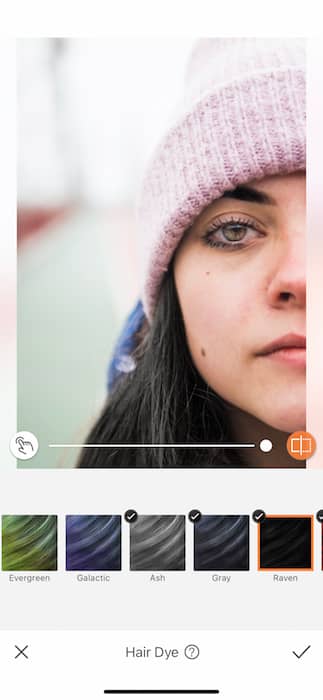
That’s right! We can’t make it through these Wonder Woman edits without that silky Raven Hair. You might feel that your inner Wonder Woman has Evergreen hair or maybe a Galactic ‘do. Follow your heart and make sure you’re looking your sickest for the battle of the selfies.
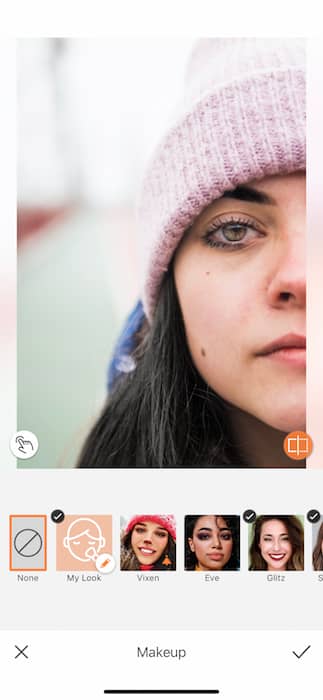
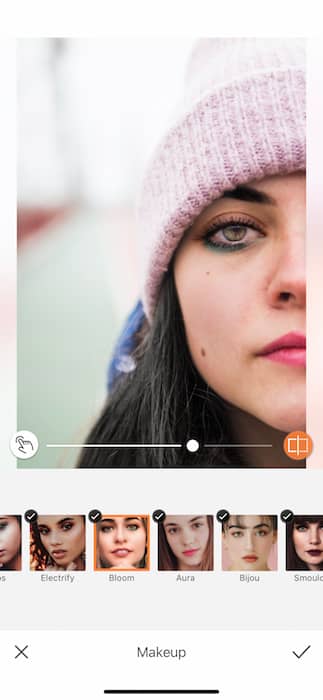
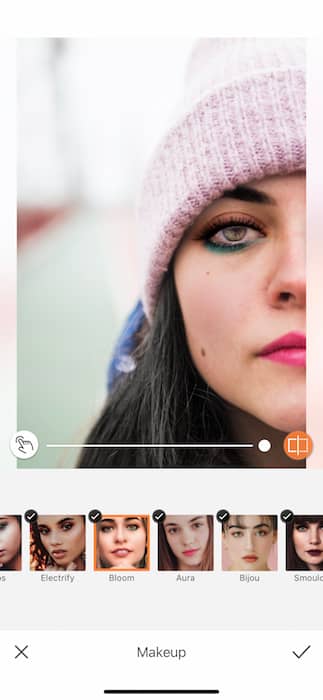
They 80’s was not subtle when it came to their glam. It was all neon colors, shoulder pads, and shine shine shine. That’s why this look would not be complete without a tubular Makeup Filter. When you tap the Makeup Library you’ll find countless different Makeup Filters all with their own unique design. You can also adjust the strength of each Filter by dragging the toggle from left to right. Sometimes you just need a little, today you’ll need a lot. The Bloom Makeup Filter is the perfect neon realness we need to get all our 1984 Wonder Woman aesthetics.
Set the Stage
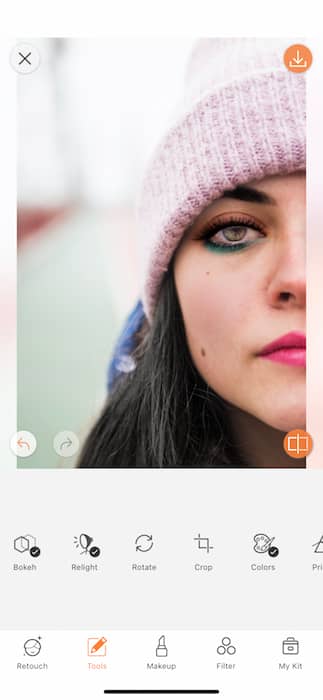
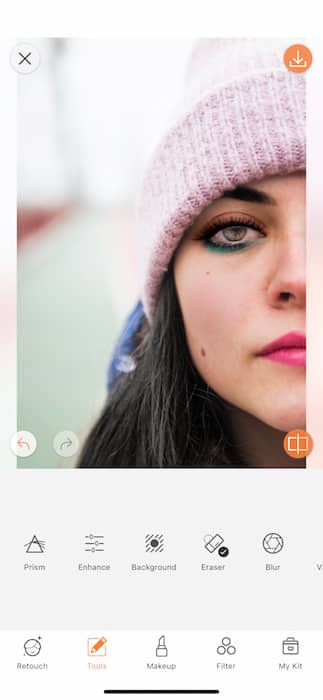
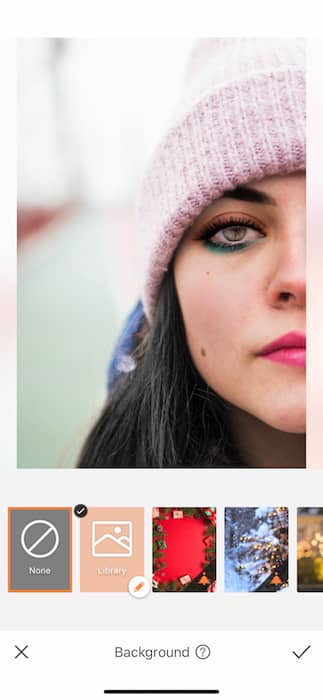
Now, we’ve got to get ourselves somewhere cooler than this joint. We might not get to Themyscira but we can find something vibe-y enough. Scroll on over to your Background Tool which you can find on your Tools Tab. In between the Enhance Tools and Eraser you’ll find the Background Icon. Once you open the Background Tool you’ll find all sorts of incredible backgrounds. Feel out where your inner hero wants to live.
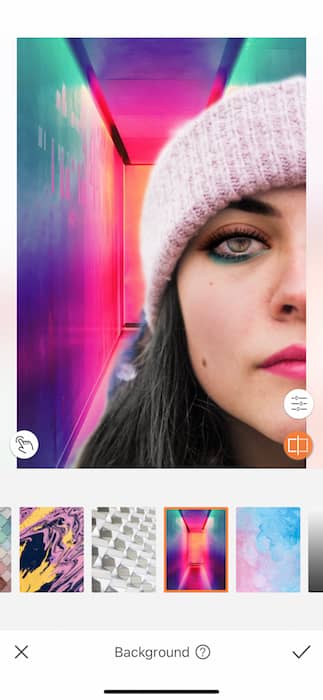
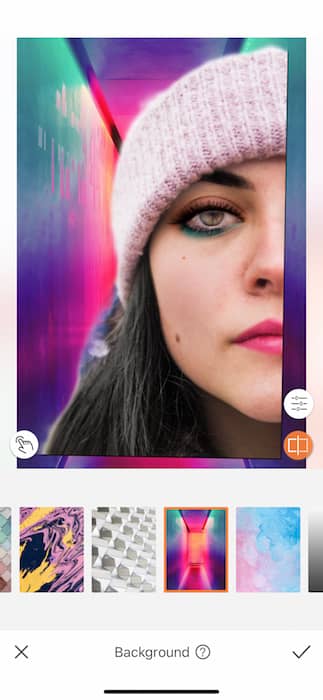
We are V into this neon fantasy situation. We can imagine ourselves doing crazy martial arts down this hall and all without a drop of sweat to mess up our perfect eyeliner. Once you’ve selected a background, you can completely adjust the scaling by dragging and dropping your image focal point to any location. You can even drag and pinch to resize yourself. You can do the same to the Background image. For today’s image we’ll be enlarging our focal point for a more dramatic crop.
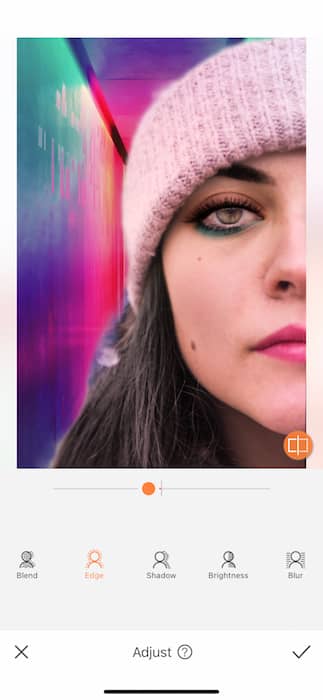
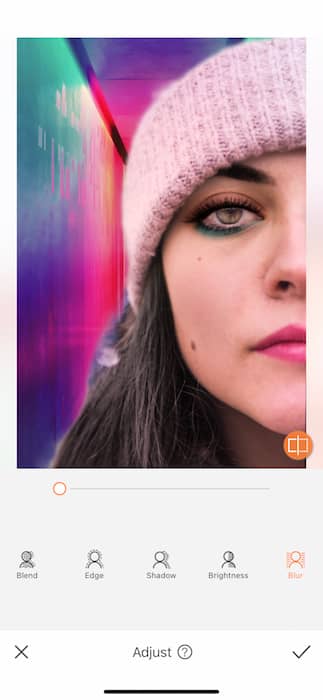
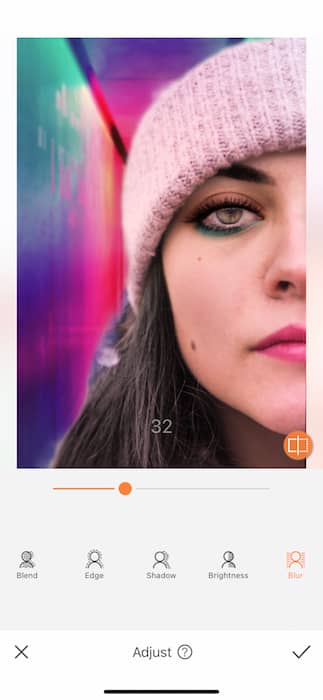
You can now tap the white button on the bottom right of your image. This will take you to the Adjust Tool which will allow you to adjust your WW pic to be as realistic as possible. You can use the Blend feature to make your original image match up to your Background’s color story. You can use the Edge to shave off the little remnants of the original image, and you can use the Blur to create some distance between your focal points and the Background. Sometimes you end up with a little more than you bargained for. You can tap the white button with your finger on the left side of your image to manually select the surfaces you do and do not want on your image.
Be kind rewind
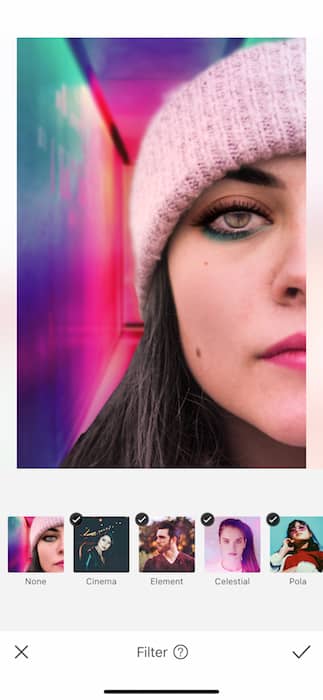
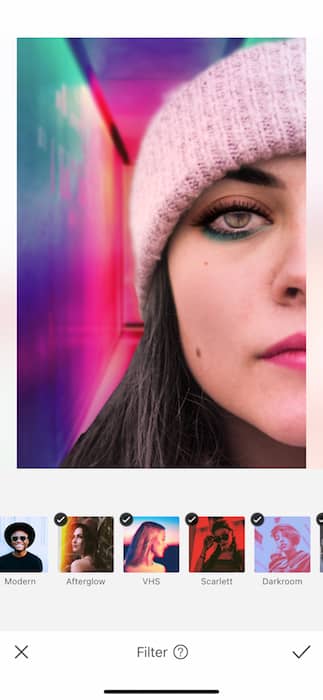
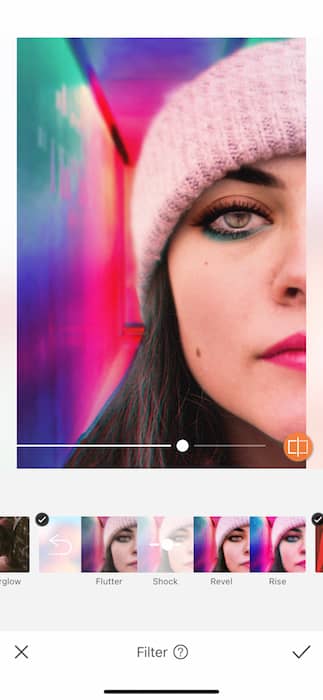
Say it with me, kids. No edit is done without a perfect filter. This is in the ten commandments of being fly as hell. Head on over to the Filter Library and look for the VHS Filter Pack. Each of these give you that super dope 80’s feel like you’re watching the first ever 3-D movie and loving every second of it. Find the right Filter for you and adjust the strength by using the center toggle.

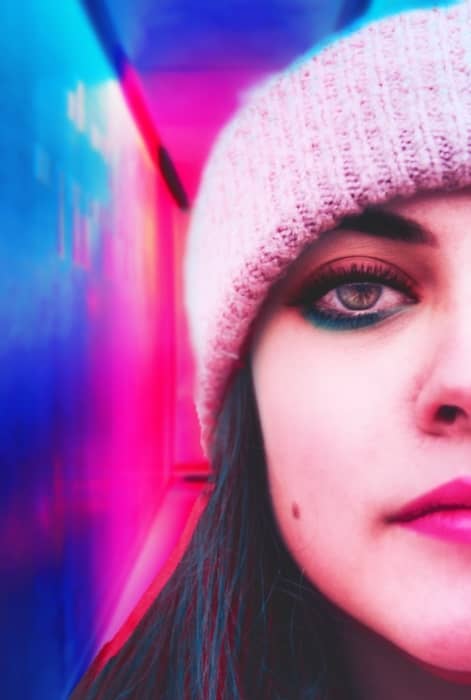
HIYA! We did it, y’all. We’ve channeled our inner Wonder Woman and just in time to save the world from it’s next biggest threat: boring selfies. Are you heading out to fight the baddies? Don’t forget to show us how you got your hero on by tagging #AirBrushApp and you might just end up on the @AirBrushOfficial instagram feed. Thanks for joining in on another AirBrush adventure. Stay tuned for more!


