Today’s AirBrush tutorial is all about Skin Tone. This effect allows you to even out or enhance your skin tone in a few taps. The Skin Tone feature offers a range of seven colors to fit every skin complexion. You can match your skin tone to perfection or push it a bit further for a sun-kissed glow.
The “Skin Tone” effect
Once you’ve uploaded your photo into the AirBrush app, select the Skin Tone effect; represented by a brush palette.
Selecting the zone
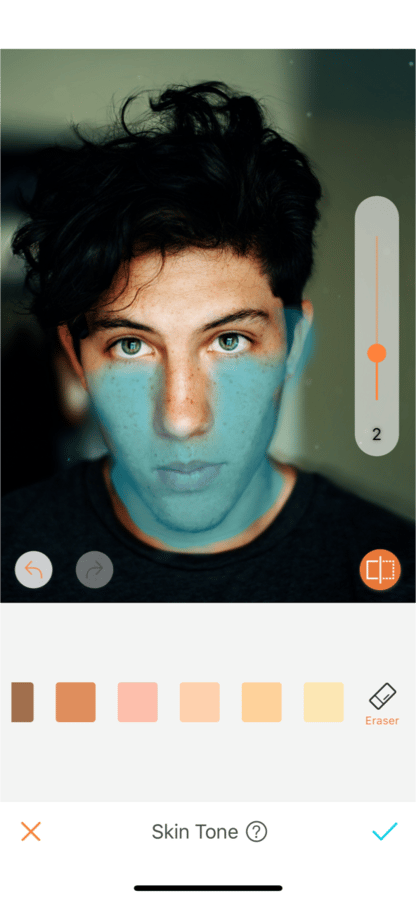
To edit your picture, first, pick a color close to your skin tone. Then select the area where you want to apply the effect by simply running your finger over it. By clicking on the chosen color longer, the selected area will turn blue. Thanks to the blue tint of the selected area, adjustments can be made with greater precision.
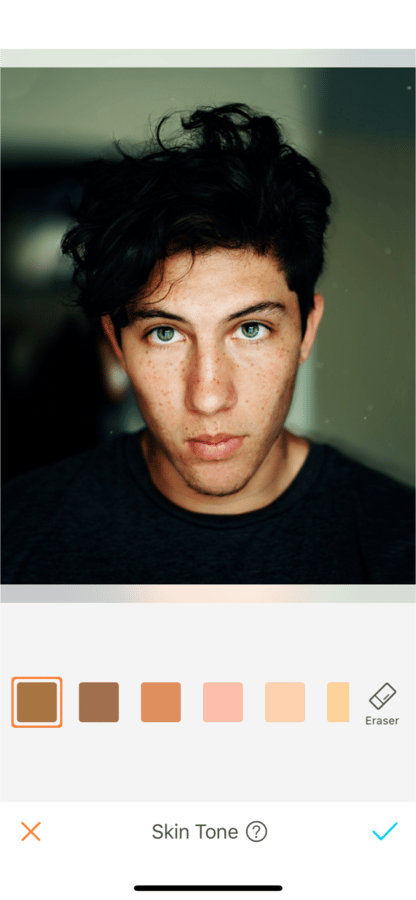
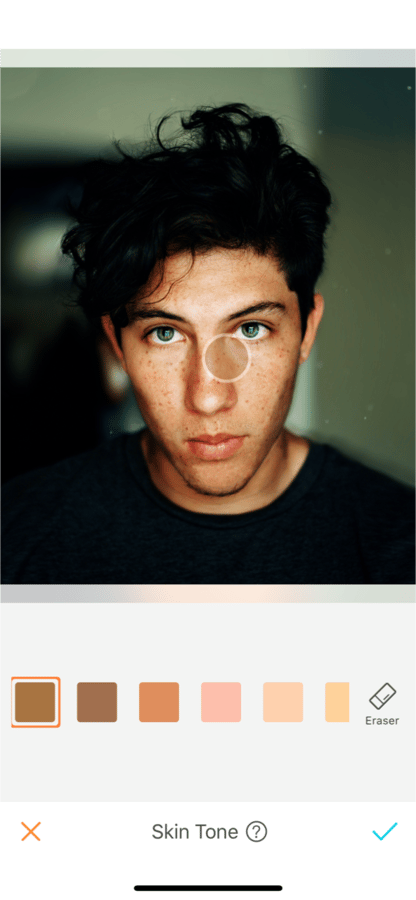
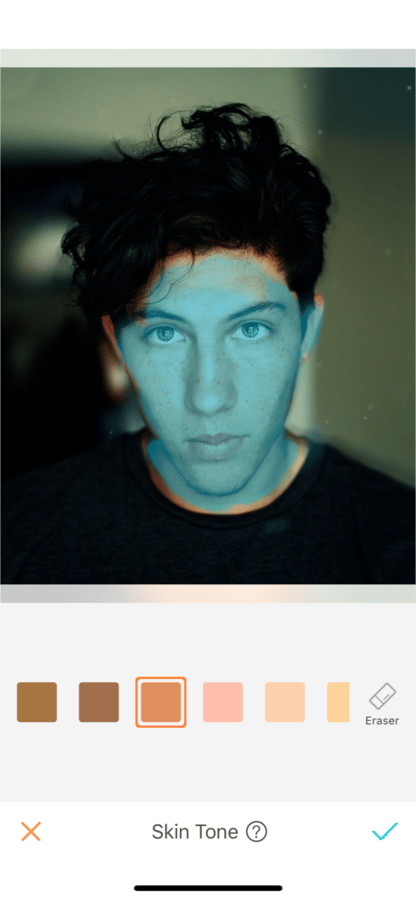
Choose your skin tone
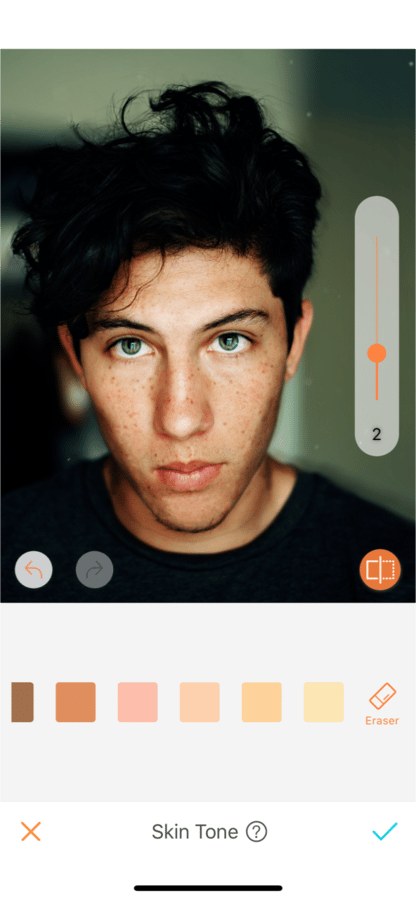
Once you have selected an area with the Skin Tone effect, the color will apply automatically. You can adjust the intensity of the color by sliding the sidebar on the right side of your screen. To get the best results for your skin complexion, the intensity of the color goes from 0 to 10. If you’re not sure you’ve selected the right color, or want a tanned skin effect, try out the other colors until you find the perfect match!


Erase
Pushed the edit a bit too far? No need to start all over again, this feature allows you to erase. Select the erase button and run your finger over the areas you want to remove the effect. Hold the erase button longer to have the selected areas turn blue.
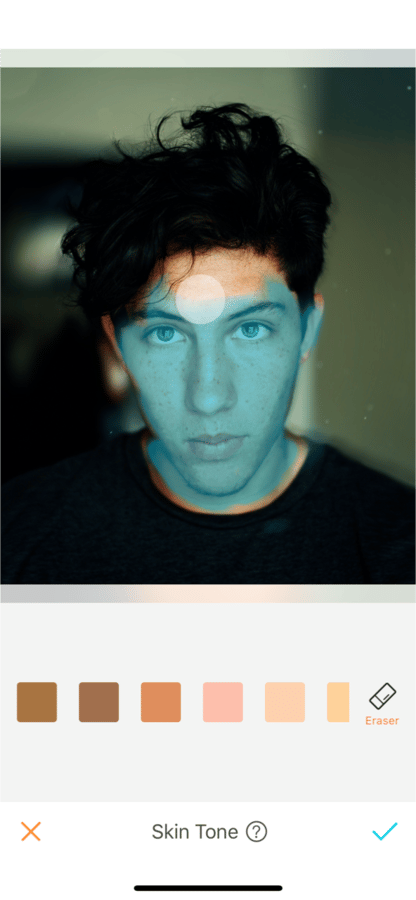
Now it’s your turn to use the Skin Tone effect. Upload your pictures into the AirBrush app and find your perfect skin match! Show us the results on Instagram with the hashtag #AirBrushApp.


